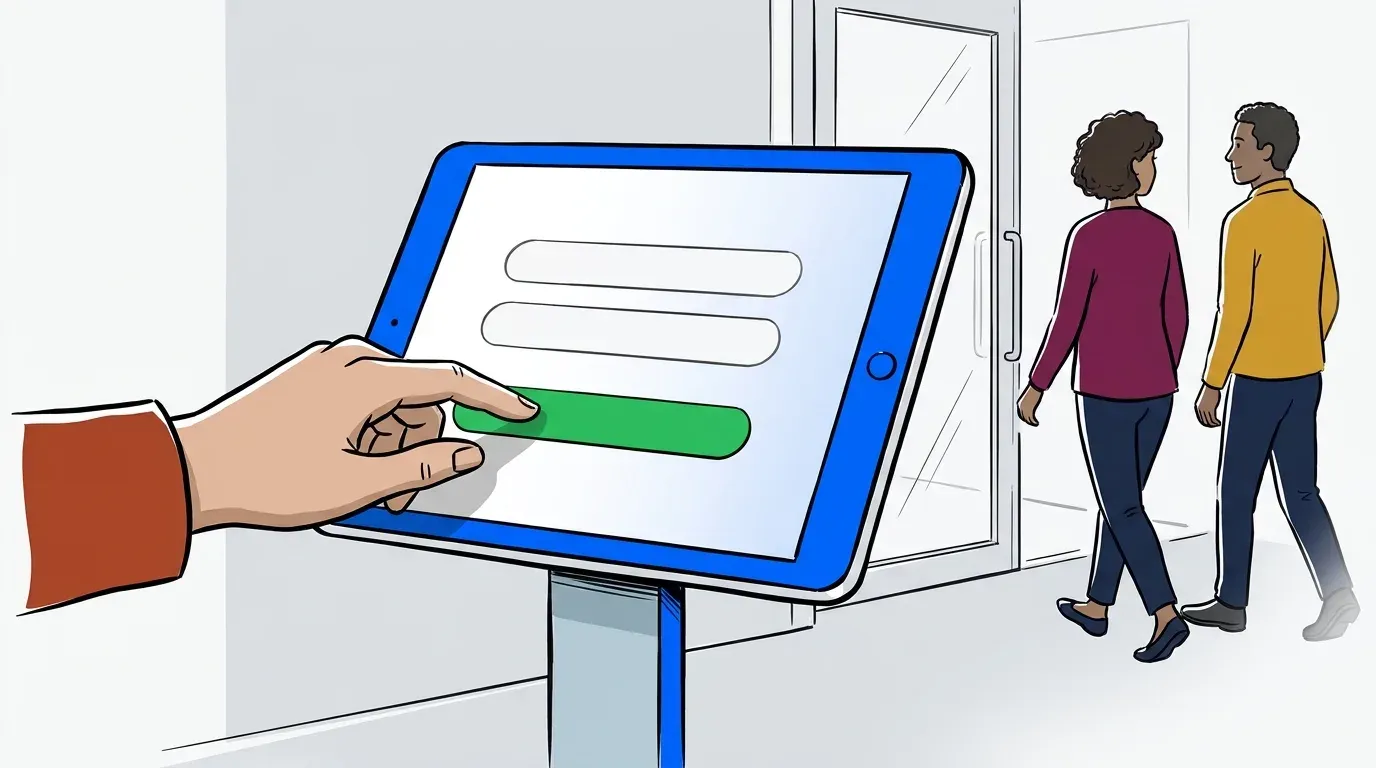
The front desk is busy, the line is backing up, and someone is writing names on a clipboard. You already have an iPad in a drawer. Could it run check-in instead?
It can. An iPad check-in kiosk lets guests add themselves to your line the moment they walk in. Your team stops typing names and starts helping people. Setup takes less than an hour, and you don’t need special hardware or a kiosk app.
The steps work for a restaurant, salon, retail counter, dispensary, government office or event. So does the advice on where to put it.
What is an iPad check-in kiosk?
An iPad check-in kiosk is an iPad on a stand near your entrance that runs your check-in form. Guests tap in their name and phone number and join your waitlist on their own. The iPad stays locked to that one page, and every check-in appears on your team’s live queue.
The iPad is just the screen. The check-in software behind it decides what happens next. Either the guest joins a real queue and gets a text when it’s their turn, or they’ve just filled out a digital sign-in sheet.

What you need before you start
You probably own most of this already.
- An iPad. Any iPad with a modern web browser works, including an older one.
- A stand. A countertop stand works on a front desk or counter. A floor stand works at an entrance with no counter. If the iPad sits by the door, pick one that locks.
- Power. Run a cable to the stand so the iPad stays charged all day.
- Wi-Fi, with no VPN. The check-in page needs a steady connection. Turn off any VPN on the iPad. If your team has to run one, contact us and we’ll allowlist it.
- Your check-in link. Your self check-in form has one link, and it opens on any device.
How to set up an iPad check-in kiosk, step by step
Here’s the whole setup, start to finish.
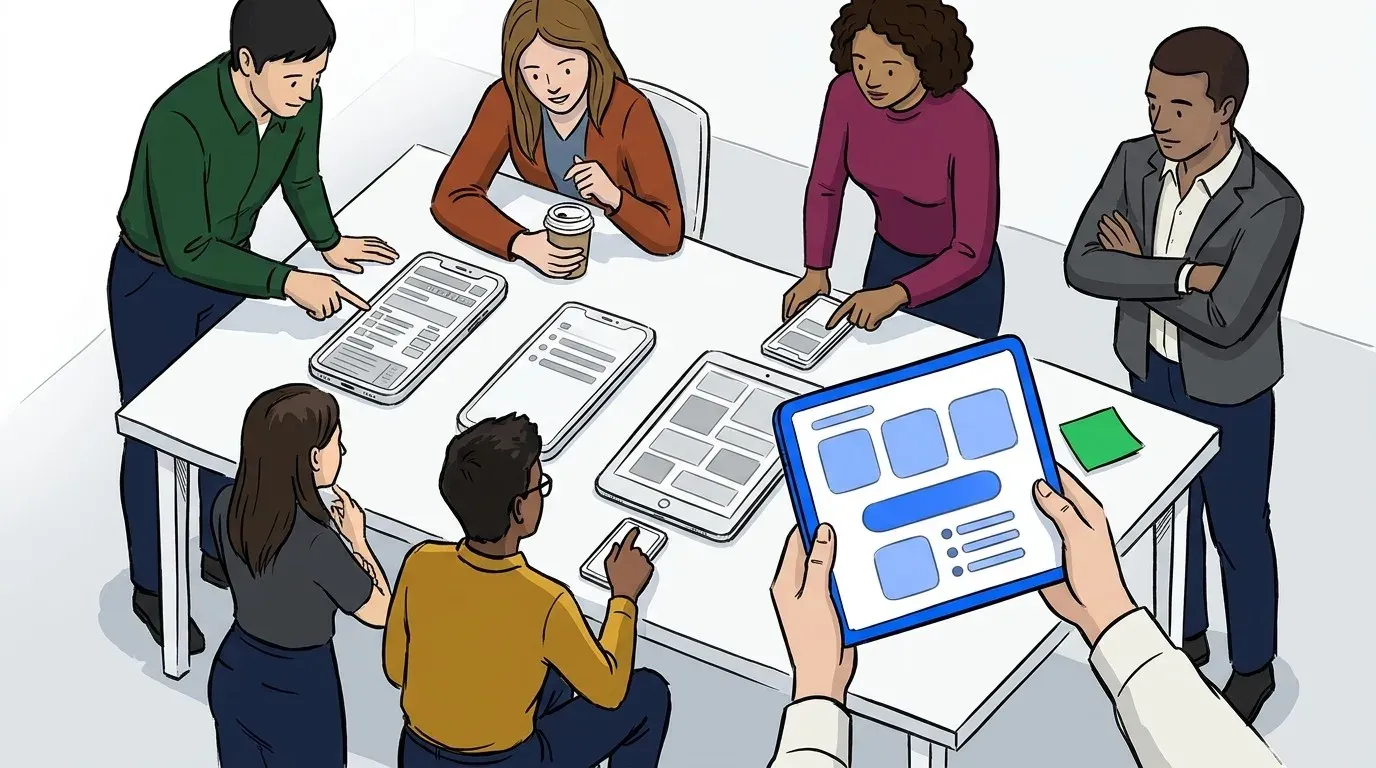
- Build your check-in form. Choose the fields guests fill in. Keep it short: name and phone number are enough for most teams, plus anything you need up front, like party size or reason for visit. Add your logo and colors so the form looks like yours.
- Have the confirmation clear itself. In your self check-in settings, make sure Auto-dismiss Confirmation Message is on. Each guest sees that they’ve joined the waitlist, and 5 seconds later the form is ready for the next person. Nobody has to tap a button, and no guest’s details stay on the screen.
- Set your check-in hours. The form only takes check-ins during the hours you choose. Outside them, it shows a closed message you can write yourself.
- Open your check-in link in Safari. Load the page on the iPad and make sure the form fits the screen.
- Turn on Guided Access. Go to Settings, then Accessibility, then Guided Access, and switch it on. Set a passcode your staff will remember. Apple’s Guided Access instructions cover every option.
- Lock the iPad to your check-in page. With the page open, triple-click the top button (or the Home button on older iPads). Circle the address bar so guests can’t type a new web address, then tap Start.
- Keep the screen on. In the Guided Access settings, set Display Auto-Lock to Never so the screen doesn’t go dark between guests. Leave the iPad plugged in.
- Test it as a guest. Check yourself in twice in a row. Confirm the form clears between you, the text arrives, and you appear on your team’s waitlist.
To leave Guided Access later, triple-click the top button again and enter your passcode.

Where to put your check-in kiosk
Put the kiosk where guests see it before they reach a person. If the front desk comes first, guests line up there out of habit. The iPad sits unused. Just inside the door, facing the people walking in, usually works best.
Give it a clear sign that tells guests what to do: “Join the waitlist here.” Keep it out of the door’s swing and away from where the line would form, so a guest checking in doesn’t block anyone.
Running a clinic? The setup is the same, but patients and privacy add a few questions. We’ve written about choosing a patient check-in kiosk for healthcare.

Other ways guests can join alongside the kiosk
One iPad can only check in one guest at a time. When you’re busy, it becomes the new line: five people waiting to use one screen. The fix is to give guests more ways in, all feeding the same waitlist.
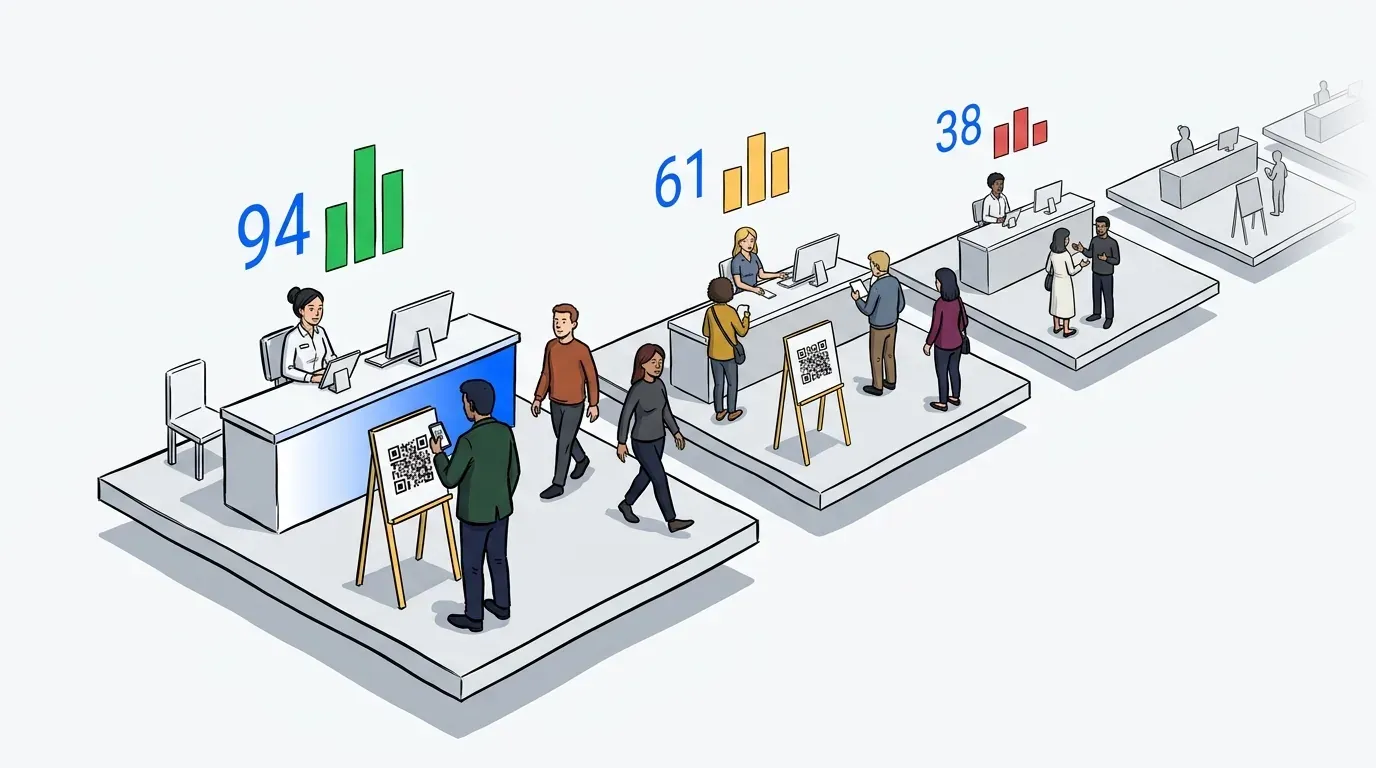
- A QR code beside the kiosk. Guests with a phone scan it and check in on their own device in seconds. That leaves the iPad for guests who’d rather not use their phone. Make a printable sign for free with our QR Code Sign Generator.
- A QR code outside or in the parking lot. Guests can join before they even reach the door, so the entrance never crowds.
- Your website. Add a “Join the waitlist” button, or embed a check-in card so guests join without leaving your site. On busy days, guests can join from home before they walk in.
- The link anywhere you post. Your check-in form has one link. Put it in your Instagram bio, your Google Business Profile or a text to a regular.
- Your team. Staff can still add guests by hand at the front desk, for anyone who needs help.
Every check-in lands in the same place, whichever way the guest came in. The kiosk handles the walk-ins who want it, and everything else takes the pressure off it.

What happens after a guest checks in
The kiosk is the front door. What matters is what happens next.
With NextMe, each check-in lands on the same waitlist your team already runs, next to guests your staff added by hand. Turn on Alert Tones and the waitlist plays a sound whenever someone checks in, so your team knows without watching the screen. The guest gets a text with a link to your virtual waiting room, a branded page that shows their place in line and estimated wait. They can wait in the car, run an errand or browse nearby instead of crowding your entrance. When it’s their turn, one tap sends them a text to come back.
That’s how busy events handle crowds too. At the SXSW XR Experience, exhibitors used QR codes and tablet kiosks. Attendees joined the line, explored, and came back when their turn came. They retained 32% more attendees. At CES, Magic Leap combined QR codes with a self-service kiosk at its booth and increased attendee throughput by 20%.
It works the same way at a smaller front door. We’ve written about how venues handle walk-in demand without the friction.

Conclusion
An iPad check-in kiosk is one of the cheapest upgrades a busy front door can get. Lock the iPad to your check-in page with Guided Access, let the confirmation clear itself, and put the kiosk where guests see it first. Add a QR code beside it and a check-in button on your website, so the iPad never becomes the new line.
Then make sure every check-in goes somewhere useful. That means a live waitlist, a text when it’s their turn, and a place to wait that isn’t your doorway. See how NextMe’s virtual waiting room works.