
A fresh layout for Settings
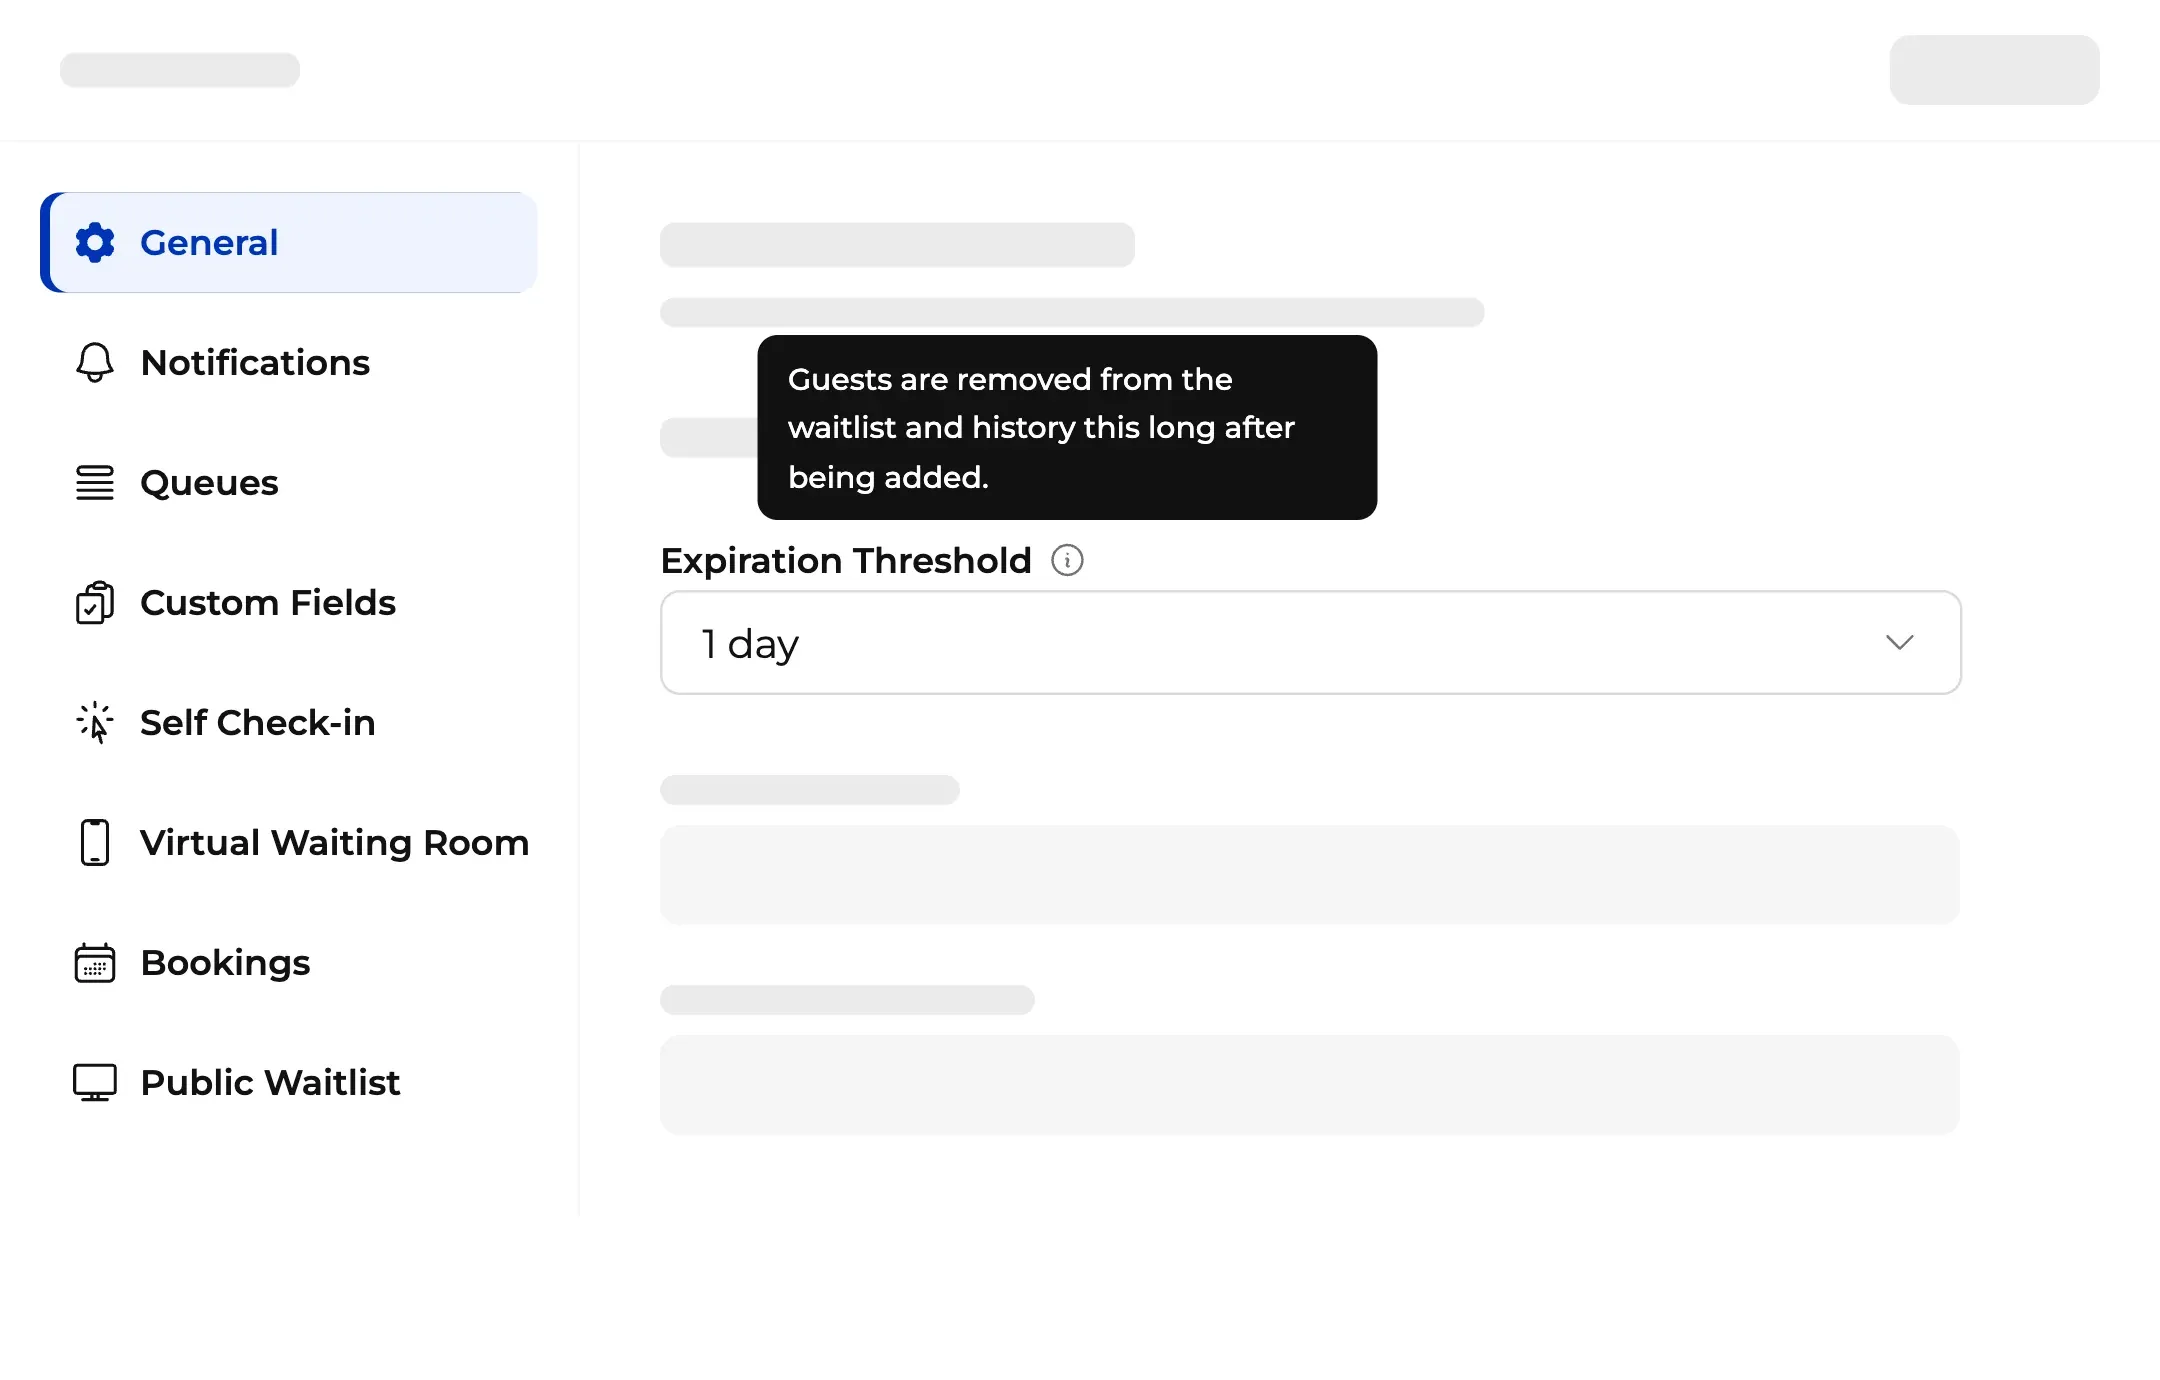
Settings has a new layout with clearer labels, plain descriptions, and tooltips on the options that need them. Everything is grouped the way you actually use it, and a side menu keeps every page a click away.
Product updates
We’re constantly evolving, fine-tuning the platform to keep your virtual queues running as fast and smooth as possible. Explore our update history below, starting with our latest innovations.
Using our native apps? See the release notes on the App Store and Google Play .
2026
Settings has a new layout with clearer labels, plain descriptions, and tooltips on the options that need them. Everything is grouped the way you actually use it, and a side menu keeps every page a click away.
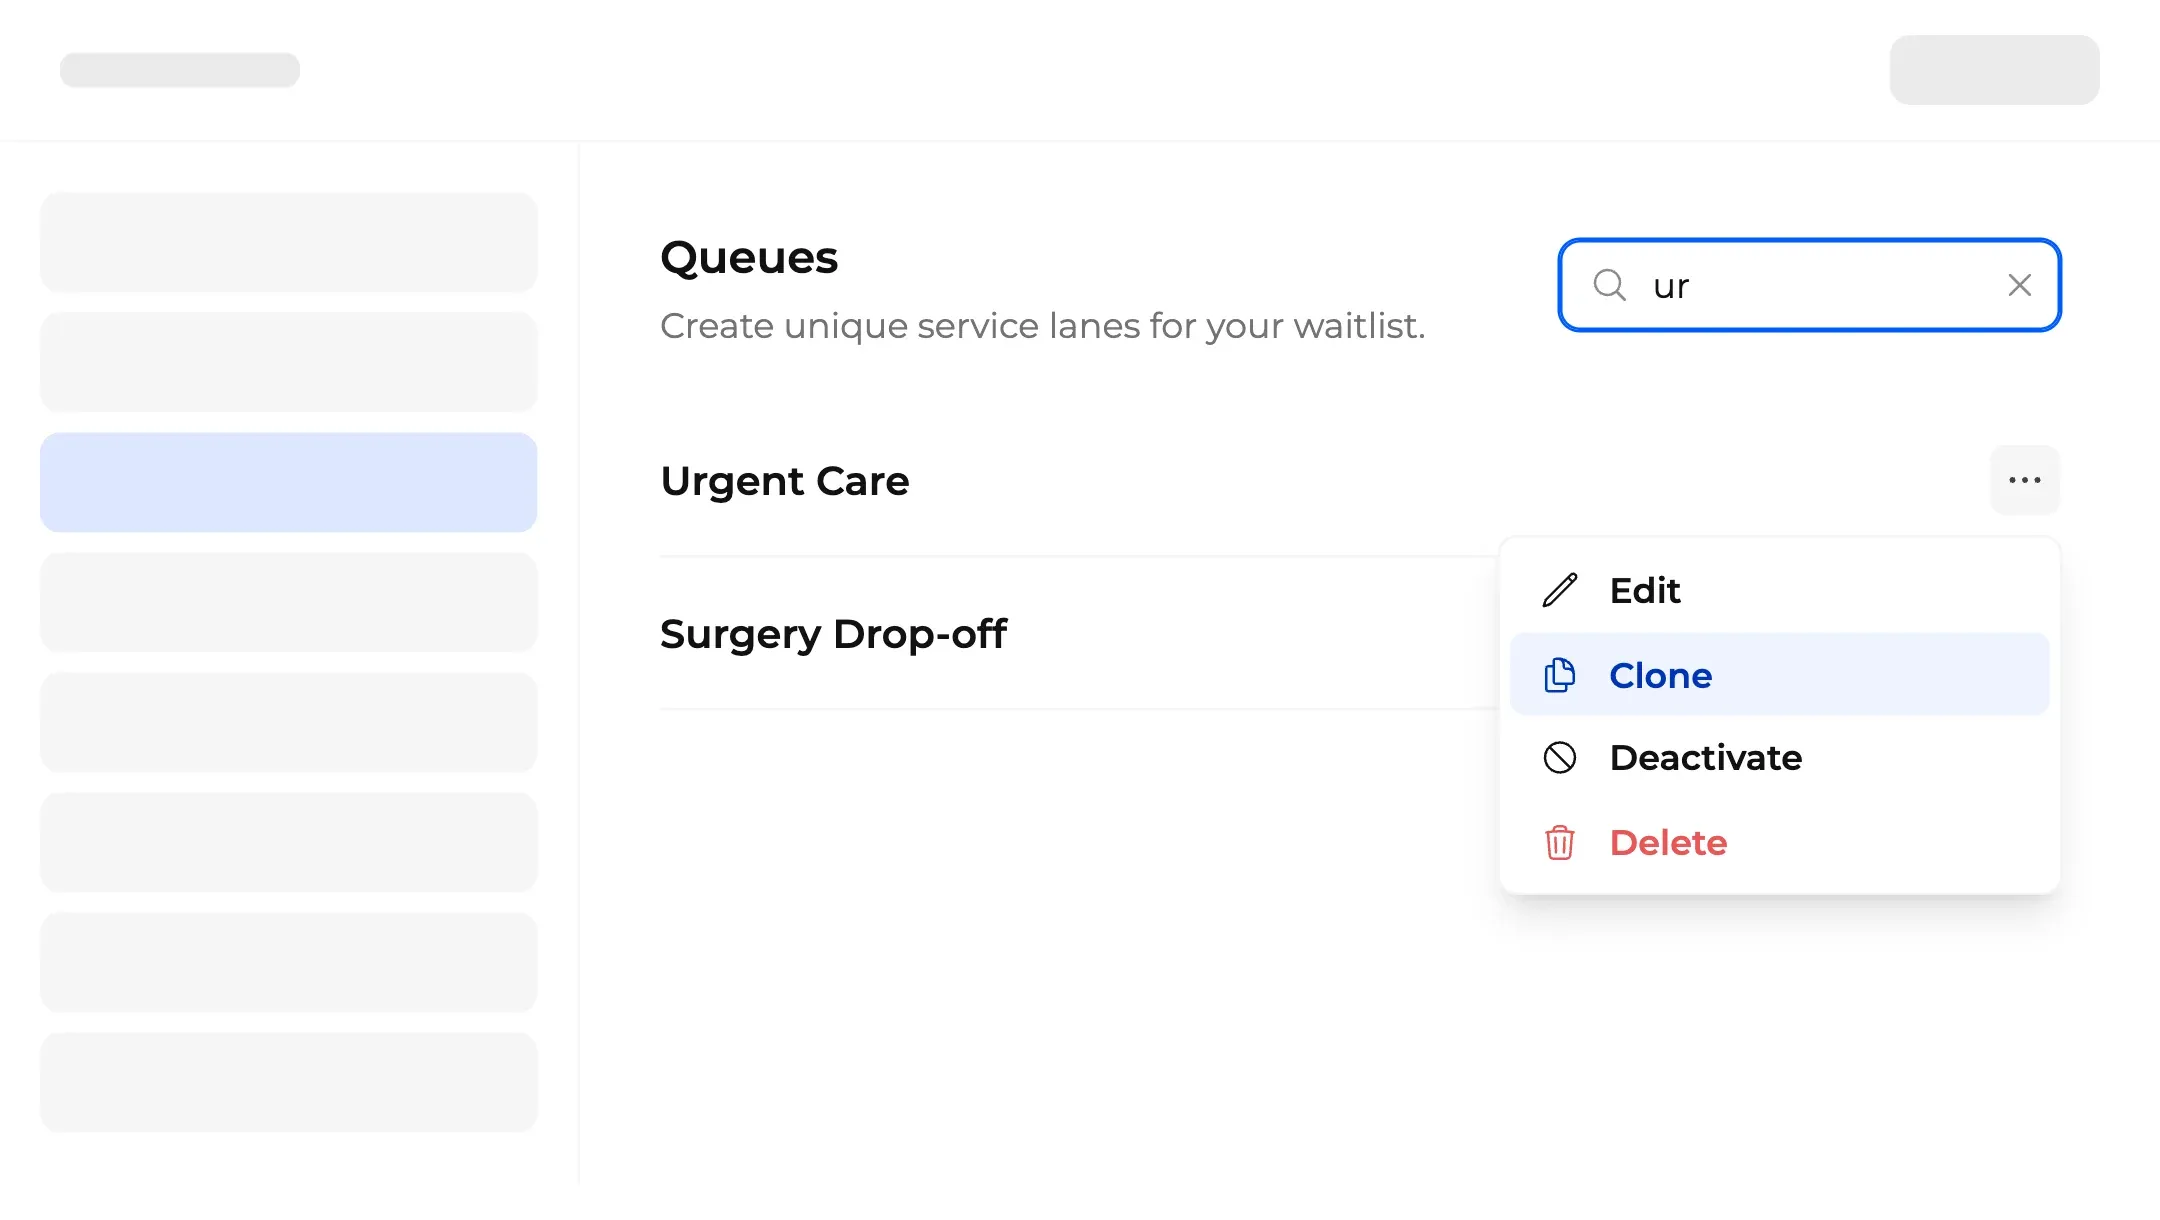
You can now clone a location, queue, or custom field and adjust it from there, which makes scaling your configuration quick and easy. Search sits at the top of your Locations, Queues, Custom Fields, and Team lists, so you can jump straight to the item you’re looking for. Helpful for teams with long lists.
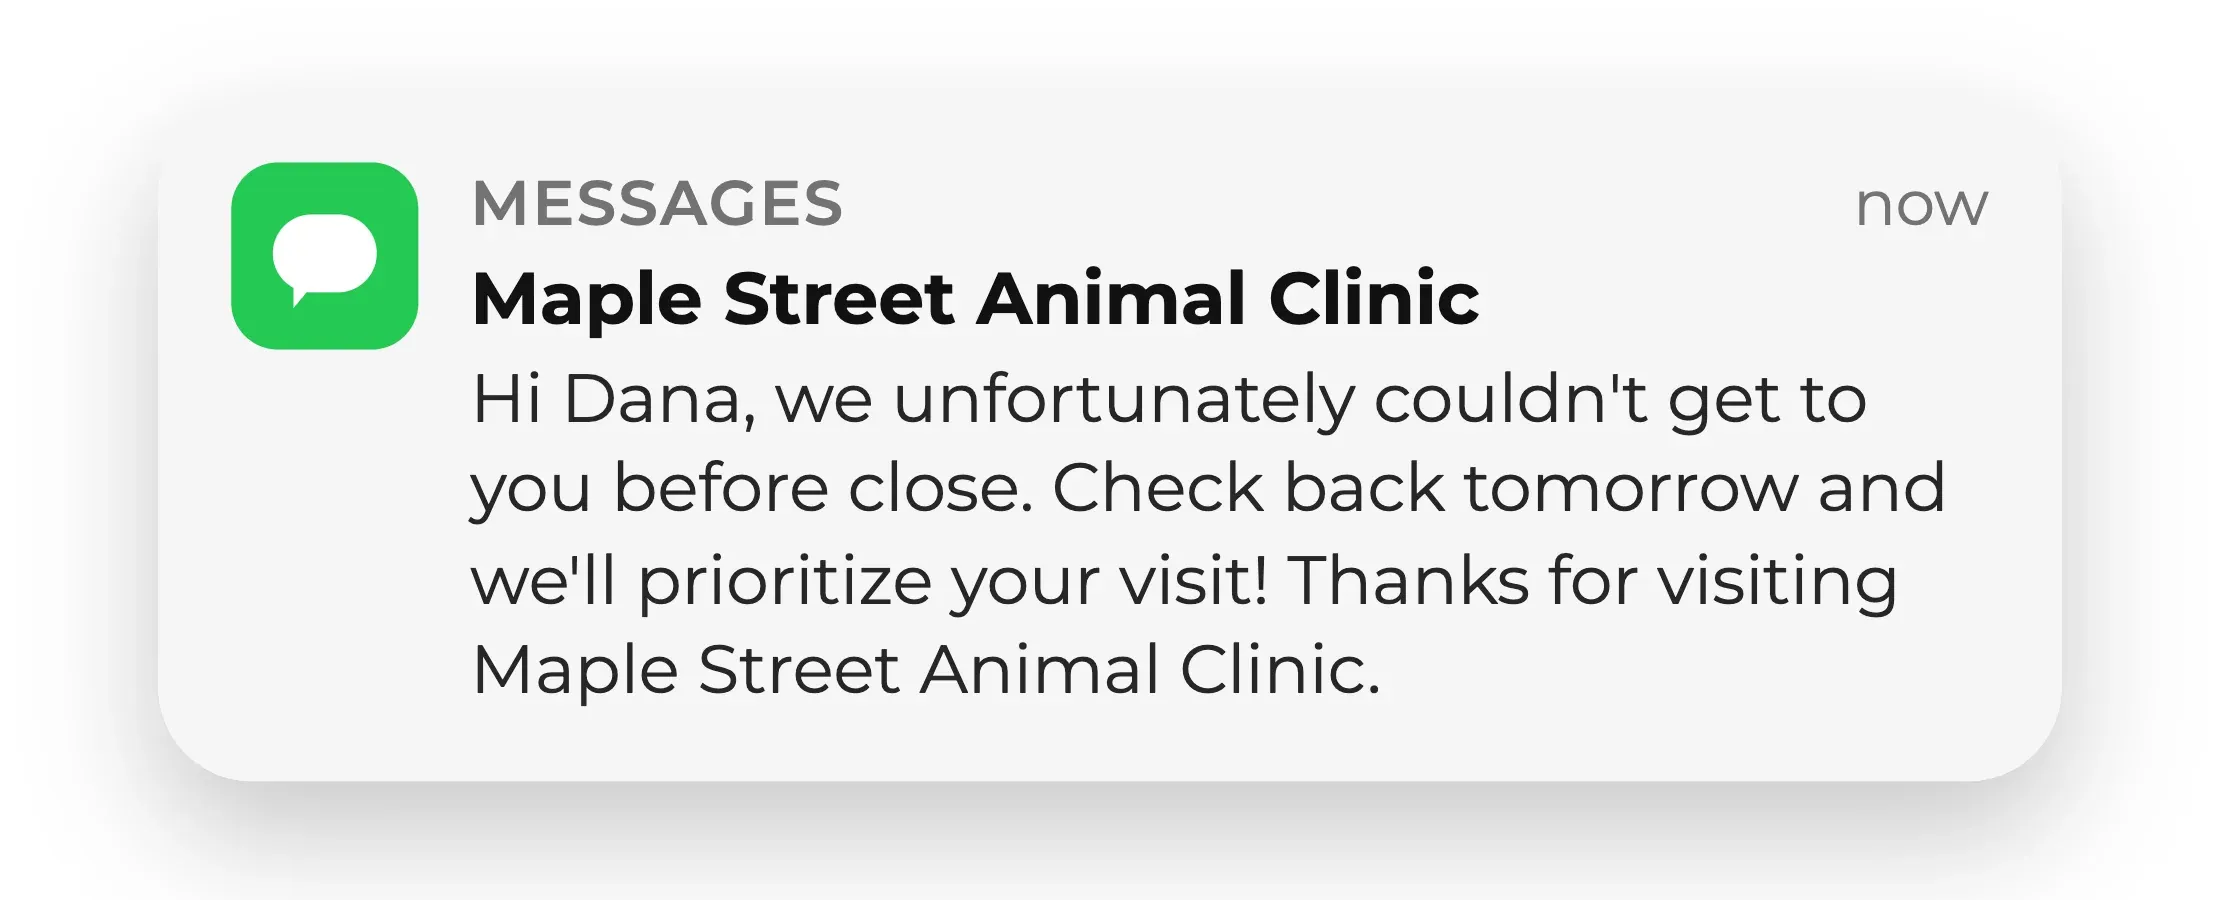
Turn on a custom cancellation message and your guest hears from you the moment their spot is cancelled, whether you remove one guest or clear a group at once. Write the wording yourself, drop in variables like your business name, and switch it off whenever you want. Find it on the Notification Settings page.
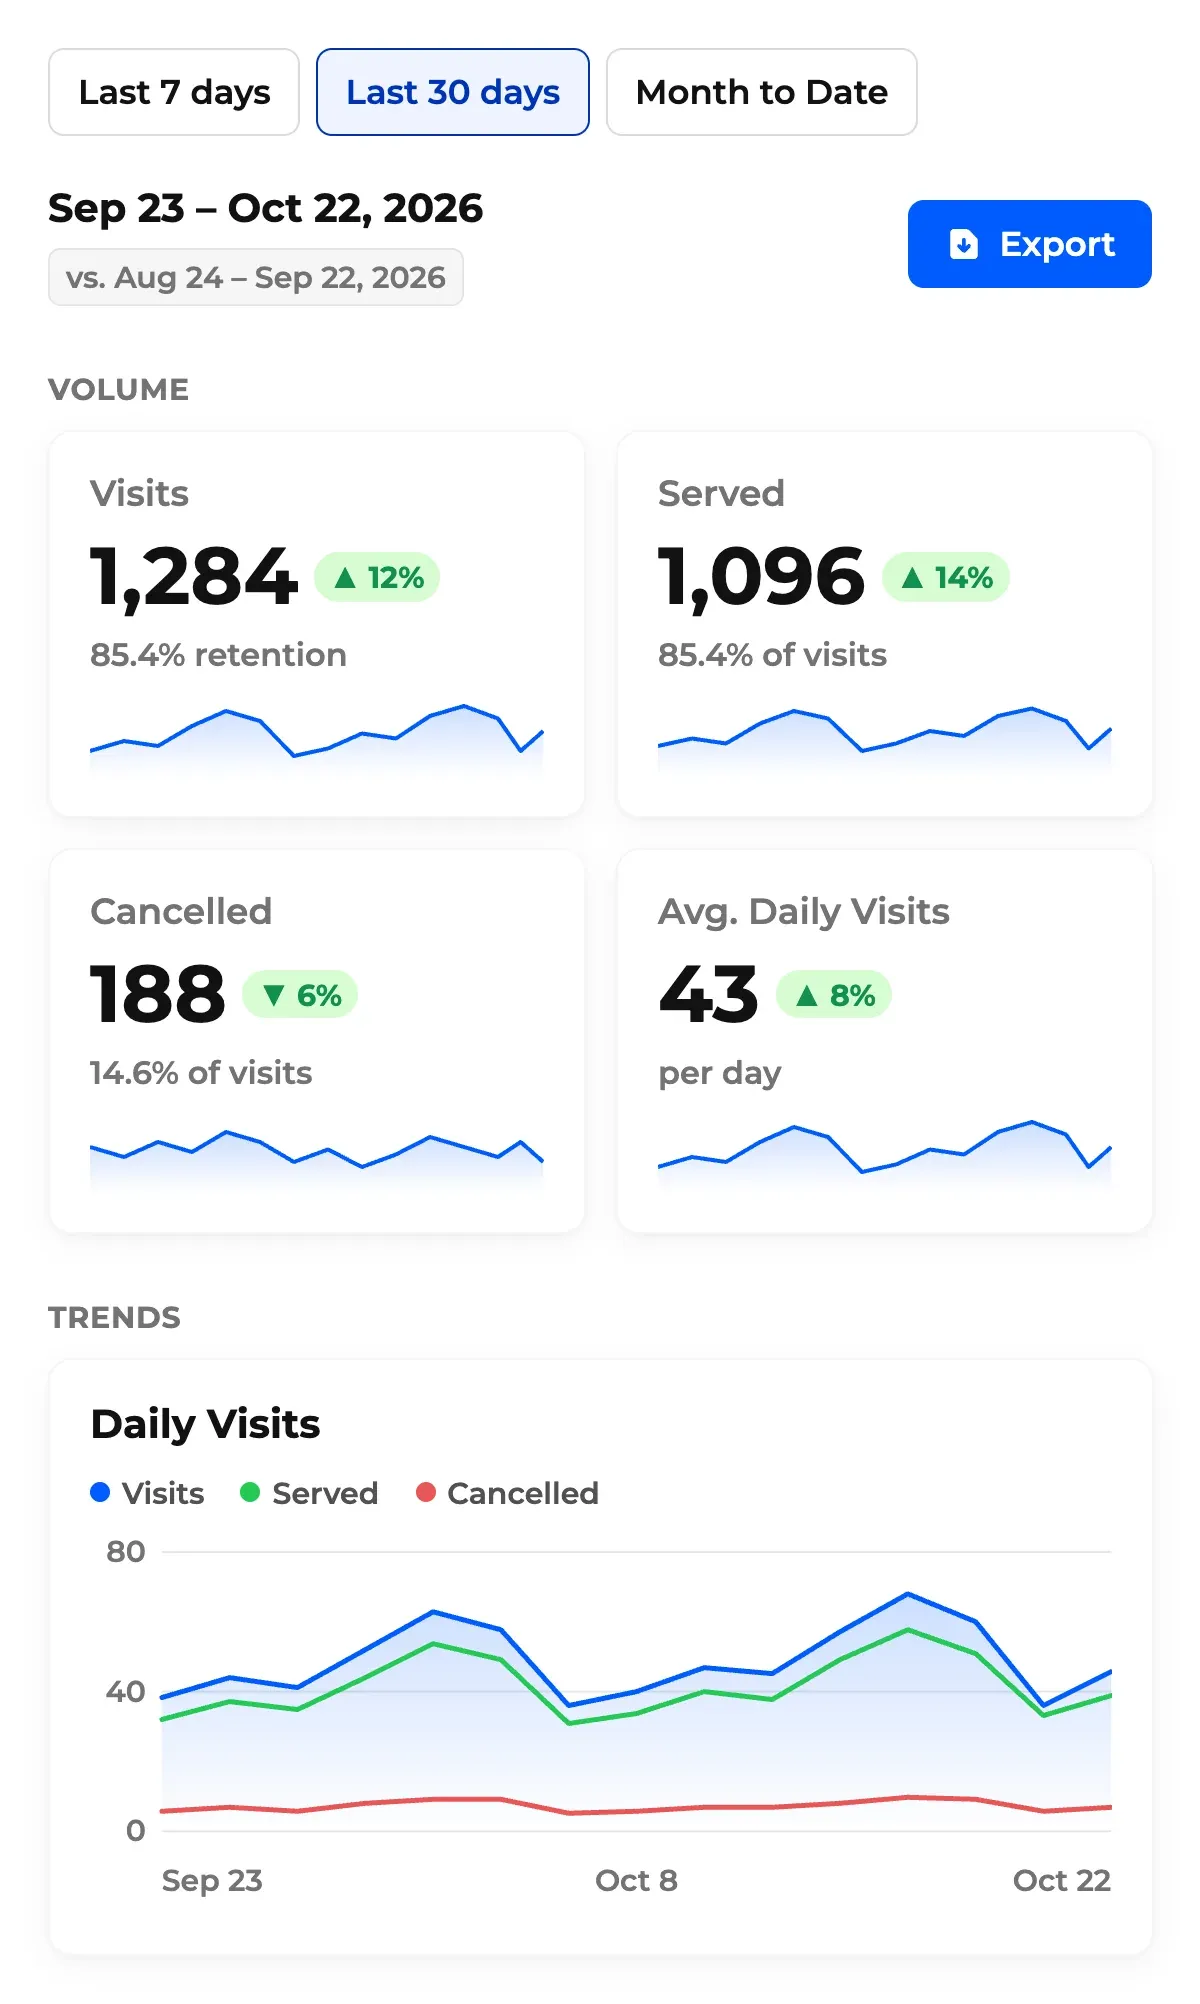
Analytics now gives you a much fuller picture of your business. Volume, Wait Times, and Messaging each get their own section, every metric card carries a trend line, and four charts sit below the numbers: Visits, By Queue, Wait Times, and Day of Week. Compare any period against the one before it or against the same dates last year, filter the entire page down to a single queue, and export what you need straight from the page header.
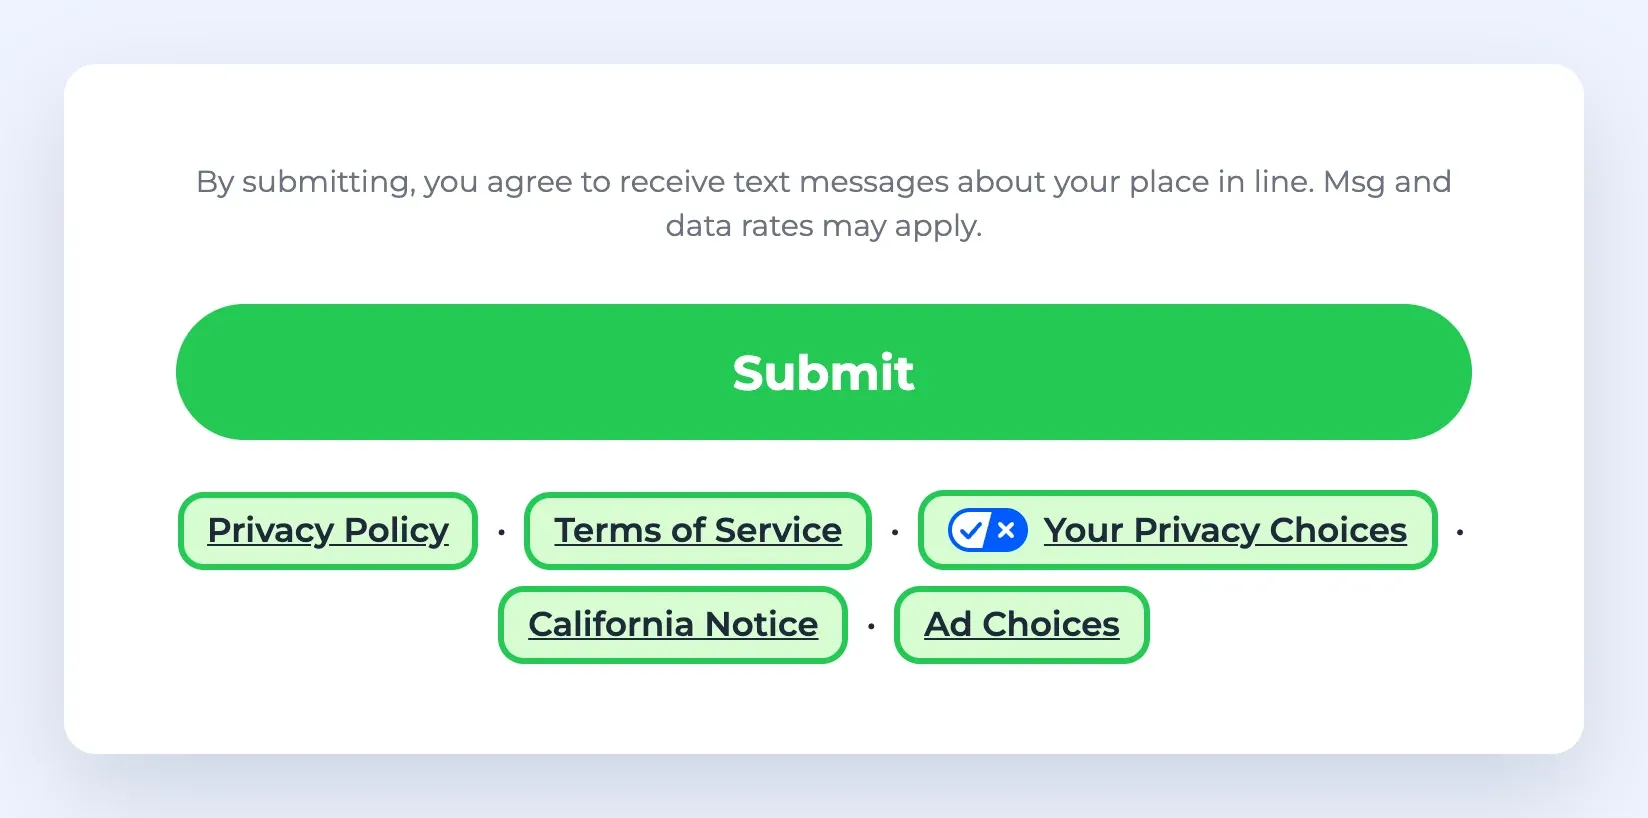
You can now add legal links to the bottom of your self check-in page. Turn on the new Footer setting in Self Check-in Settings to include your Privacy Policy, Terms of Service, Your Privacy Choices, Your California Privacy Rights, and Ad Choices, plus any other footer text you want alongside them.
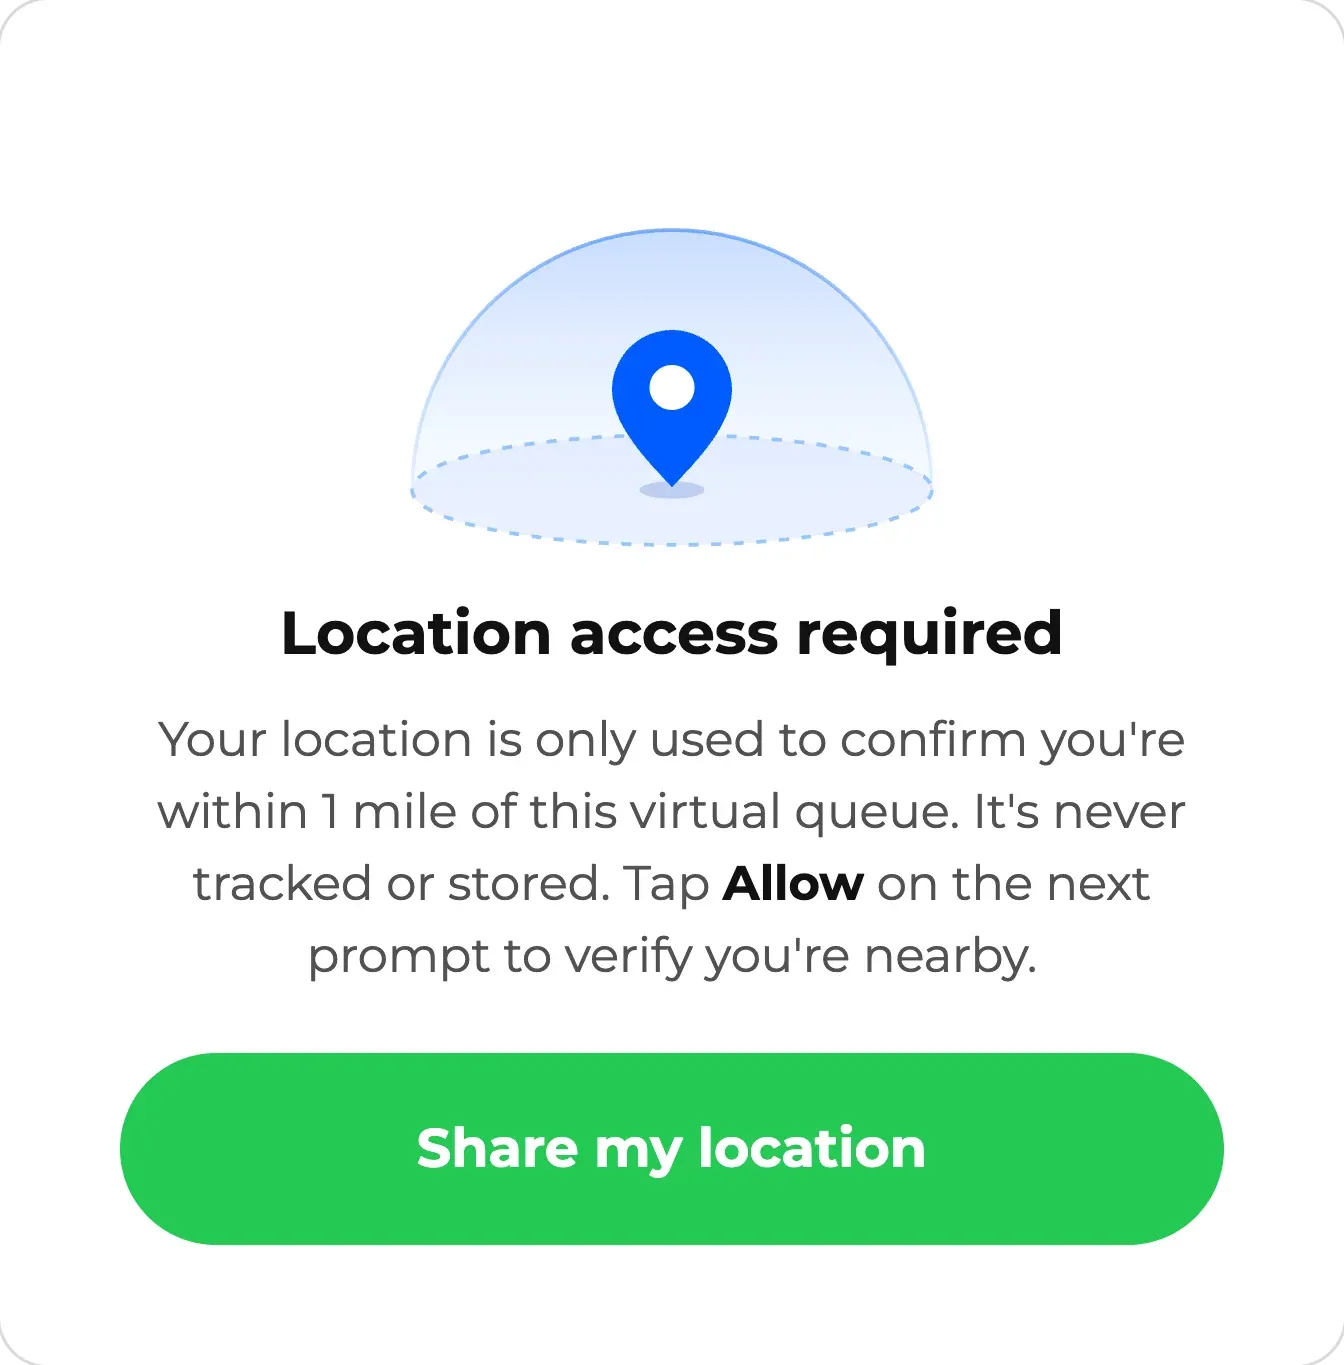
At locations that use a geofence, guests see why check-in needs their location before their browser asks, so they know what they are agreeing to and why. If a guest does run into trouble, the message they see matches their situation, whether their browser is blocking access or their device cannot find them, and trying again keeps everything they have already typed.
Your waitlist got a performance upgrade, making it quicker and more responsive than ever. Updates land sooner, the board loads faster, and it holds up better at busy locations running many queues at once.
Random draw now supports selecting up to 100 guests in a single draw instead of one at a time. Enter how many guests you want to pull and NextMe randomly chooses them for you. Great for product drops and lottery-style events.
Collaborating with your team is now smoother and more effortless than ever with our streamlined four-role setup: Owner, Admin, Editor, and User. The addition of the Admin role makes delegation seamless by empowering trusted managers to handle all day-to-day operations (everything an Owner can do) while keeping sensitive billing details and account deletion settings safely restricted. Everyone on your team transitions automatically to this simpler structure, so you can jump right into working together without missing a beat or taking any action on your end.
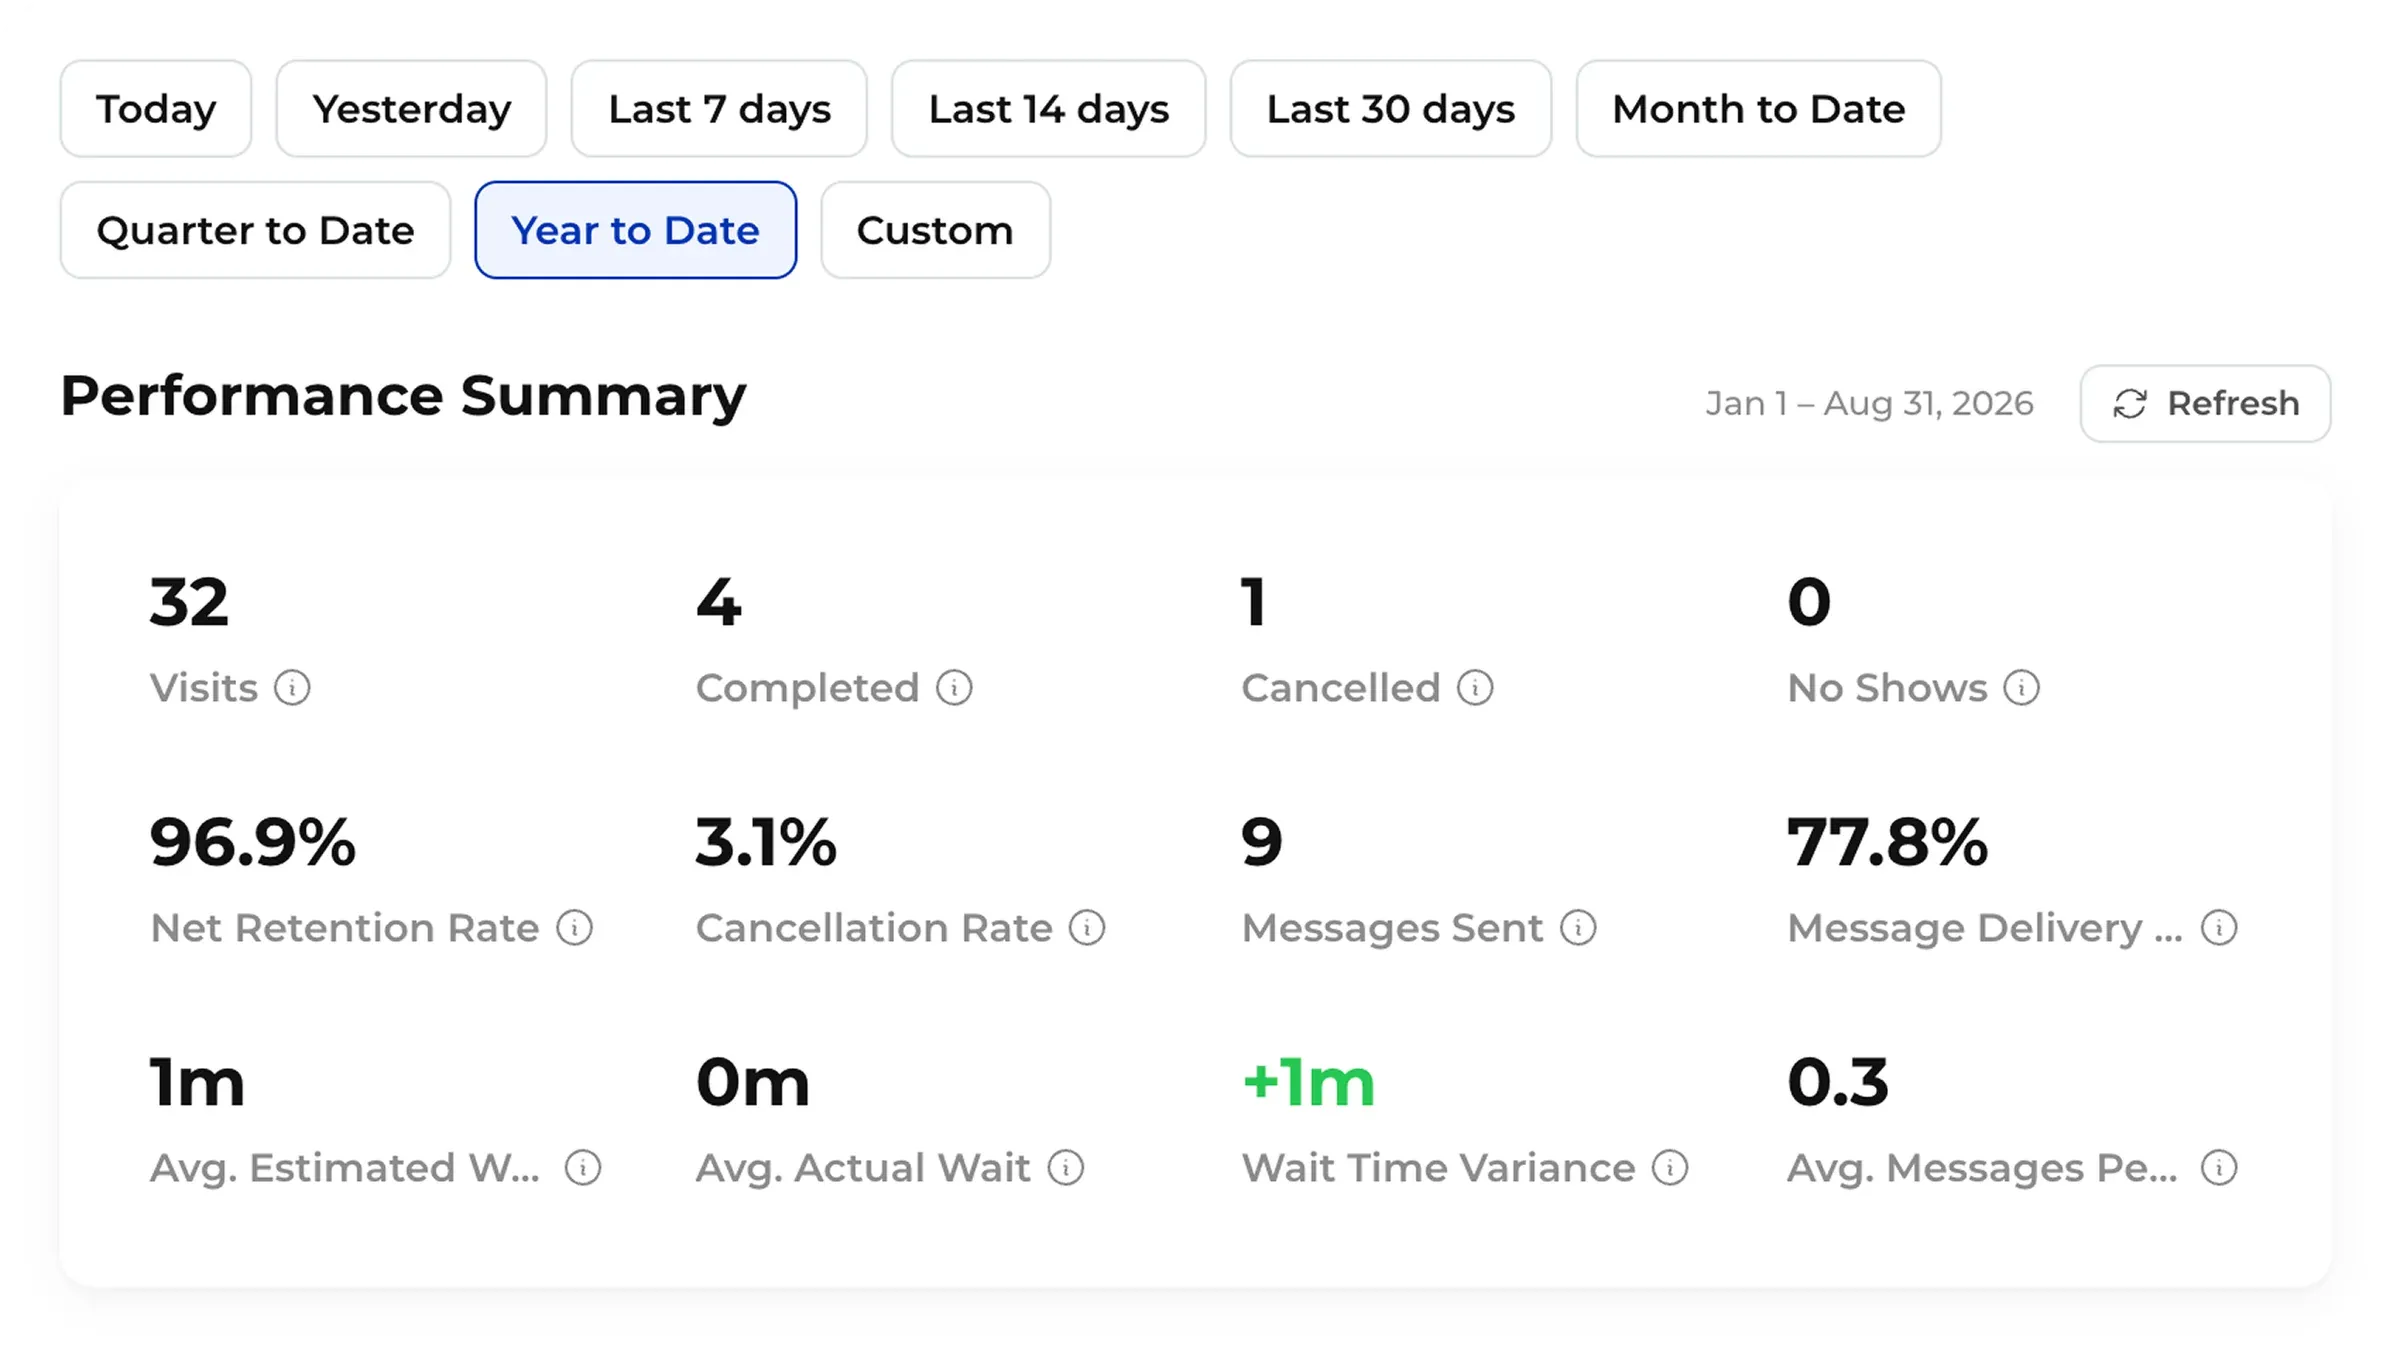
Two new filter presets, Quarter to Date and Year to Date, join the existing options, and the active date range is now displayed next to your Performance Summary so you always know which window you are looking at. A refresh button pulls fresh numbers without a page reload, large counts use thousands separators, and each report tells you whether it follows your selected date range or covers all time.
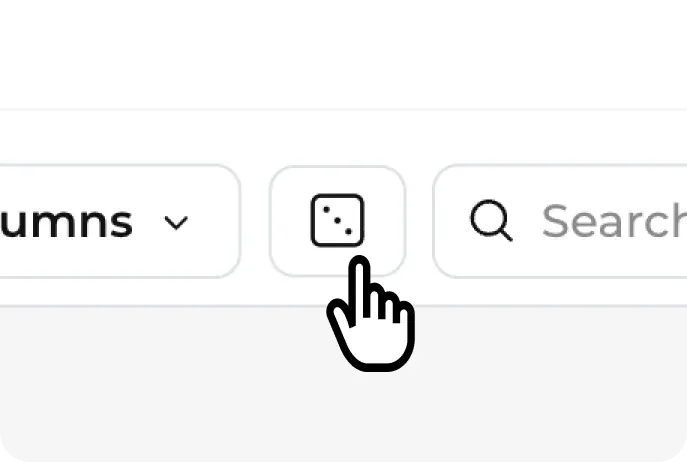
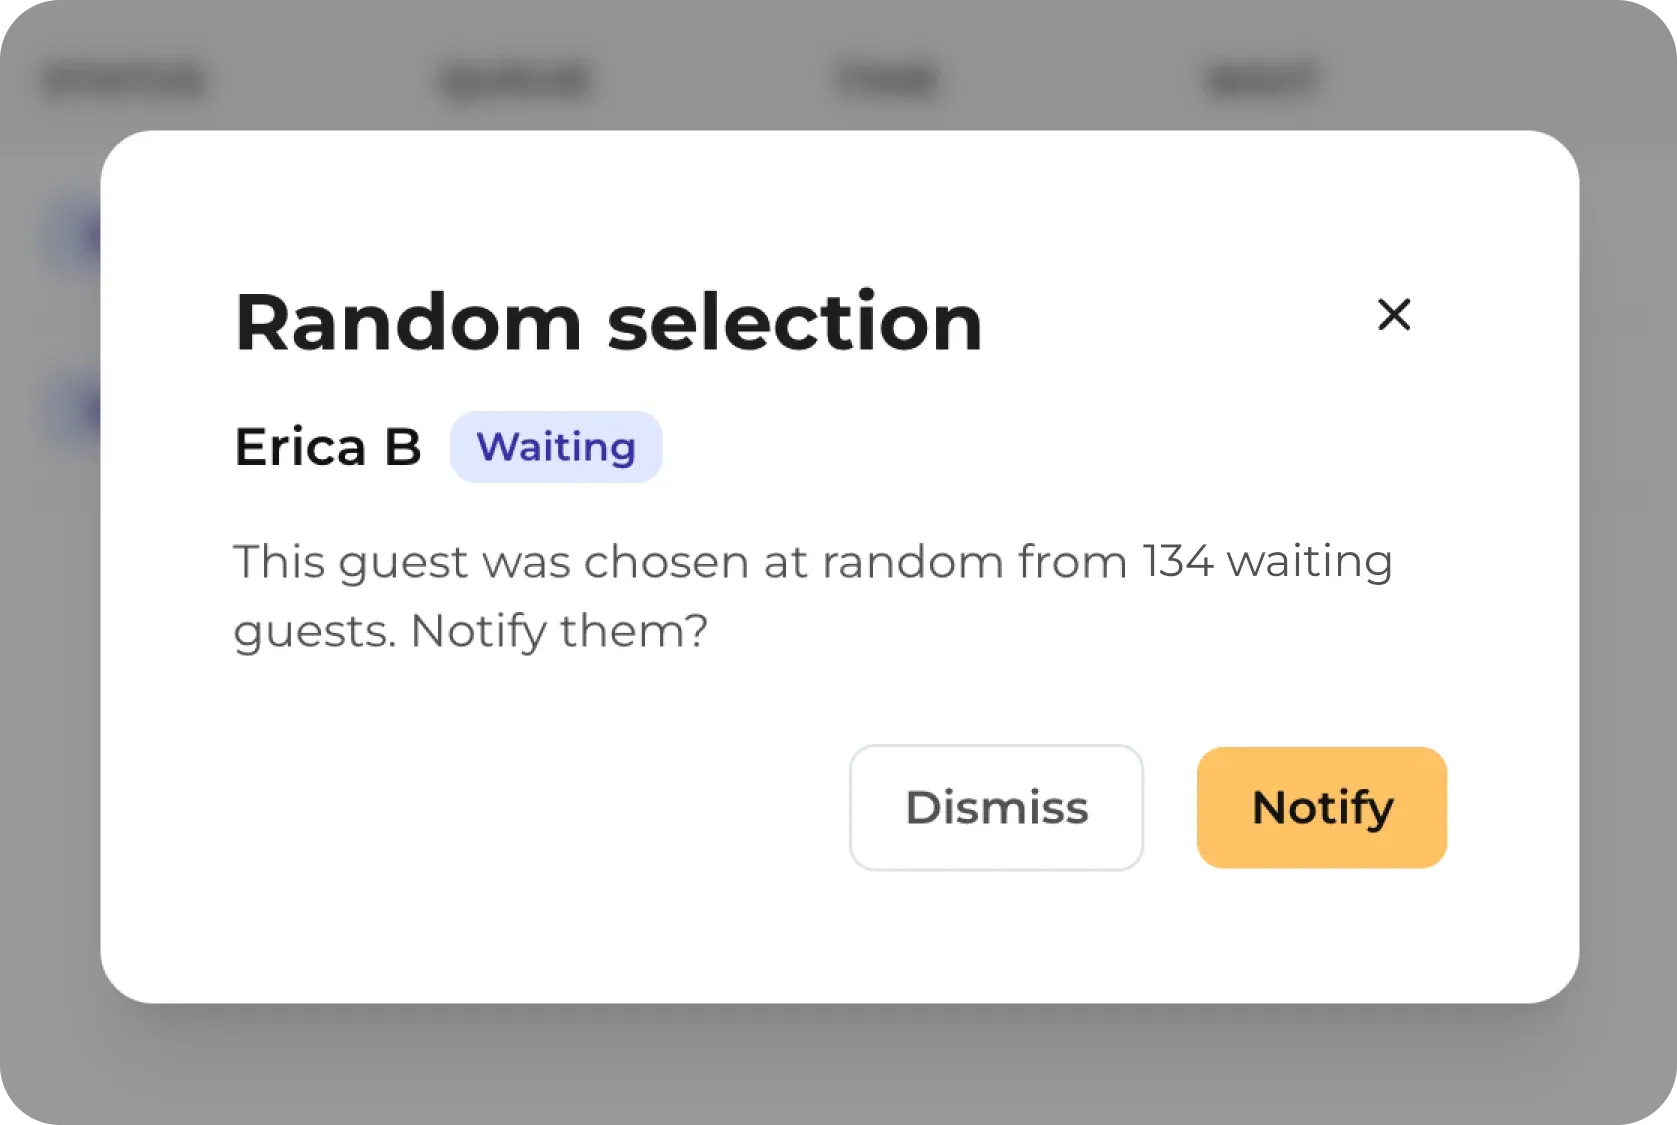
Need to pick a winner? You can now draw a random waiting guest and notify them in one click. Open your waitlist in table view, click the dice in the toolbar, and we pick one waiting guest at random from your whole list so you can notify them on the spot. Perfect for giveaways and product drops where fairness is important.
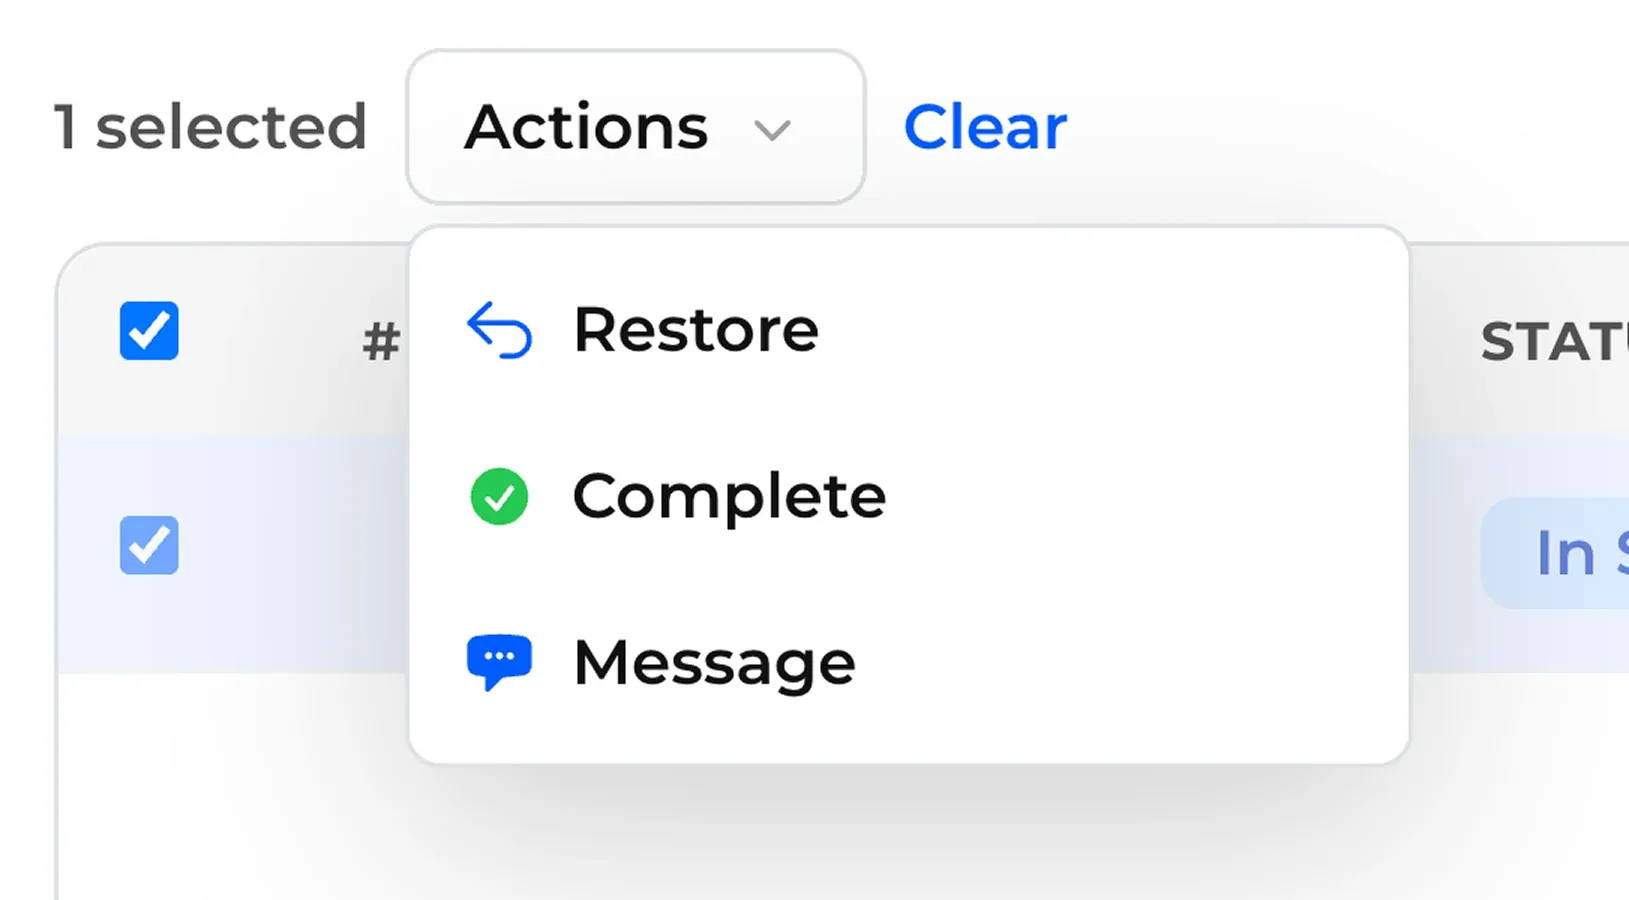
You can now restore or complete past guests in bulk. On the History tab in table view, select as many guests as you need and move them back to your waitlist or mark them completed in a single action, rather than one at a time.
Your guests report now includes a column for every custom field you collect, filled in from each guest’s most recent visit. The answers you gather at check-in are right there in the export, with no need to cross-reference the parties report.
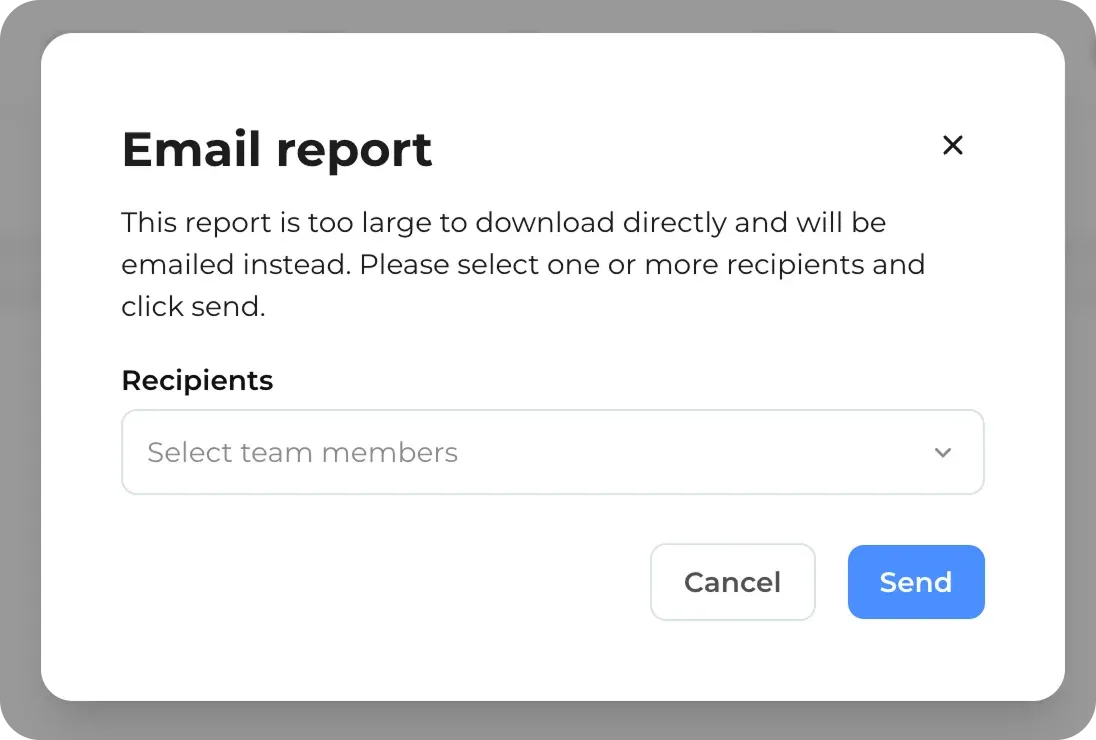
Exporting a big waitlist report or guest list from the Analytics page no longer ties up the page or times out. When a report is large enough to take a while (thousands of rows), NextMe now builds it in the background and emails it to you as soon as it is ready. You can also choose which people on your account receive it.
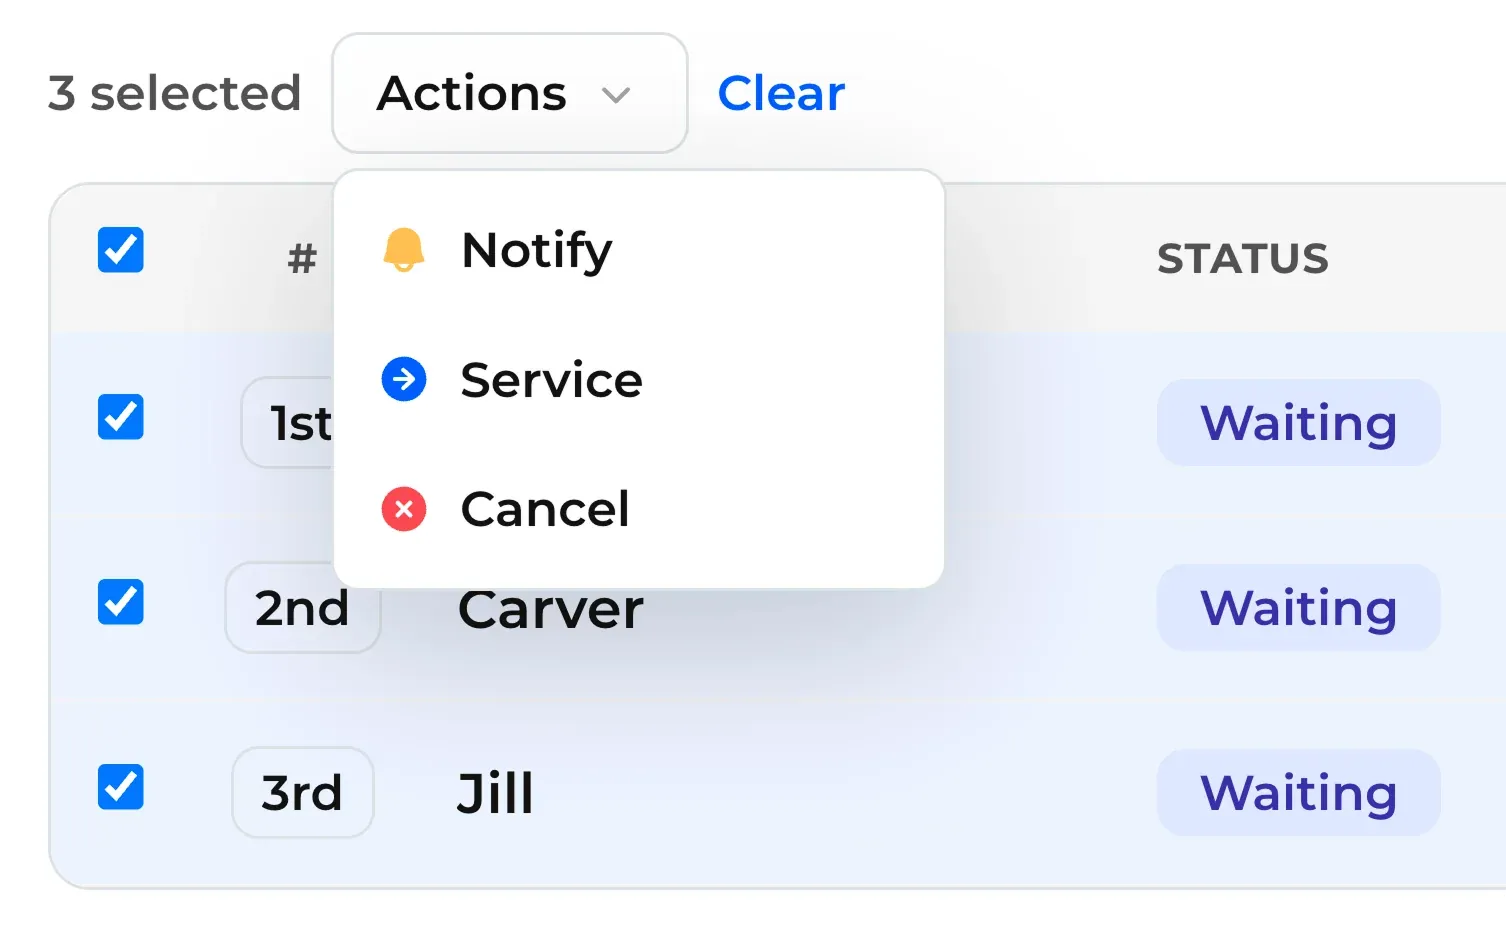
You can now move several guests into service at once with batch actions, available in your waitlist’s table view. Select the guests you want, open the Actions menu, and choose Service.
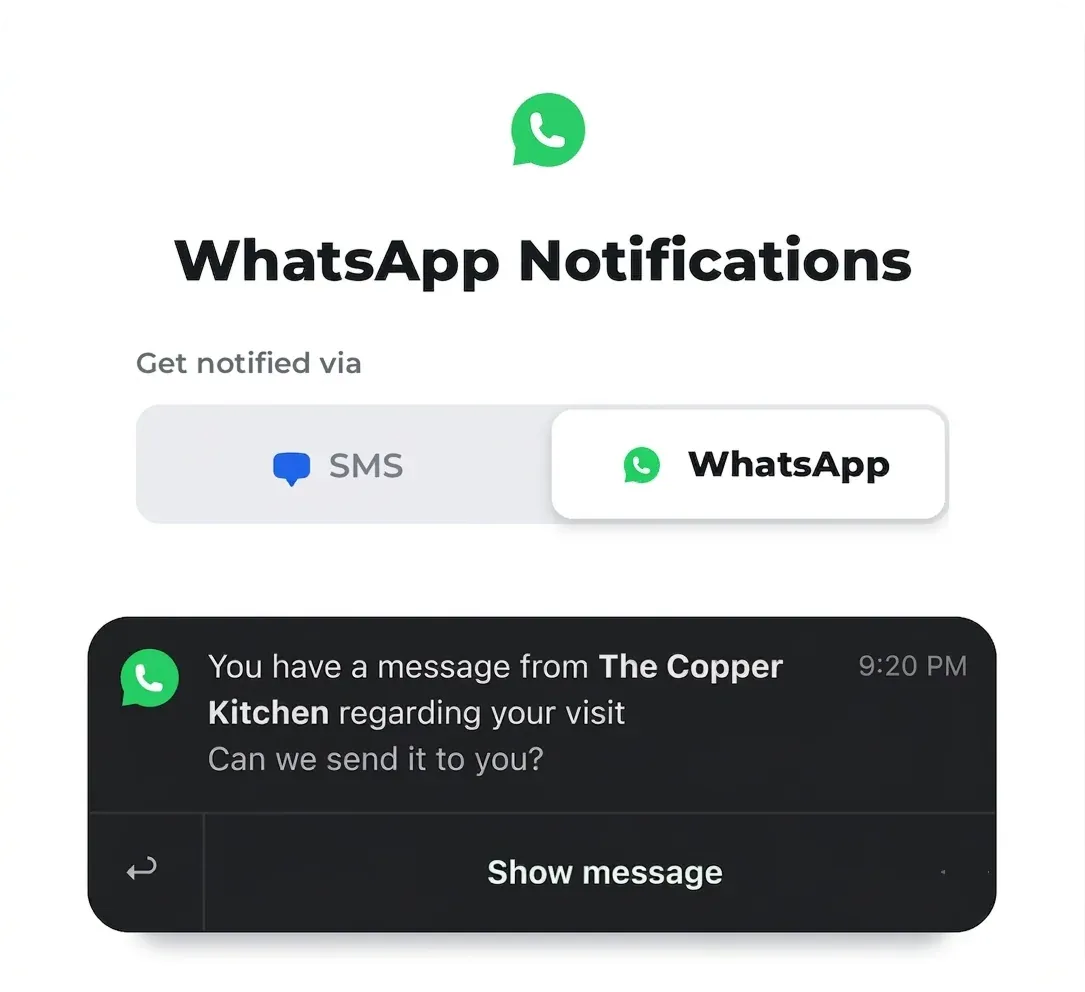
Guests can now get waitlist notifications over WhatsApp instead of SMS, giving international guests a reliable option where SMS is restricted or blocked. Guests are prompted to accept a WhatsApp message request before updates start arriving, and can switch back to SMS anytime. WhatsApp is supported on all plans (including free) and is counted the same as SMS against your message limit. Enable WhatsApp at the bottom of your notification settings page.
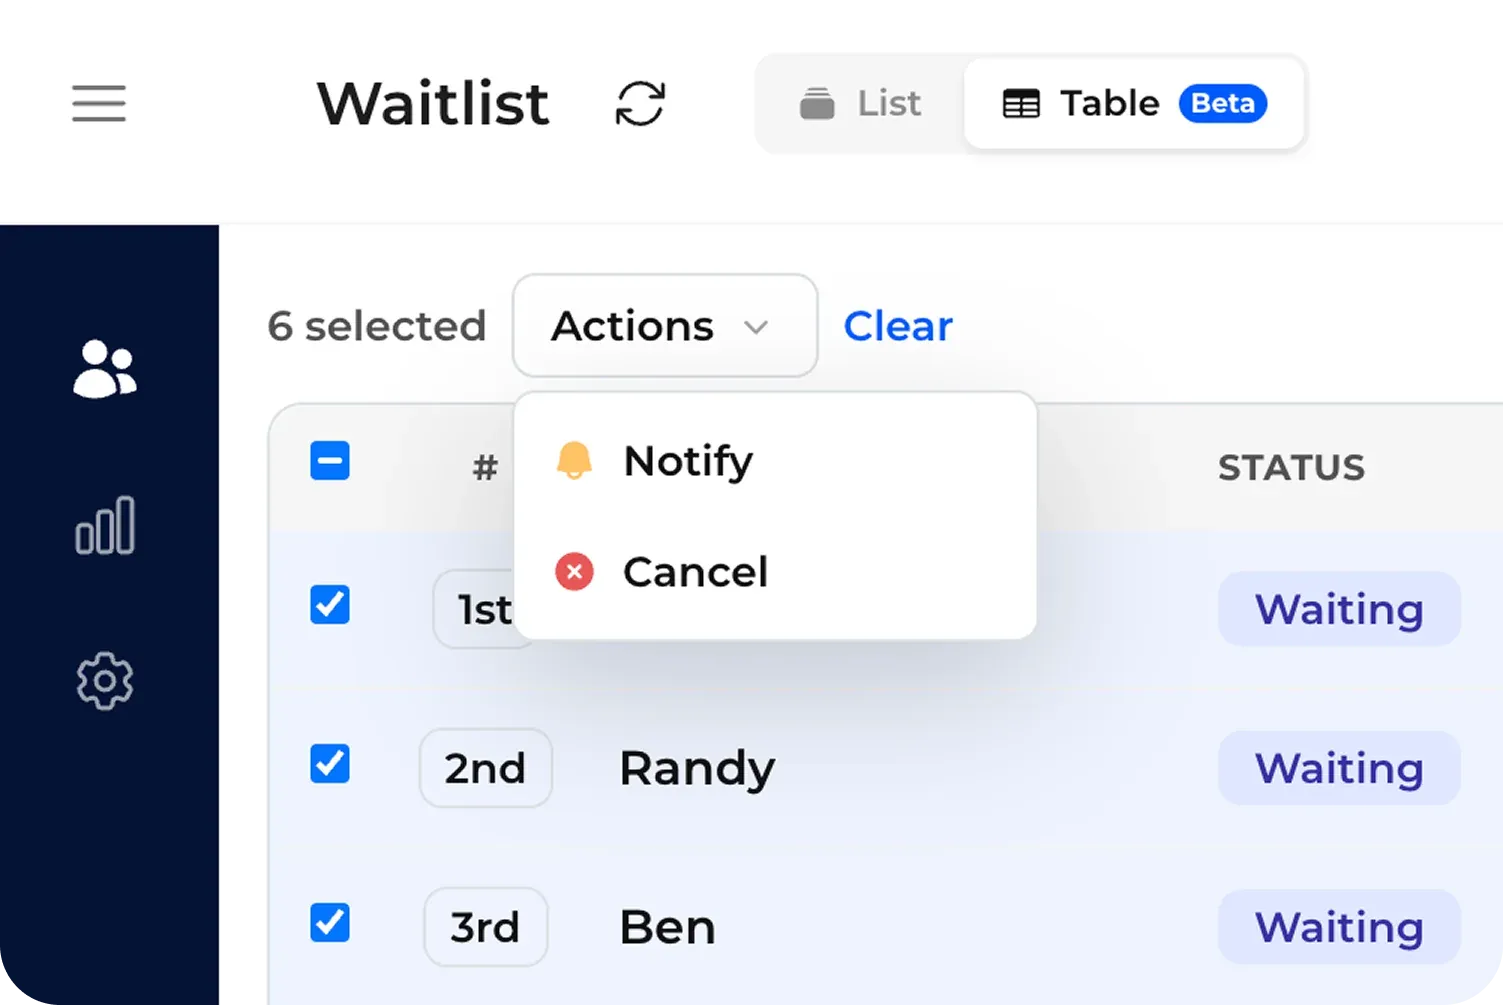
Select multiple guests on the waitlist table view and notify or cancel them all at once, instead of one at a time. This is super helpful if you are running a high volume waitlist and need to act on multiple guests at once. A quick confirmation shows exactly how many guests will be affected before anything happens. Additional bulk actions will be coming soon, including sending custom messages and moving guests to in-service. Note, bulk actions are currently only available on web within the table view layout.
Update: bulk actions now work in the iOS and Android apps too. Moving several guests into service at once arrived on July 29, 2026, and sending a custom message to several guests at once is available on request.
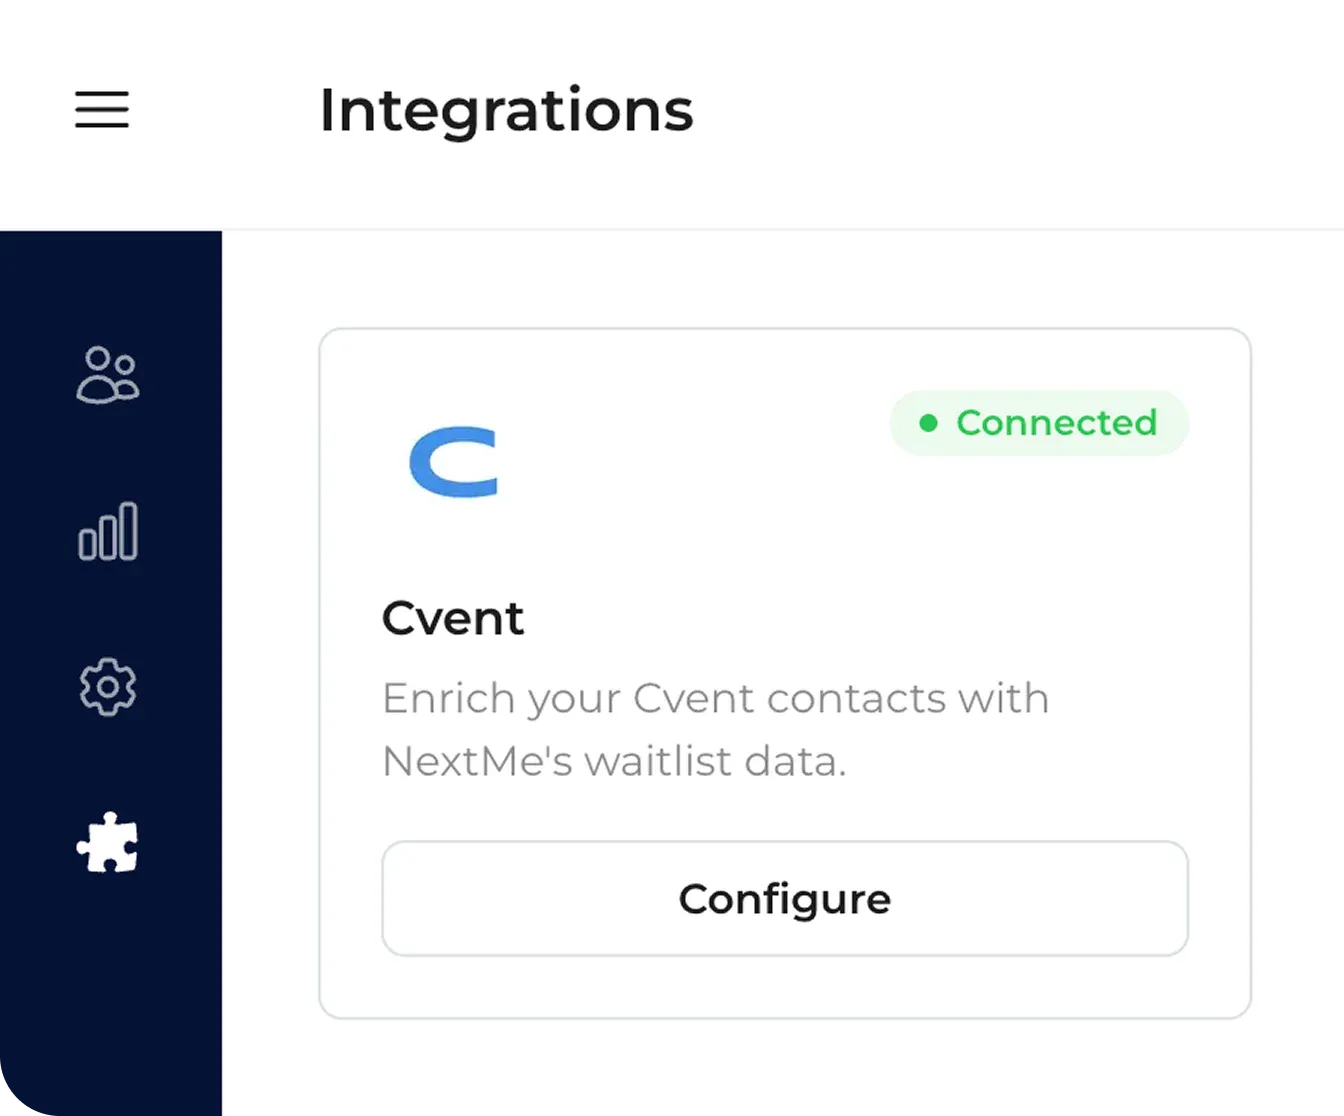
Running events through Cvent? You can now connect your Cvent account directly to NextMe from Integrations and automatically sync your NextMe guests as Cvent contacts. Your line becomes your leads list with no extra work. Reach out to us if you’re interested in using the integration or read more about the strategic partnership. More integrations coming soon.
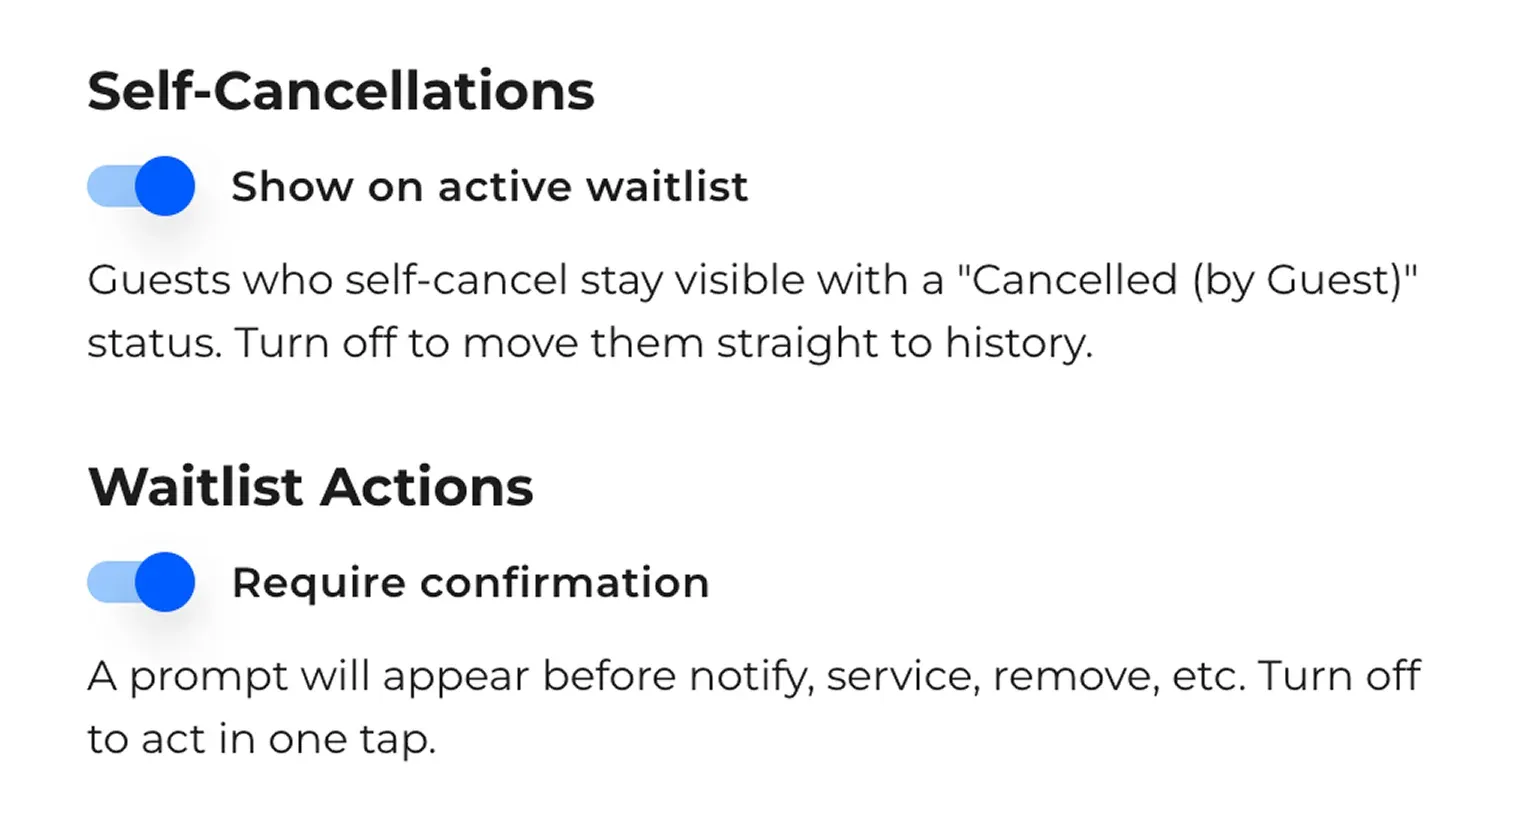
A handful of new settings give you more control over how your waitlist behaves:
Update: the confirmation tap and self-cancellation settings now work in the iOS and Android apps too.
You can now create an account or sign in using your Google account. Click Sign in with Google or** Sign up with Google** on the login and sign-up pages to get started, no password required. If you already have a NextMe account, your Google account will link automatically the first time you sign in with it, as long as the emails match.
Note: Google Sign-In is currently available on the web only. Mobile app support is coming in the next update. Update: Sign in with Google now works in the iOS and Android apps too.
You can now set a custom title and subtitle for the confirmation message guests see after they check themselves in. Head to your Self Check-in Settings page to update the text, or leave it blank to keep the default messaging.
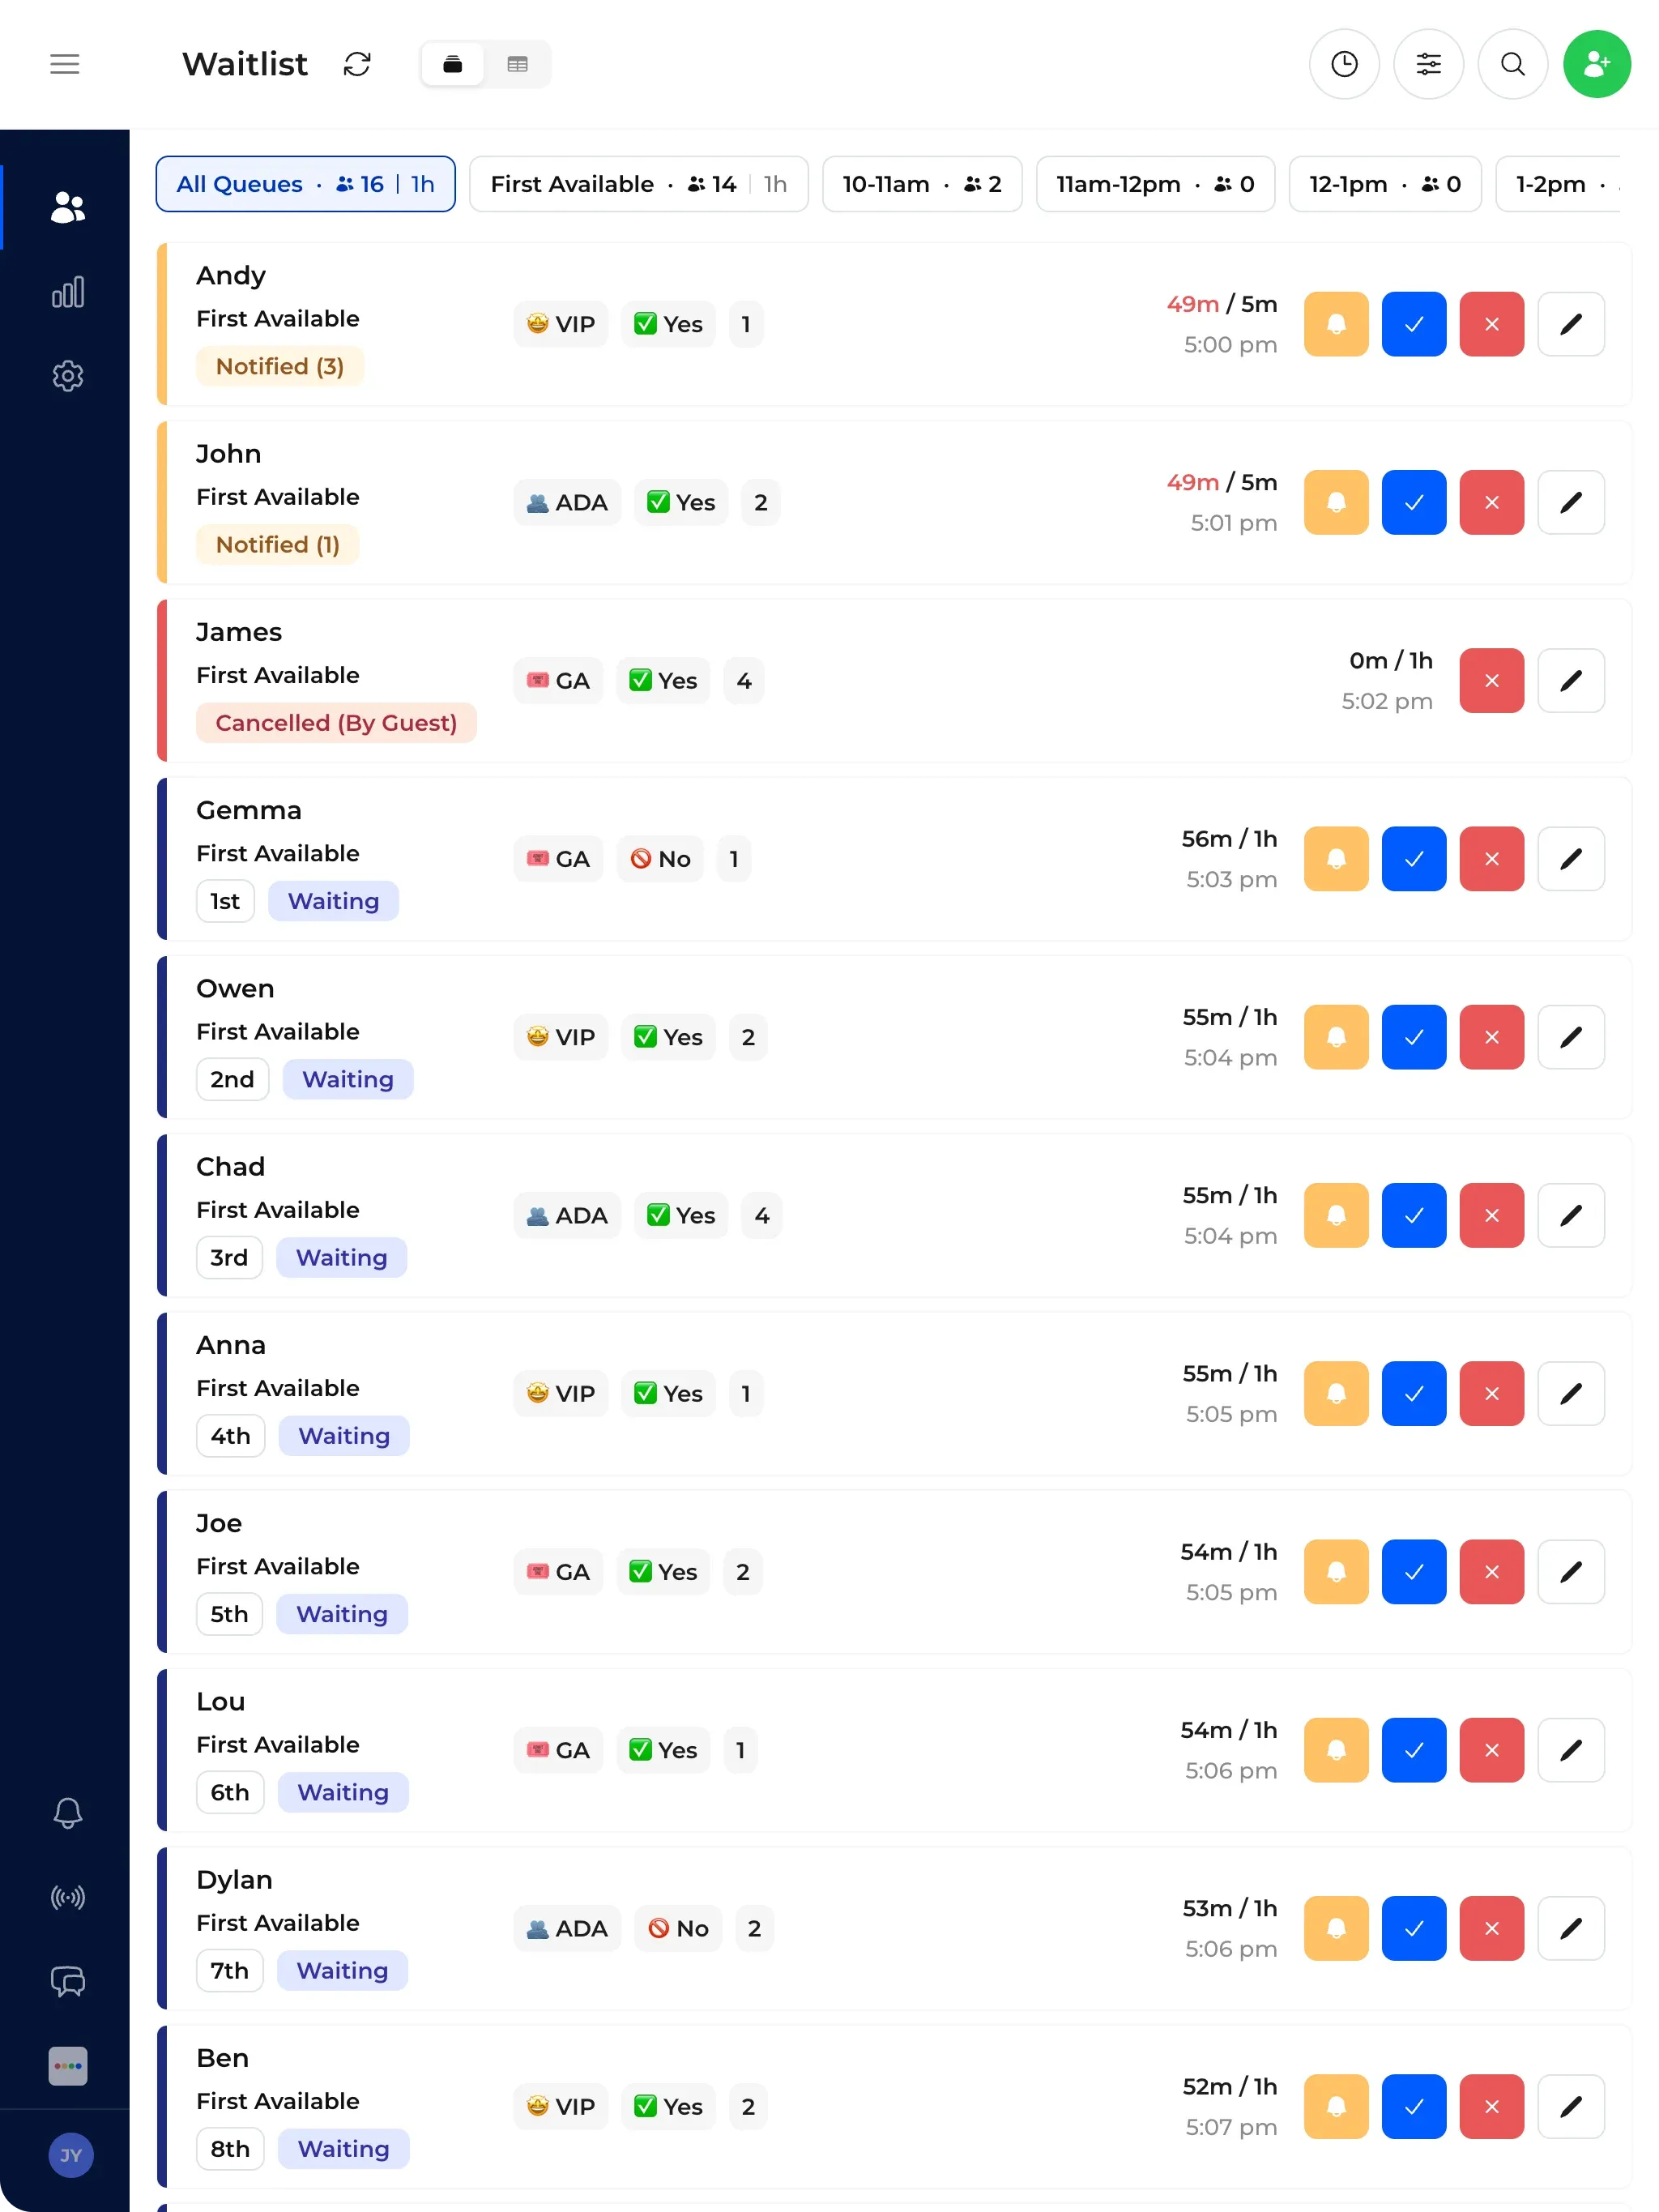
You can now switch between a list and table layout on your waitlist. The table view fits significantly more parties on screen at once, especially on smaller screens, making it easier to stay on top of a busy queue without scrolling. All the actions you rely on are available in both views, and your preference is saved automatically. In table view, you can customize which columns are visible using the new Columns button in the toolbar. Show or hide fields like phone number, reference ID, wait time, and any custom fields you’ve set up. Phone numbers are tappable for quick calling.
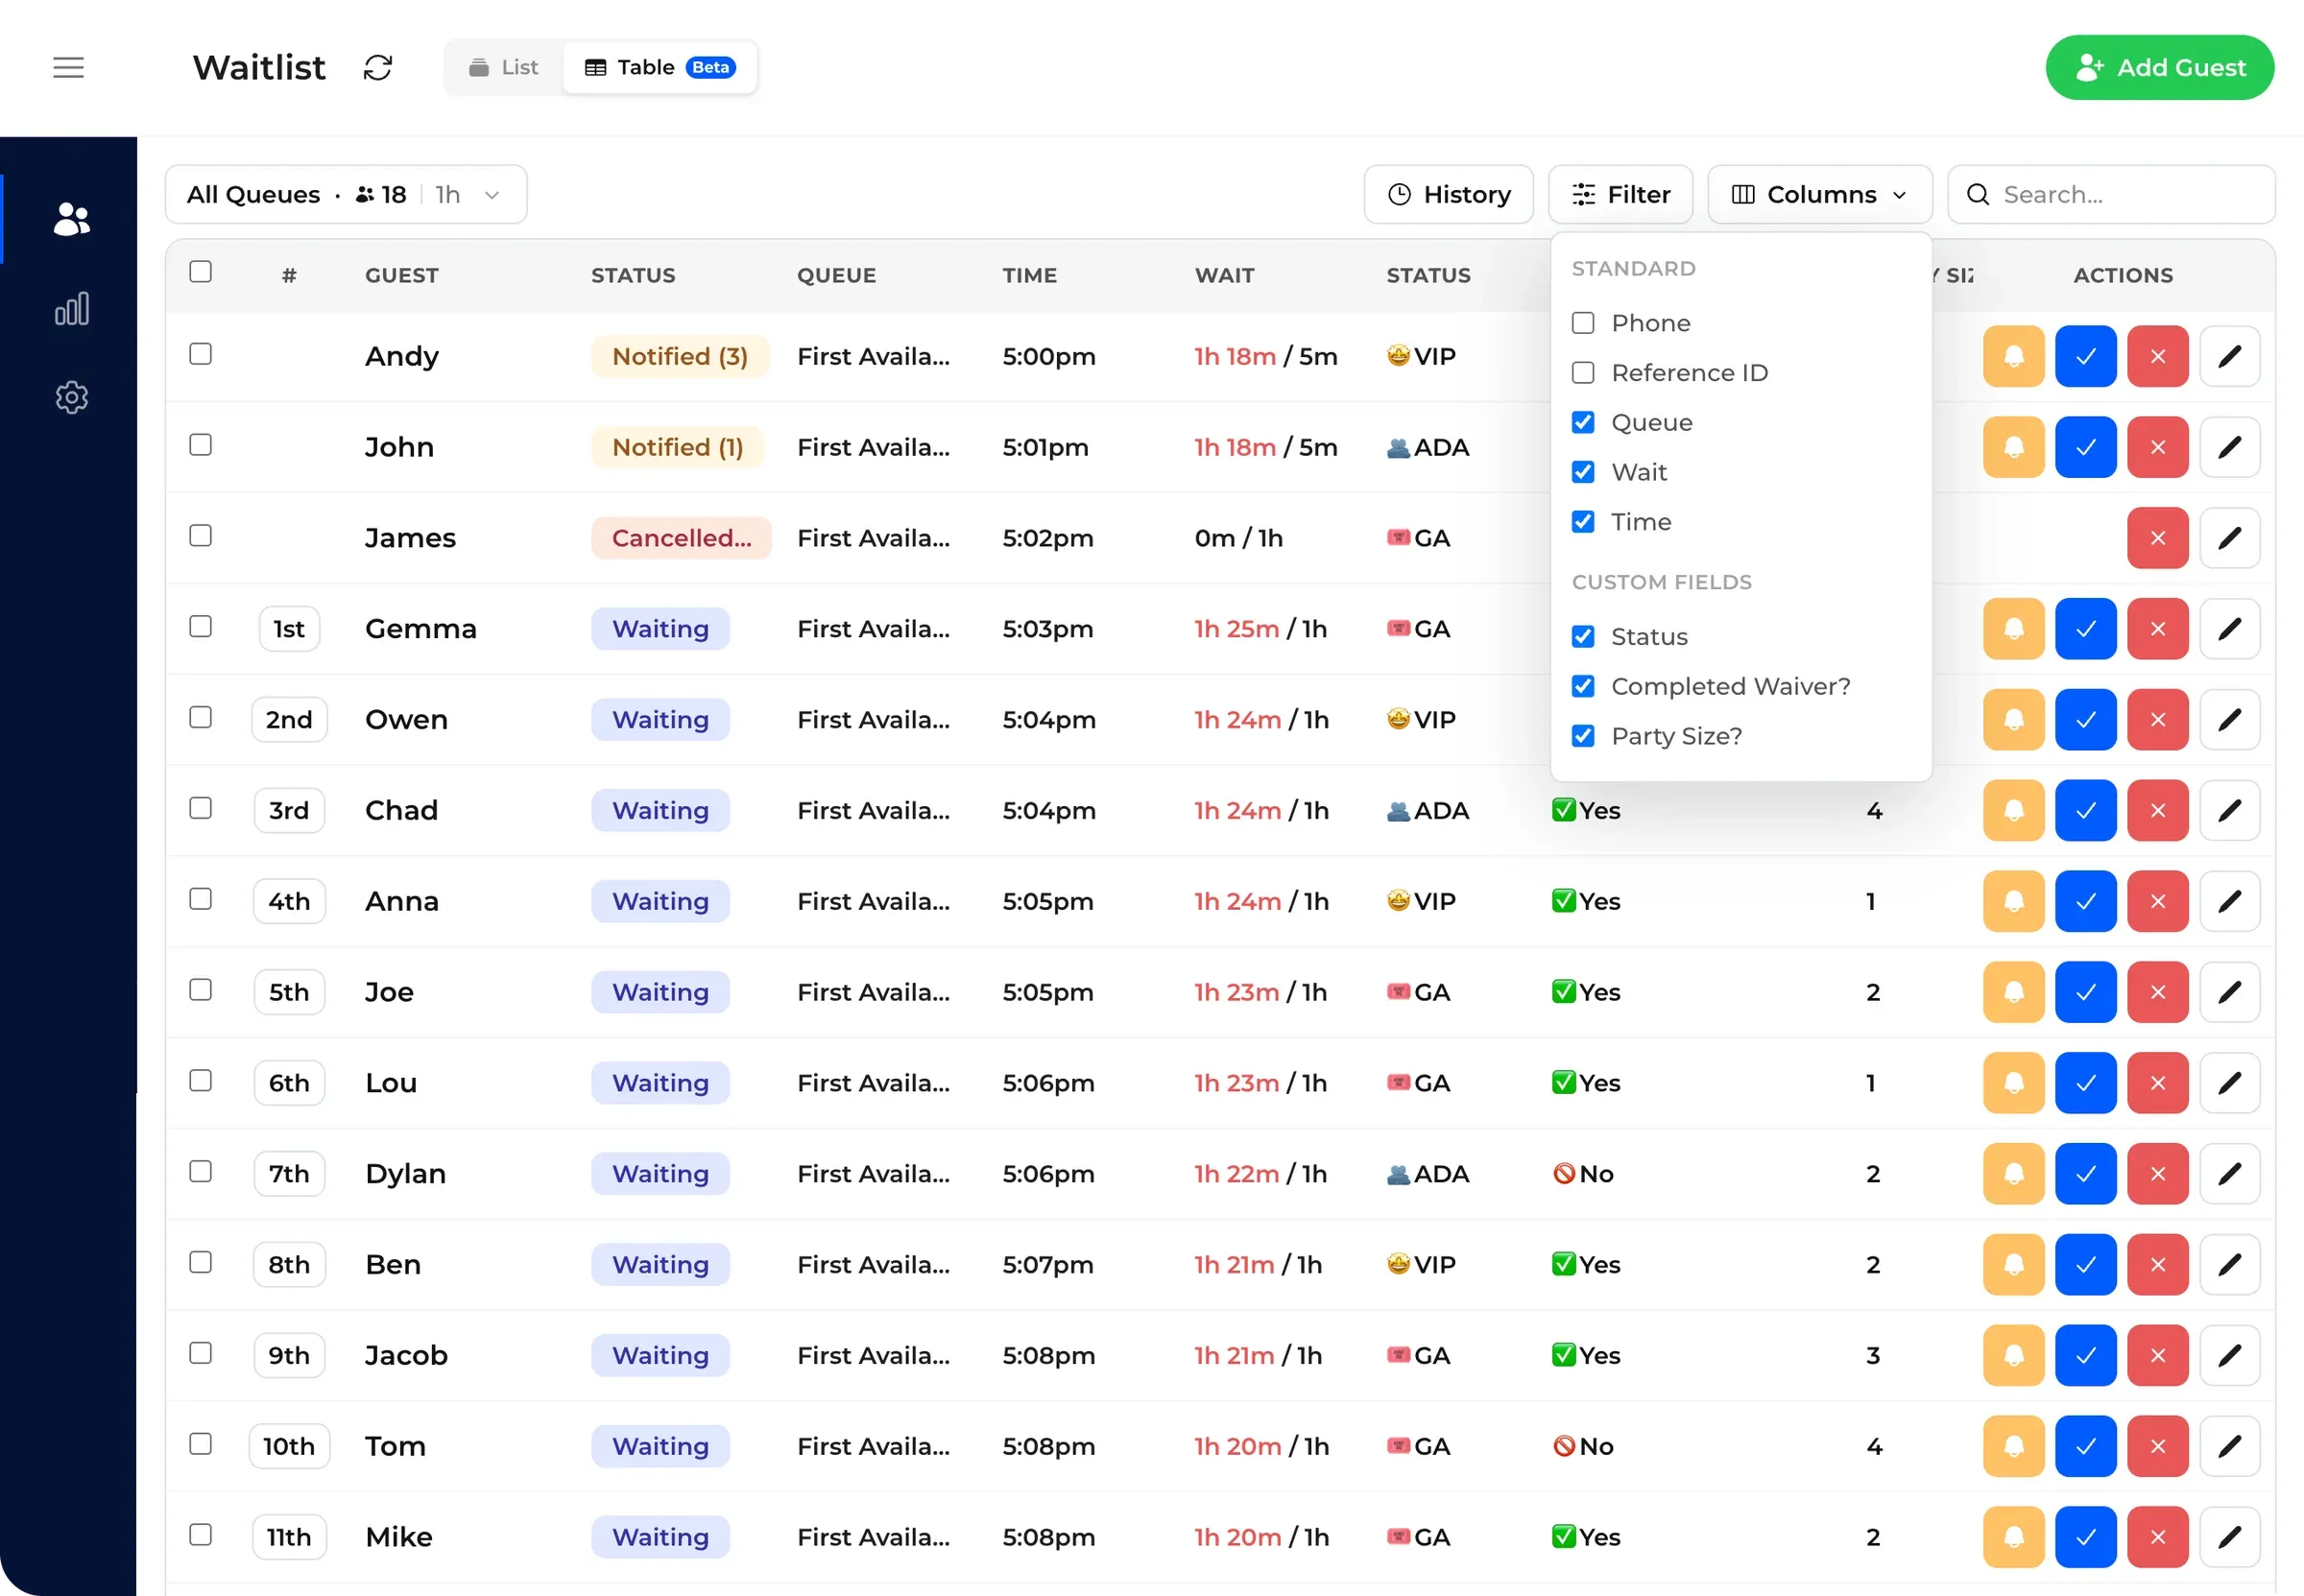
Table view is launching in beta and is currently only available on tablet and desktop. We’re still refining the experience and adding features, so if you have any feedback reach out to us in the chat and we’d love to hear from you.
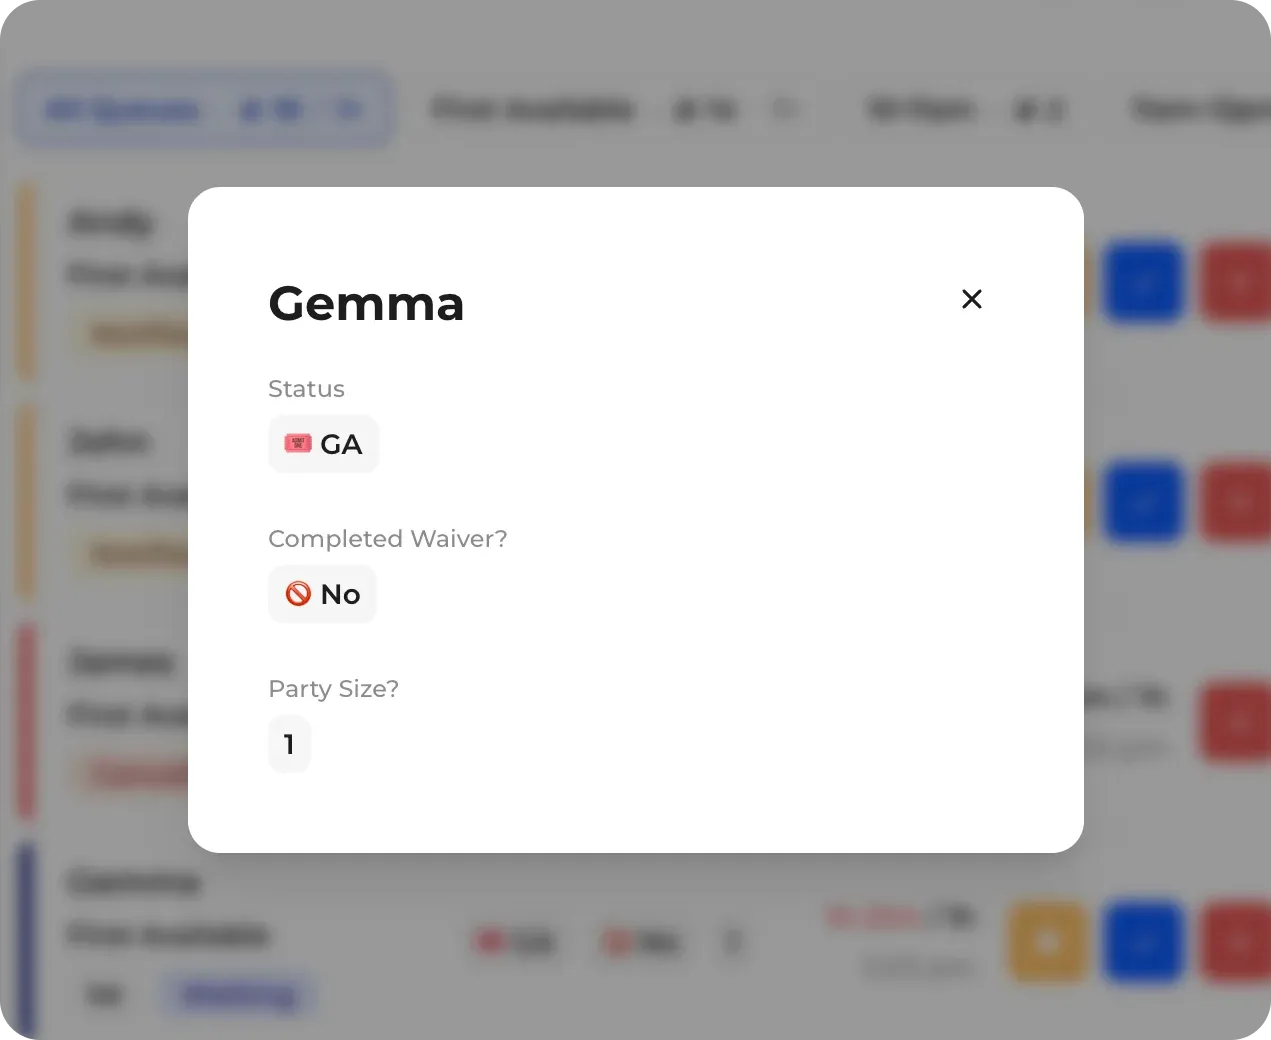
The list view has been refreshed to make the most of your screen, whether you’re on a desktop or a smaller device. Custom fields now display horizontally so you can see more information at a glance, with a tap-to-expand option when there’s more to show. Status badges are now directly clickable, so you can update a party’s status without opening the edit panel. Queue and time filters have moved to a scrollable row in the header, giving you faster access to different views of your waitlist.
** Tip:** On smaller devices, custom field labels are hidden to keep things compact. You can add an emoji to any custom field in Custom Field Settings. Emojis show at every screen size and make it easy to identify your fields at a glance.
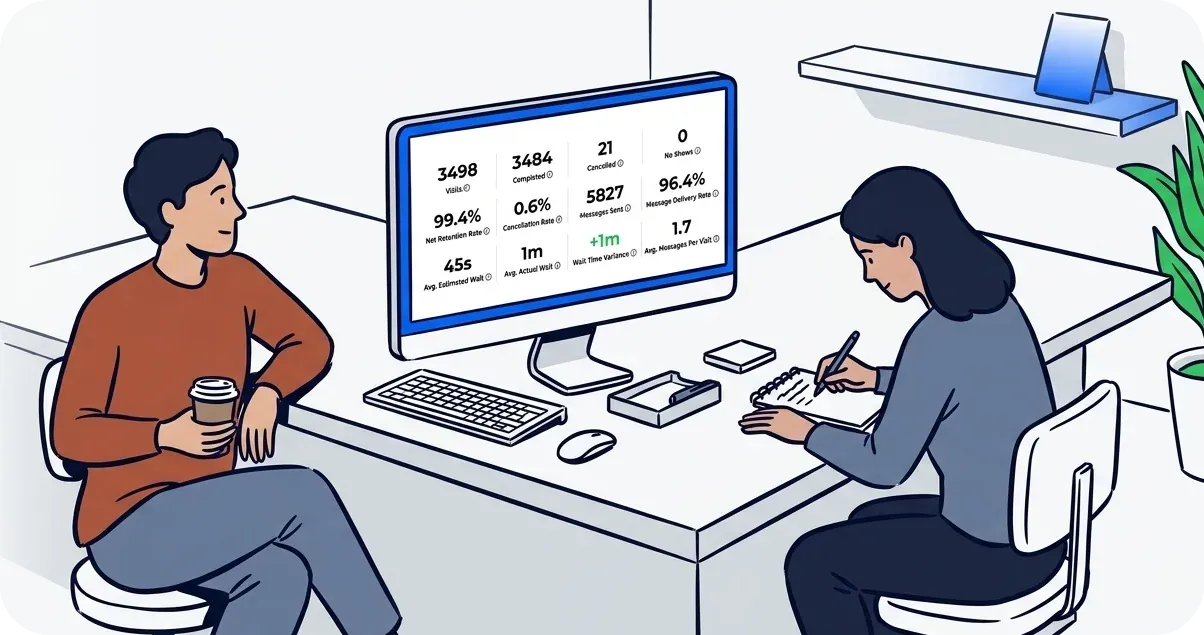
We’ve made a number of significant improvements to your Analytics Dashboard. Four new metrics have been added: Messages Sent, Message Delivery Rate, Avg. Messages per Visit, and Cancellation Rate are now visible in both the Performance Summary and Breakdown by Queue table. Several existing stats have also been renamed for clarity. Every stat label has a tooltip with a plain-language description so you always know exactly what you’re looking at. Yesterday and Last 30 Days are now available as preset filter options.
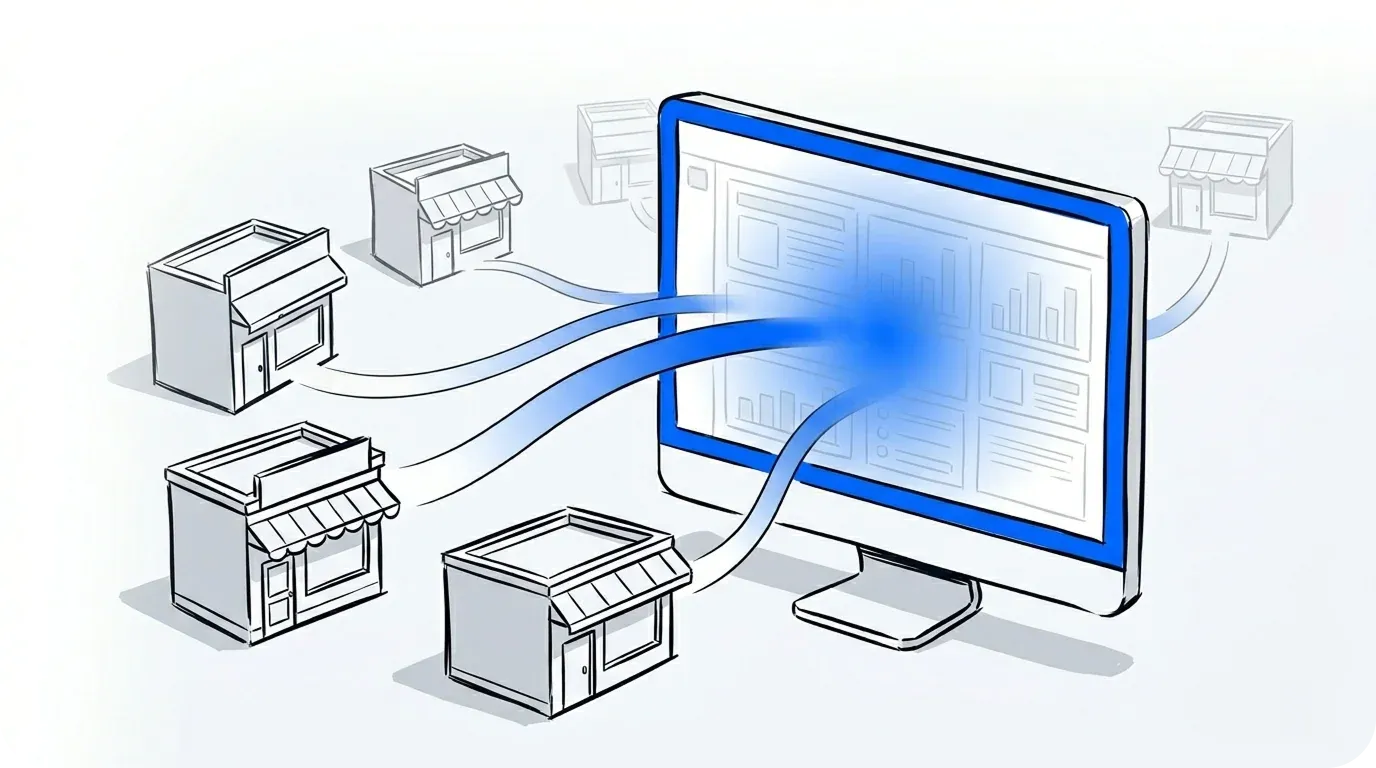
If you manage multiple locations, you can now select All Locations from the location picker to see stats aggregated across your entire business in one view. No more switching between locations to piece together the full picture!
NextMe’s analytics feature is available to businesses on the Business Plan or higher. You can Upgrade Now or Book a Demo if you want to learn more about how our waitlist metrics can help you streamline your operations.
If you manage multiple locations, you can now configure key settings independently for each one. From the General Settings page, select a location to set per-location values for expiration threshold, booking display threshold, guest data policy, and repeat guest recognition. Each field shows your business-level default until you override it, and a Reset button lets you revert any location back to the business default at any time.
We added an extra layer to our bot protection flow. If you’re ever flagged unexpectedly during sign-up or while joining a waitlist, you’ll now see a quick captcha challenge instead of a hard block. Pass it, and you’re on your way. It’s rare you’ll see it at all, but it means fewer legitimate users get stuck.
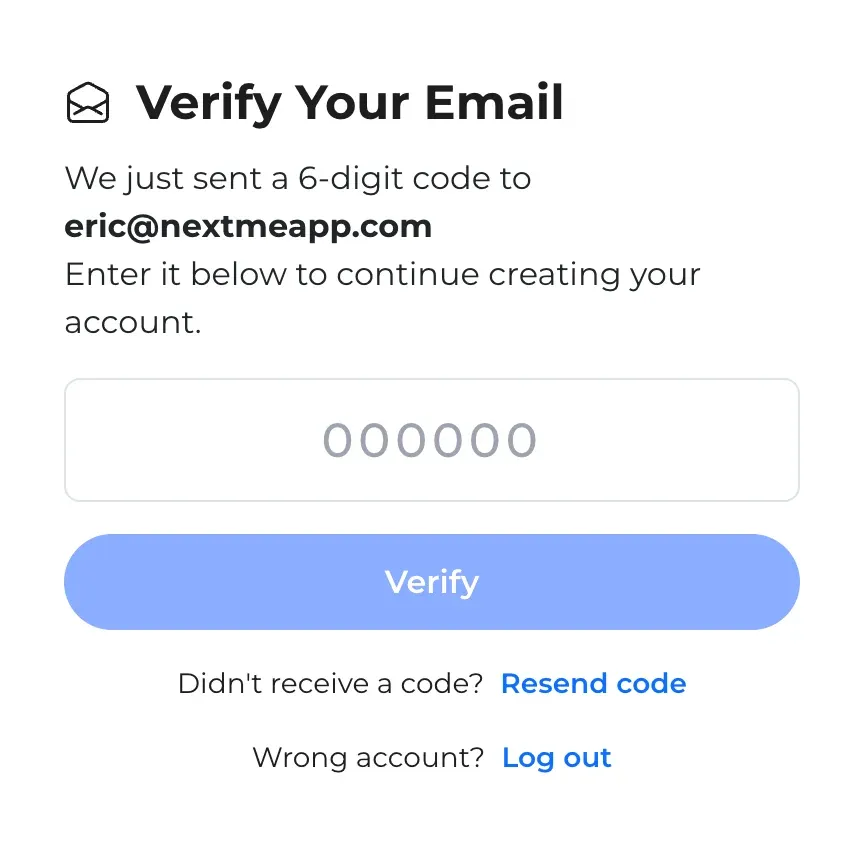
When new users sign up, email verification now uses a one-time code instead of a link. This makes the sign-up process faster and more seamless, especially on mobile.
The header navigation now has a more compact, polished layout so you can find what you need and move between sections more quickly. These changes are designed to better accommodate new nav items and features to come.

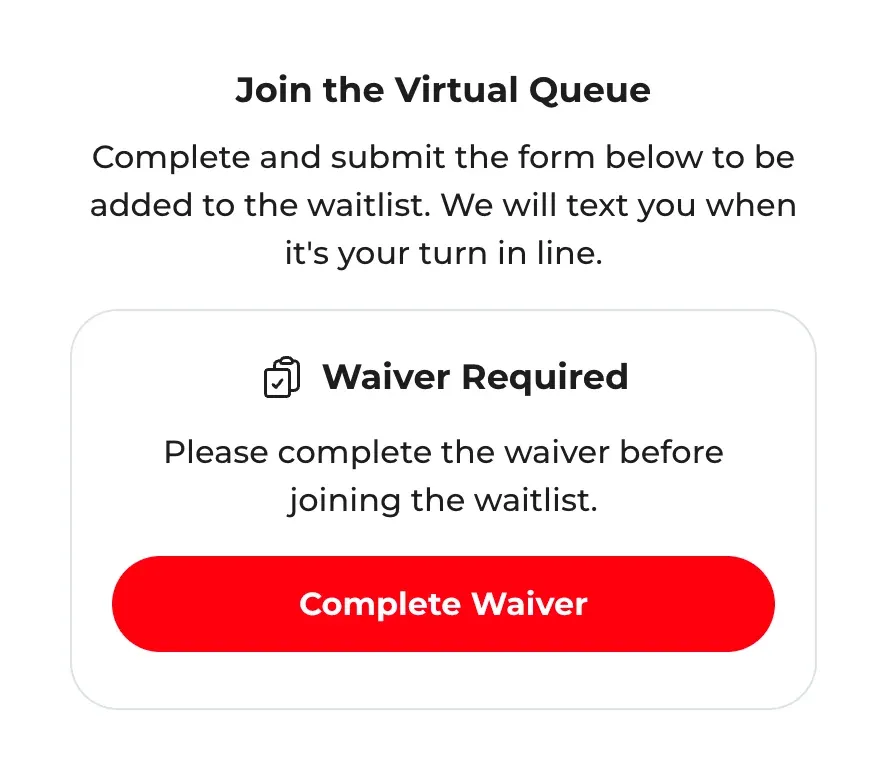
You can now require guests to complete a waiver before joining your waitlist! This self check-in feature is compatible with any modern waiver software (Jotform, Smartwaiver, etc.) and takes just a few clicks to set up. This is particularly useful for events and activations with liability requirements.
Head to your Self Check-in Settings page to enable the feature. Click “Enable Waivers” and paste your waiver form URL. Copy the unique redirect URL we generate for you and paste it in the form submission settings of your waiver software (often called the “thank you page” or “redirect settings”). Once enabled, guests will be sent to your waiver URL and redirected back to the waitlist form after they’ve signed.
Pro tip: If you want to prevent guests from having to fill out the same fields twice, you can map your first name, last name, and phone waiver field names. NextMe will then autofill those fields when they return to the waitlist form. Just be sure to copy and paste the updated redirect URL after you’ve added your field mapping.
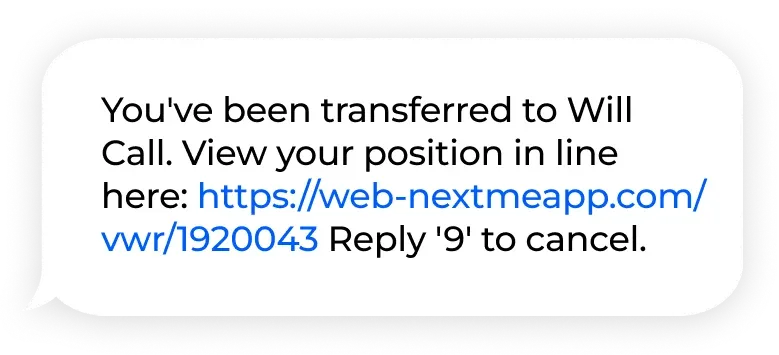
Transferring guests between queues just got smoother! Our new optional Queue Transfer Message lets you send a customized SMS to guests the moment they’re moved to a new queue. Enable it from your Notification Settings page.
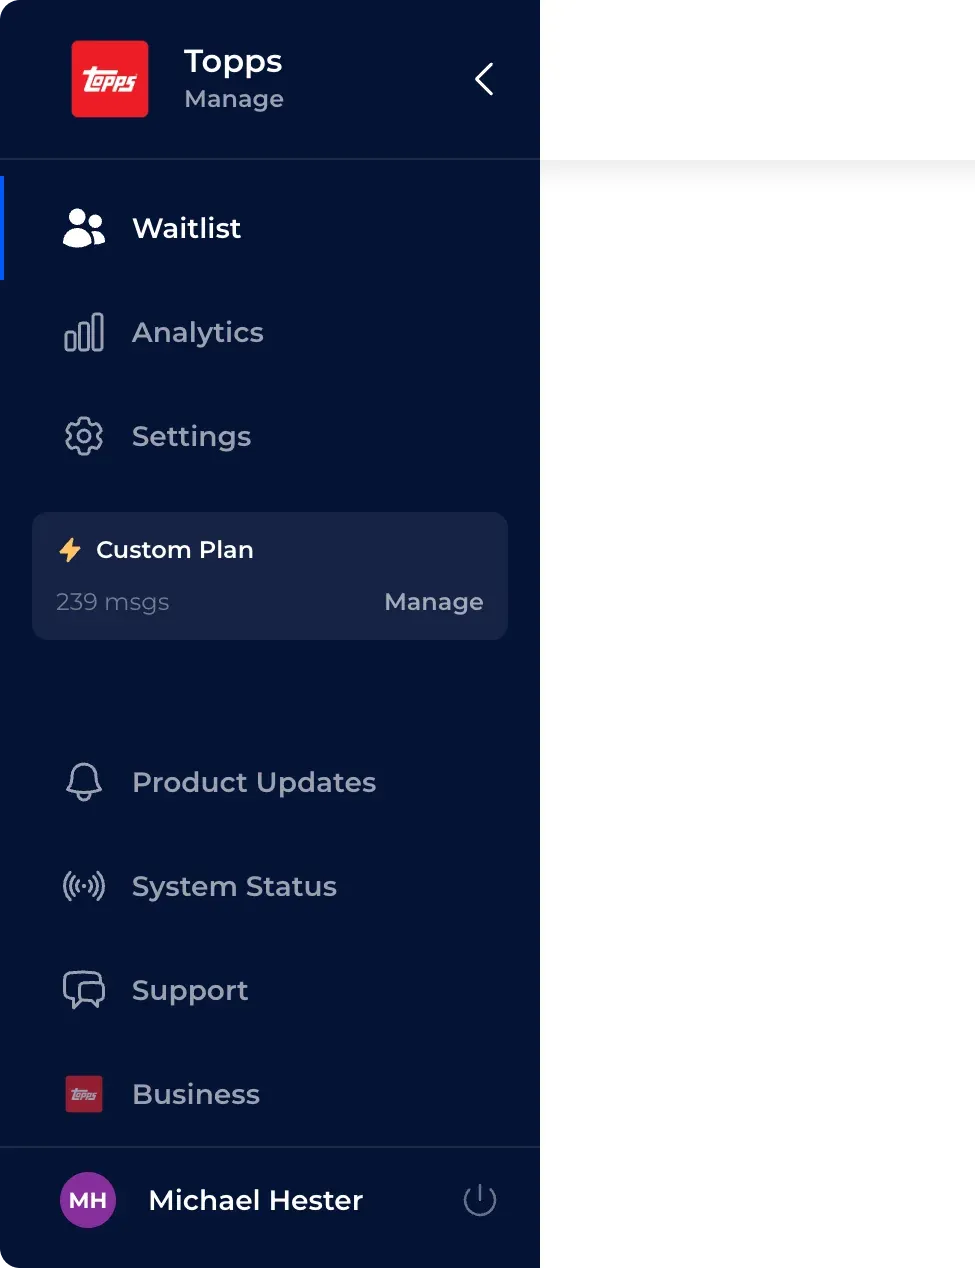
We’ve updated our sidebar menu! It now includes quick access to Product Updates and System Status, complete with badge indicators so you can easily keep up with new updates. You’ll also find an at-a-glance view of your current plan and usage to help you stay on top of your account.
The Virtual Waiting Room Settings page now includes a dynamic, real-time preview of your waiting room experience so you can see exactly what your guests will see as you build it. This makes it easier than ever to design a polished, on-brand, and engaging waiting room that reflects your business and sets the right expectations before guests arrive.
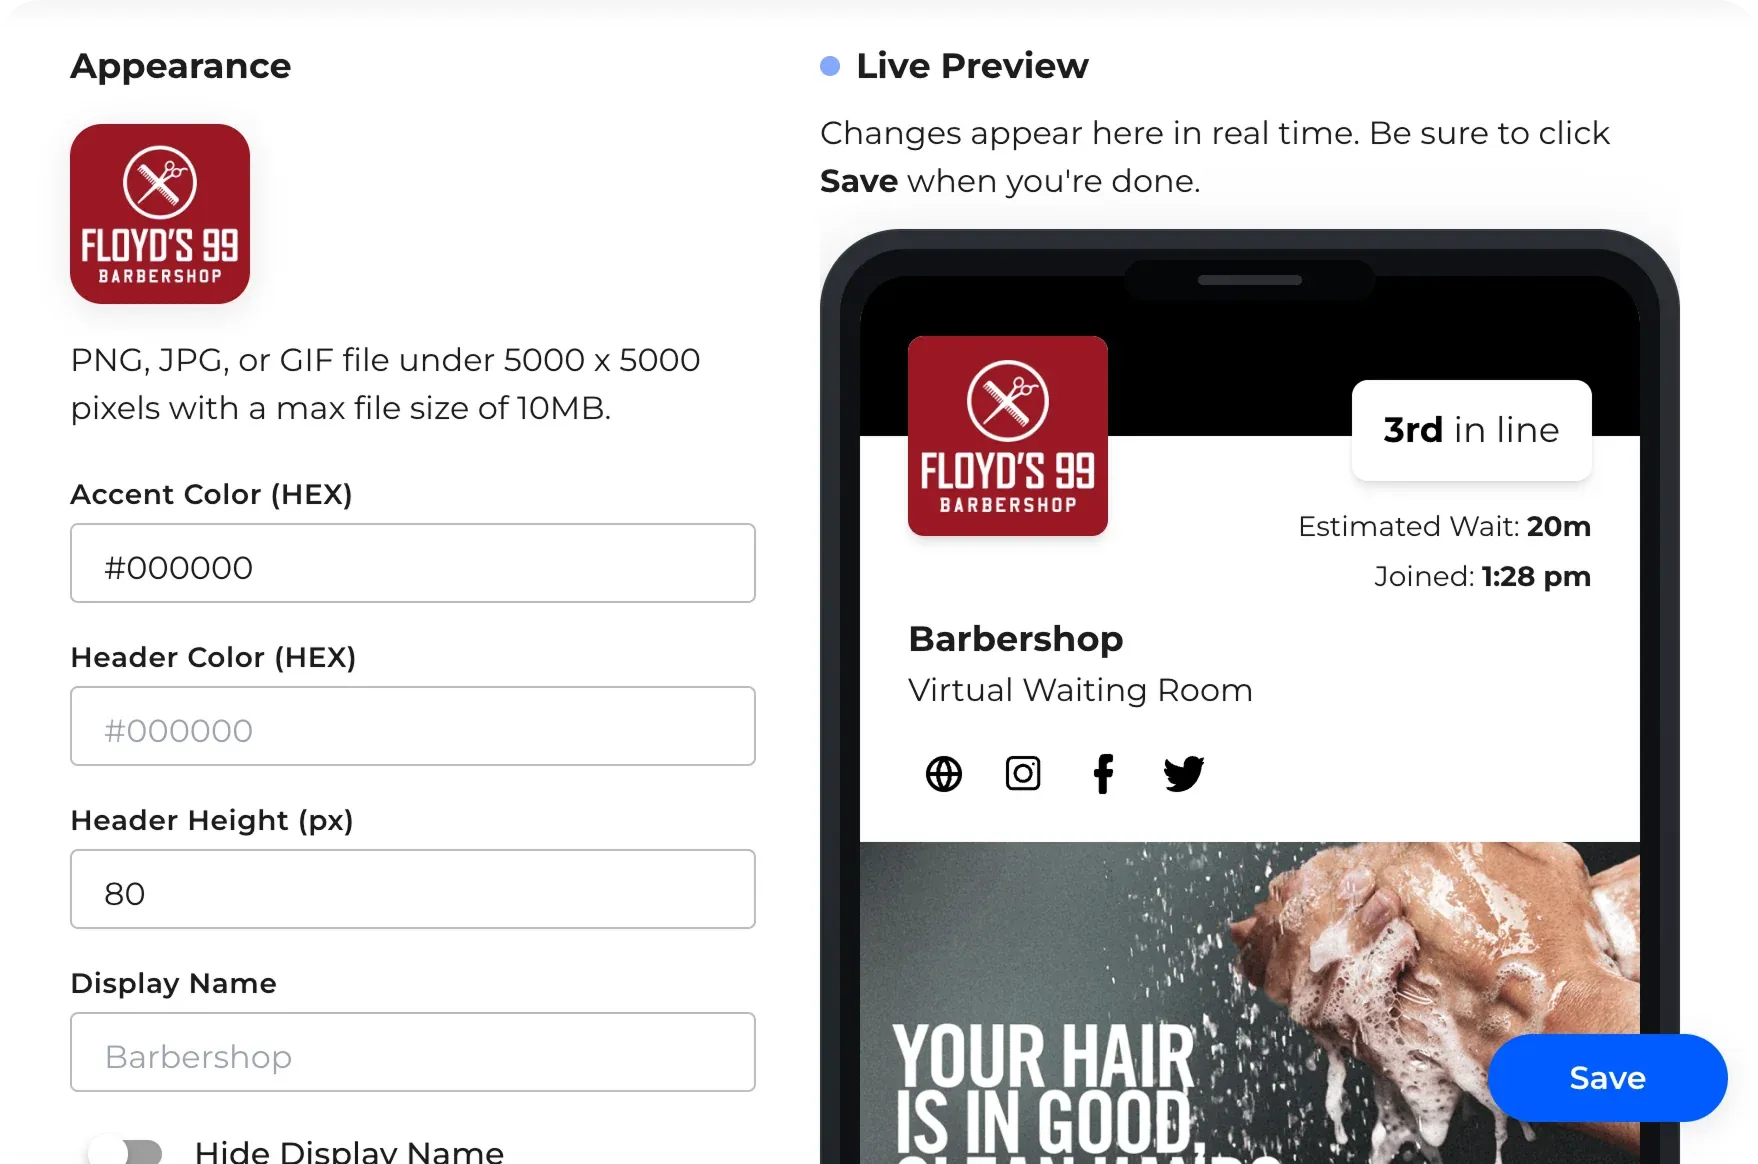
We’ve also introduced new customization options to give you even more control over your design. You can now adjust the Header Color to match your brand, fine-tune the** Header Height** to create the right visual balance, and update your** Display Name** to ensure your business is presented exactly as you want guests to see it.
2025
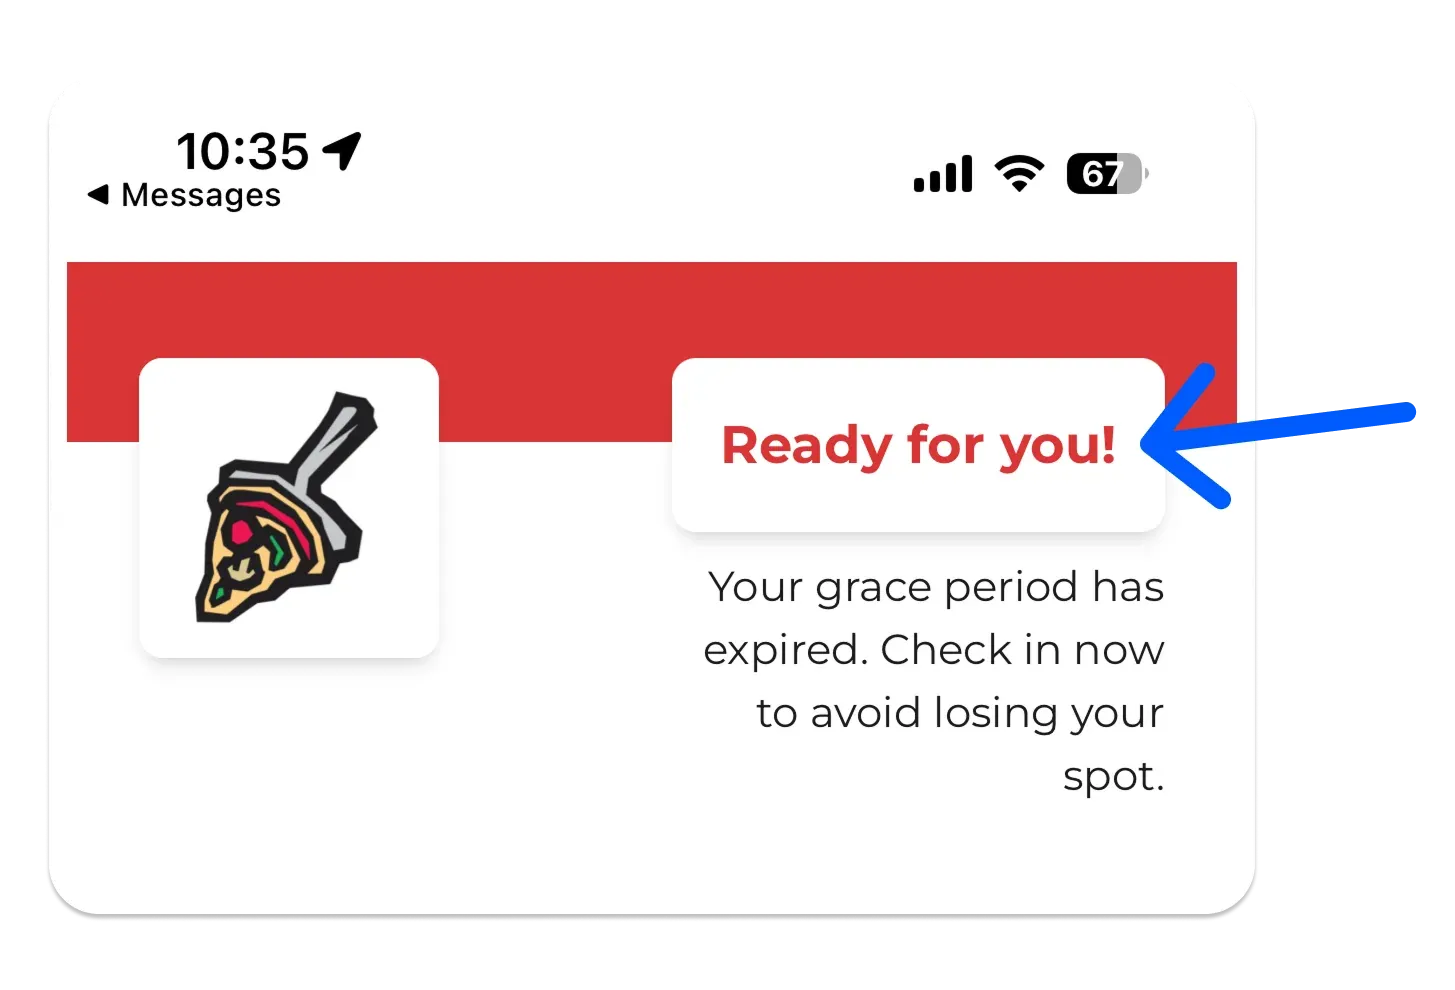
You can now customize the “Ready Label” that a guest sees on the Virtual Waiting Room when they have been notified and sent your ready message. By default, we show “Ready for you!”. However, if you’d like this label to be more specific to your workflow, you can edit it by heading to Virtual Waiting Room Settings and updating the “Ready Label” field under Additional Settings. Labels are limited to 75 characters to prevent cluttering the page.
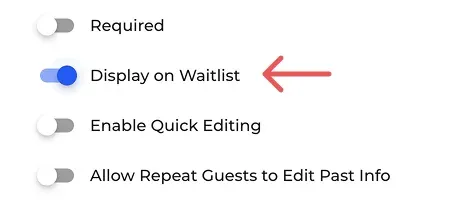
You can now control which of your Custom Fields appear on the waitlist. To change the display setting of a custom field, head to your Custom Field Settings page and click edit on a field. Toggle off the new “Display on Waitlist” setting and hit “Save”. Your field will still be captured but will no longer appear or take up space on the waitlist. This can be helpful in decluttering your waitlist.
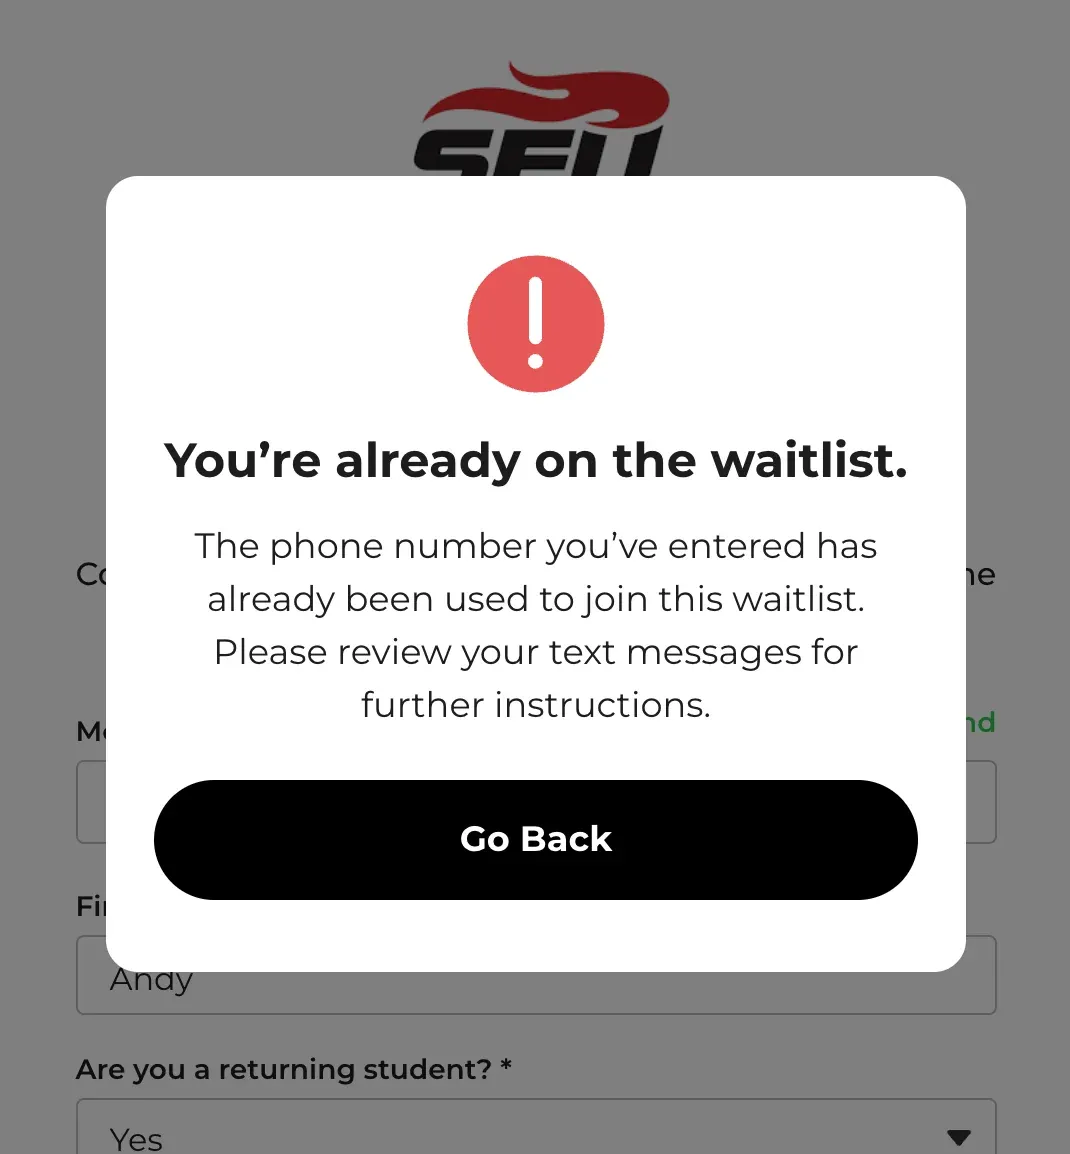
You can now easily prevent guests from joining the waitlist more than once by turning on our new Limit Repeat Joins setting in Self Check-in Settings. When enabled, guests who try to join the waitlist with the same phone number will be prevented from joining again. Guests will be able to join again once their existing party has expired off the waitlist (when the Expiration Threshold is reached).
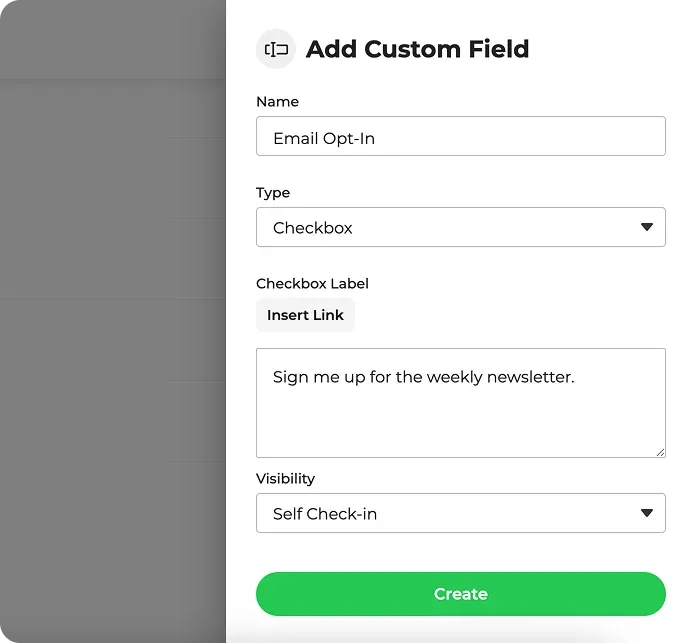
We’ve added support for a new “Checkbox” custom field type. This gives you the flexibility to add multiple checkboxes to your Self Check-in form (newsletter opt-in, additional terms, waivers, etc.). When creating your checkbox field, you can define if it’s optional or required and can conveniently insert URL links into the label. Please note, checkbox fields are displayed in the order that they are shown in your Custom Fields list. If you’d like your checkbox at the bottom of your form, be sure to drag it to the bottom of the list.
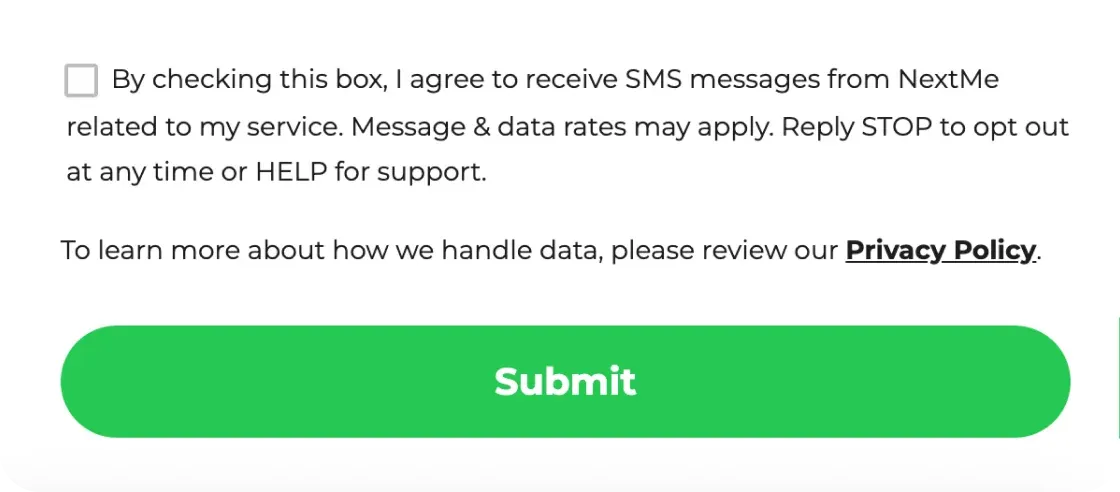
You can now enable “Disclaimer Text” in your Self Check-in Settings to show a customizable blurb right above the “Submit” button of your form. This text can be helpful for linking your privacy policy, data retention policies, or any other content you’d like to highlight for your guests prior to form submission. When writing your disclaimer text, you can conveniently insert URL links in the field using the “Insert Link” button.
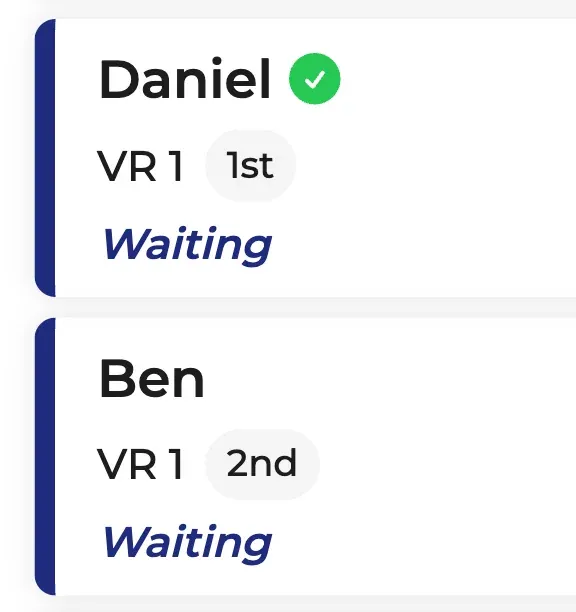
Repeat guests are now indicated with a small checkmark next to their name on the waitlist, helping you quickly distinguish between first visits and repeat customers.
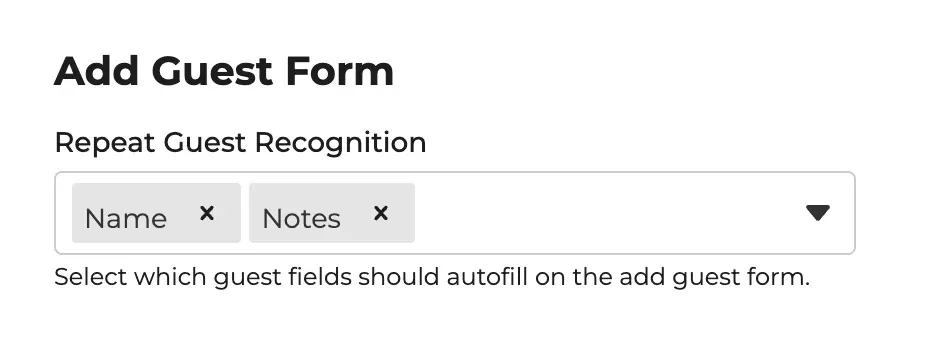
We’ve added a new setting that lets you control which fields you’d like to autofill for repeat guests on the add guest form (autofills data from the prior visit). Your field options are Name (on by default) and Notes (off by default). This setting can be found in General Settings.
You can now control which SMS reply options are available to your waiting guests. By default, Reply ‘1’ to confirm and ‘9’ to cancel are enabled. However, you can turn either off at the bottom of your Notification Settings page if you prefer not to offer these reply options to guests.
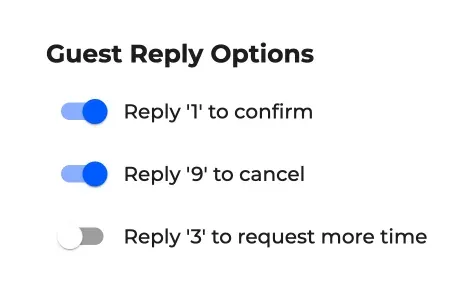
We’ve added support for an optional new reply option that allows guests to reply ‘3’ to push themselves back a set number of positions in line. This can be helpful if a guest is nearing the front of the line but needs more time. When a guest replies ‘3’ our system will automatically push them back a certain number of positions in line. By default, this “Reposition Count” is 5 positions but can be edited to whatever number of positions makes the most sense for your business. The guest will be moved back to a “Waiting” status and receive an SMS confirming that they have been pushed back, which you can also customize. By default, this reply option is not enabled but can be turned on and edited from your Notification Settings page.
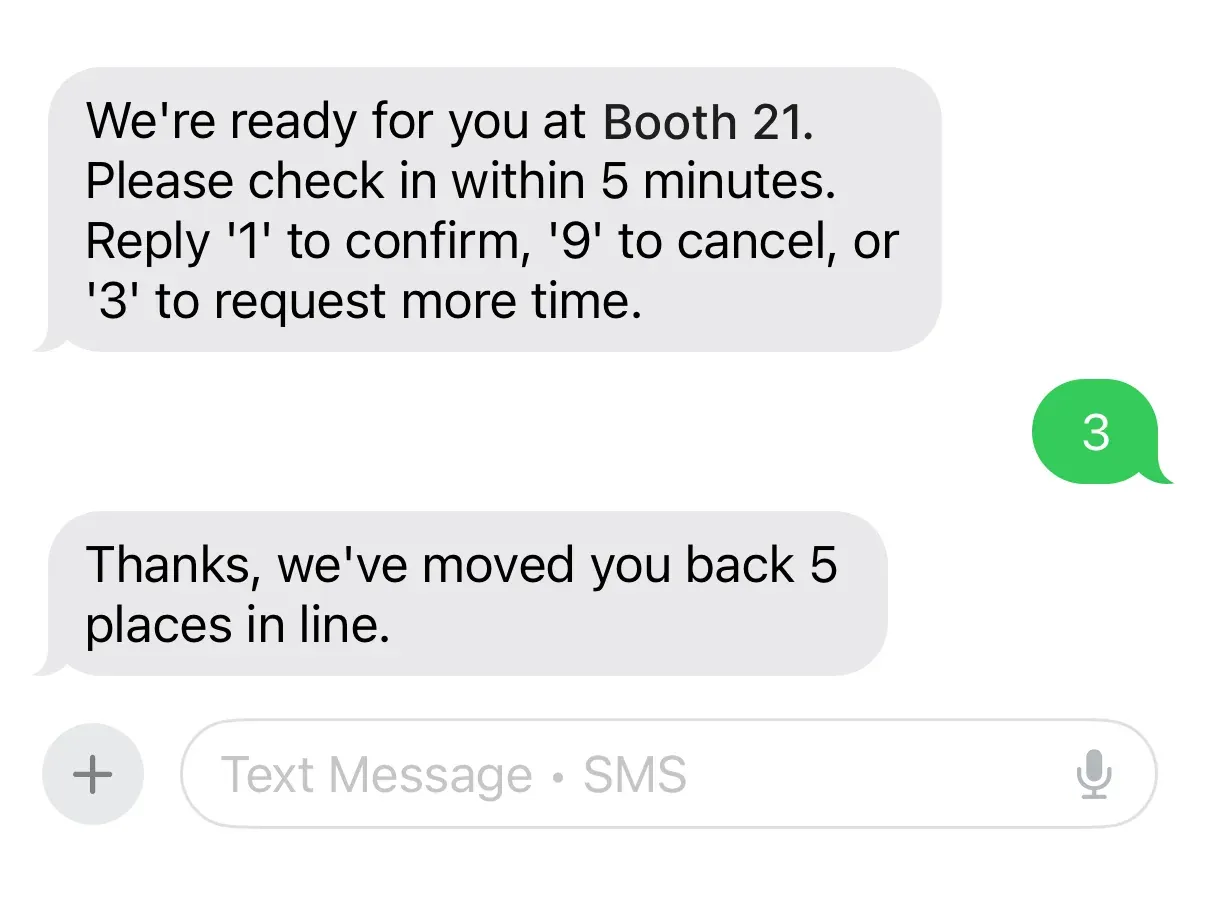
Please be aware, it’s up to you to add descriptions in your notifications to let guests know which reply options are available to them. Commonly, these are added at the end of the messages, i.e. “Reply ‘1’ to confirm, ‘3’ to request more time, or ‘9’ to cancel”. These do not get appended automatically.
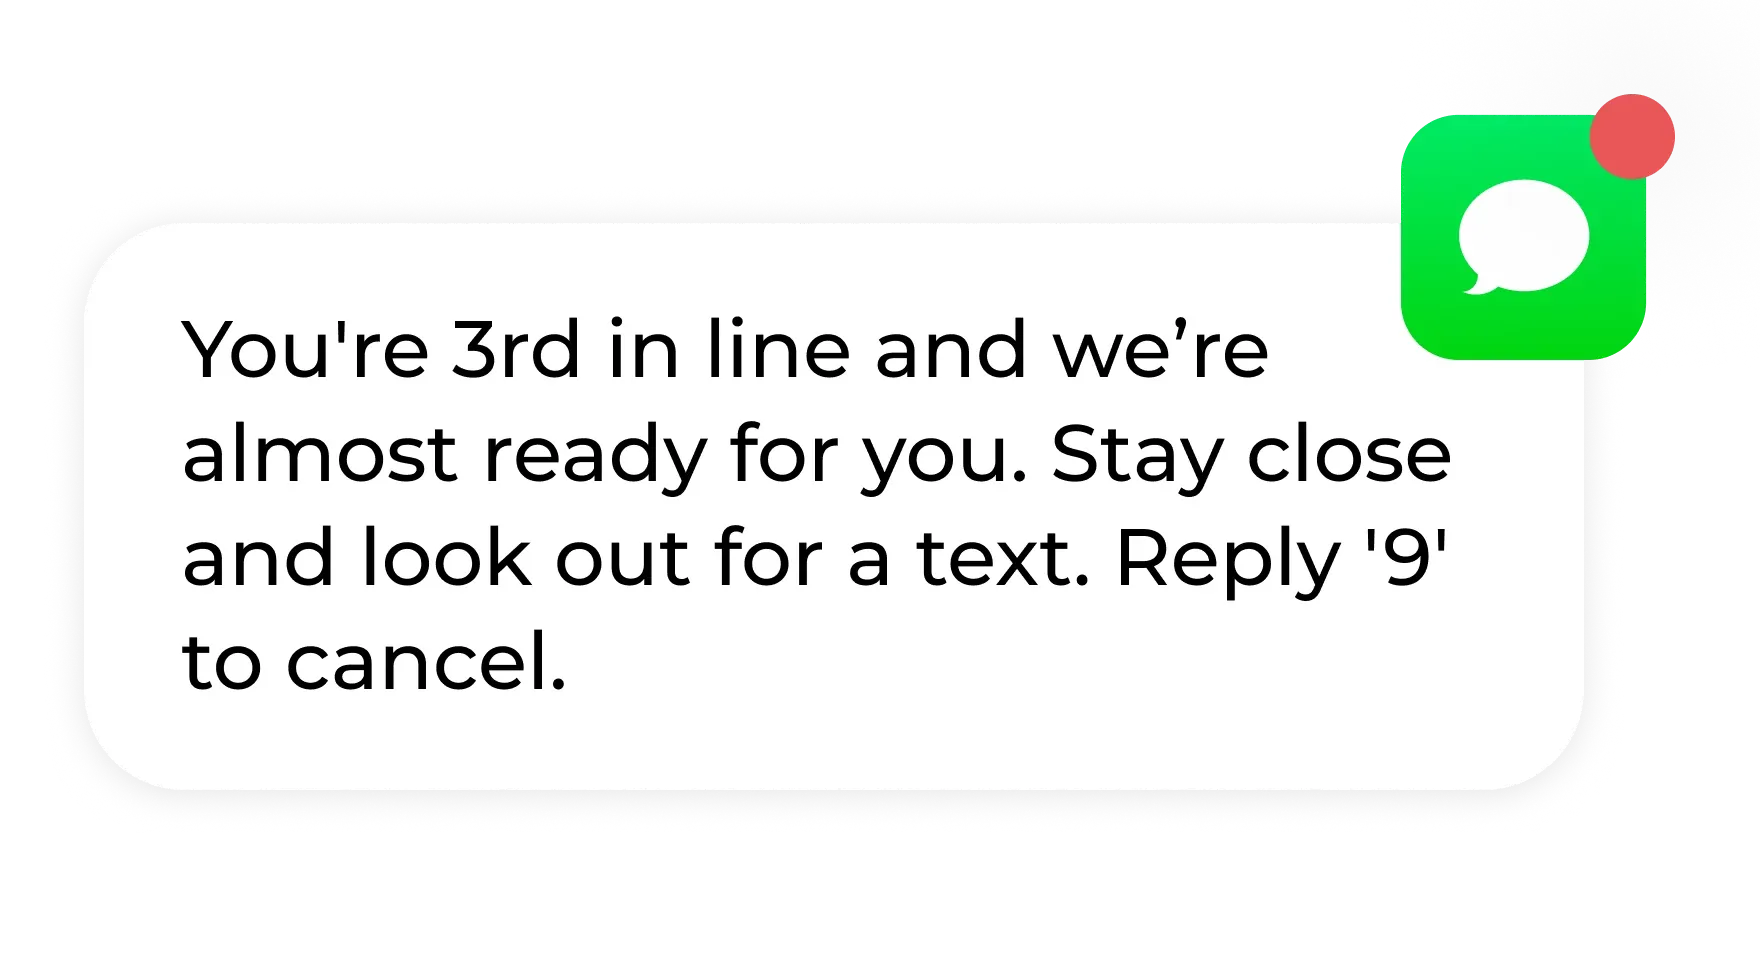
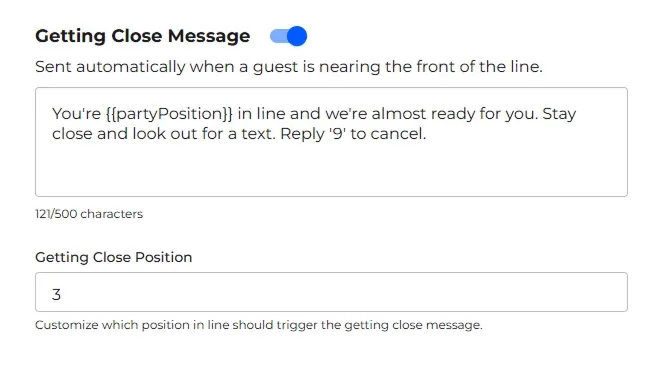
You now have the option to automatically send a message to guests when they are nearing the front of the line! This “Getting Close” message can be used to improve operational efficiency by giving guests a heads up to start making their way back. Less time spent waiting on guests to return = more guests served
Enable this message type from your Notification Settings page. Once enabled, you can customize the default message content and edit the “Getting Close Position” which determines which position in line should trigger the message. By default, the message is sent when a guest reaches 3rd in line.
We’ve made your Analytics dashboard more real-time! Instead of pulling in new data every 10 minutes, your metrics now update immediately when you reload the page. No more waiting for your wait time data
We’ve launched a new feature for Self Check-in that will prefill the form for your guests with info from their last visit! This can greatly expedite the check-in process and give your repeat guests a more convenient and personalized check-in experience.
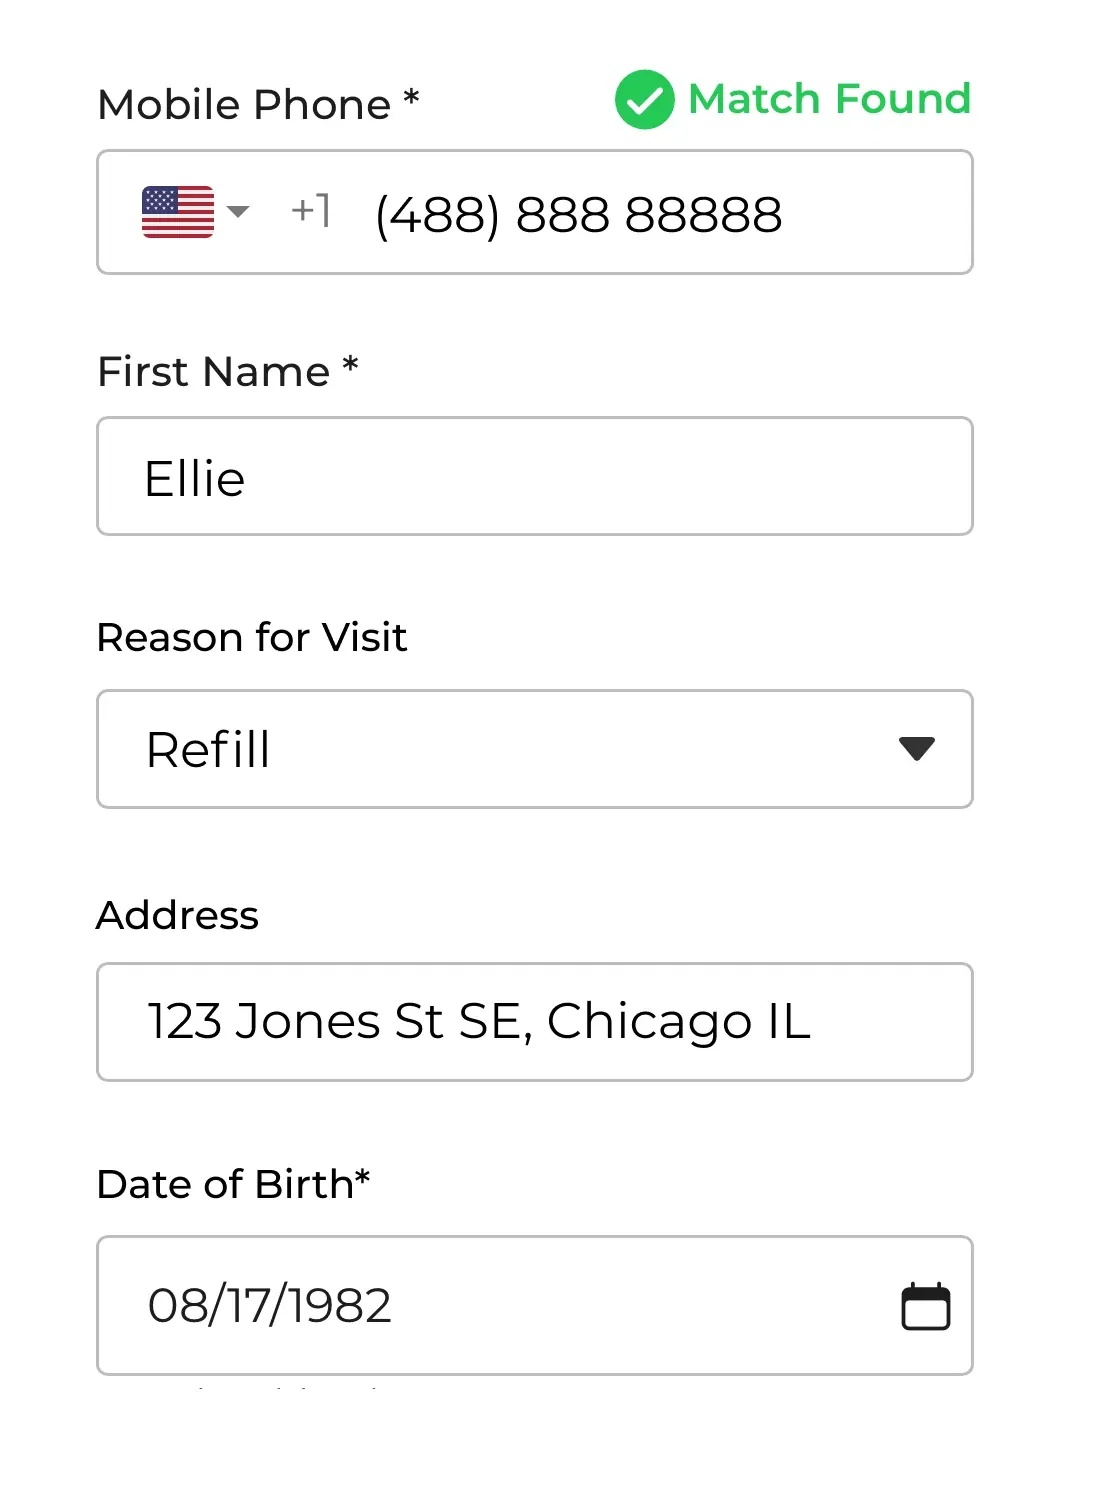
How it works:
Please note, 2FA verification texts sent for identity confirmation are treated as standard messages that count towards your message limit.
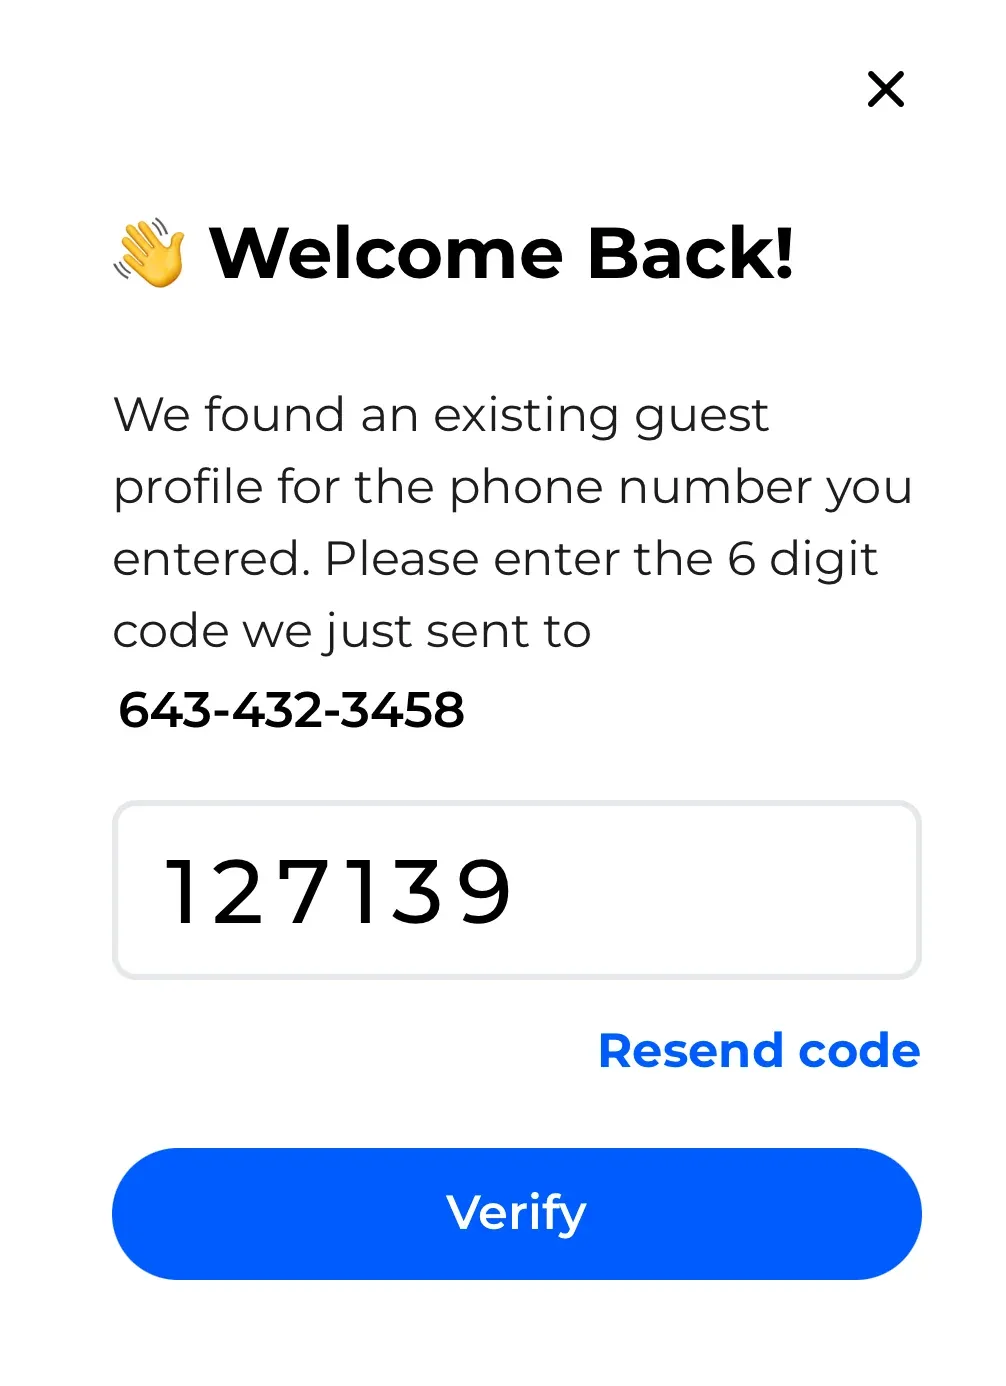
How to turn this feature on:
We added some additional settings that you can use to customize your custom field behavior:
2024
A unique 5 digit alphanumeric “Reference ID” is now generated for each guest. You have the option to replace guest names with their Reference IDs on your Public Waitlist and display them in your Virtual Waiting Room for the guest to reference. This can be helpful for businesses who are looking for greater privacy on their public waitlist displays.
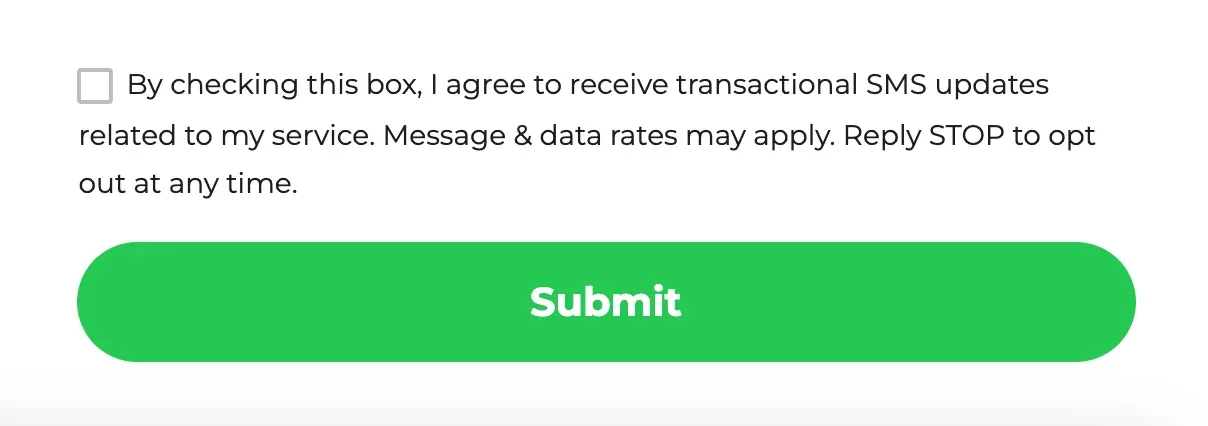
To remain compliant with evolving SMS regulations and ensure high text message delivery rates, all Self Check-in forms will now have a standard terms checkbox language that guests must accept to opt-in to receive text messages. If your business uses custom terms and conditions, those will be unchanged and remain visible as well.
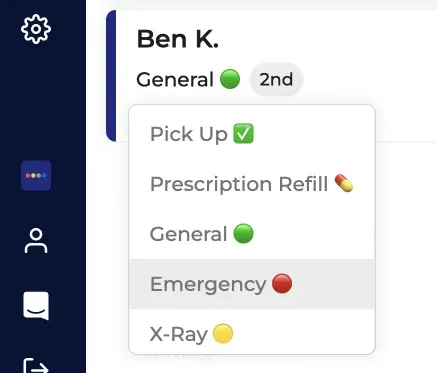
We’ve made it easier to transfer guests to new queues after they’ve been added to the waitlist. Simply click the queue name beneath the guest’s name and a dropdown menu will appear. Select the new queue you’d like to assign them to and voila! The guest will be transferred to the new queue without having to go through any additional steps. This can be helpful for businesses with priority triaging needs, multi-queue workflows and those who prefer to assign queues after guests have already joined the waitlist.
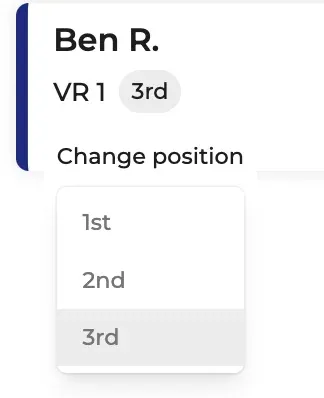
You can now click a guest’s position in line to easily change their position relative to other guests on the waitlist. This can be helpful to prioritize VIP customers or triage higher priority visitors. Once updated, the guest’s new position will reflect on the Virtual Waiting Room.
We’ve made it much easier to change the order of your data. From the settings page, you can now click and drag to reorder your Queues, Custom Fields, and the images on your Virtual Waiting Room.
If you’re using NextMe on your mobile device, make sure you click and drag the field icon to move your elements.
Our team is thrilled to announce the much-anticipated launch of our bookings feature! You can now schedule guests in advance and manage them alongside your walk-ins, all in one clean layout. To learn all about how it works, check out our new Bookings article.
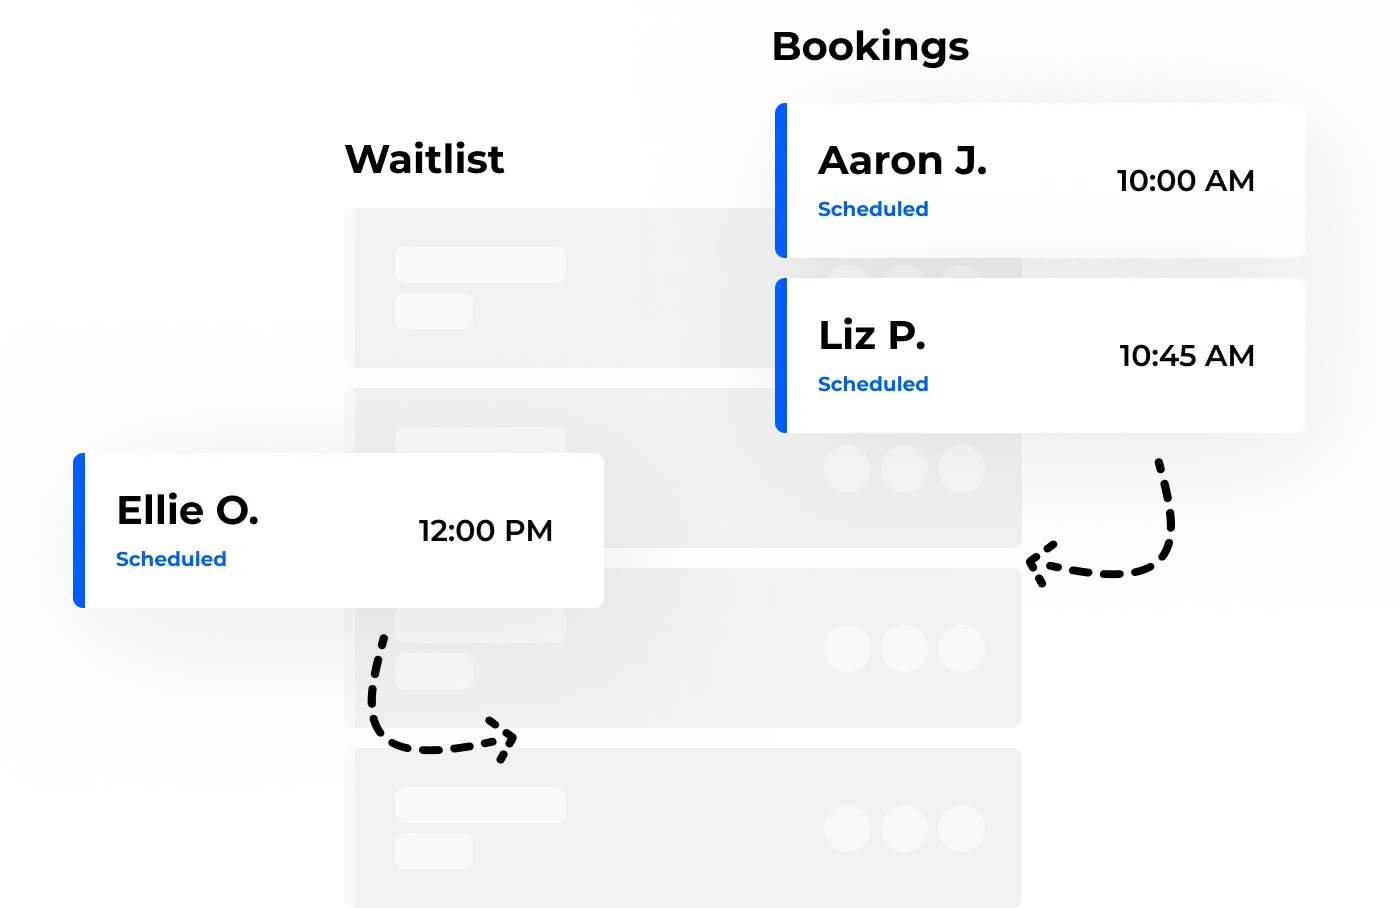
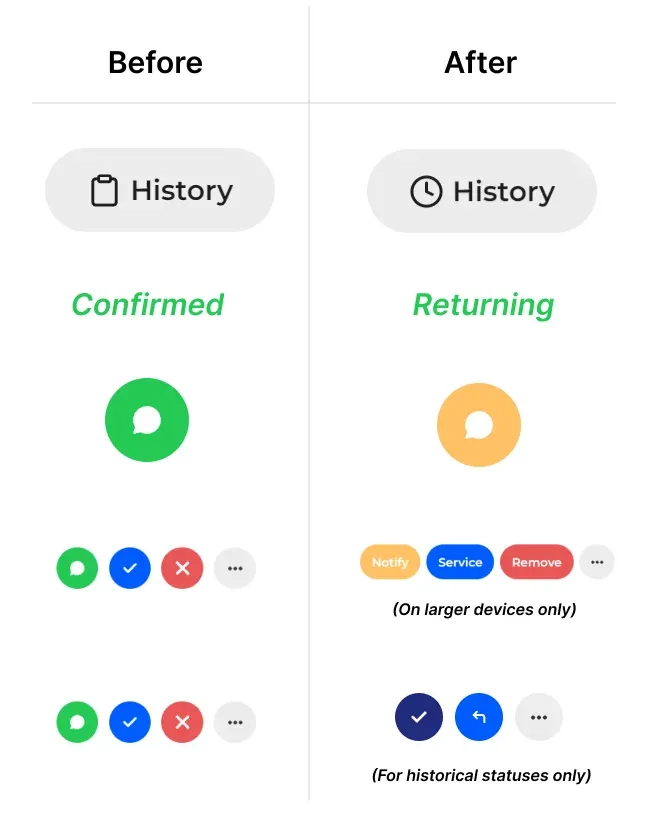
To accommodate bookings, we’ve made some updates to the waitlist flow. Here’s a rundown of the changes, including a visual reference:
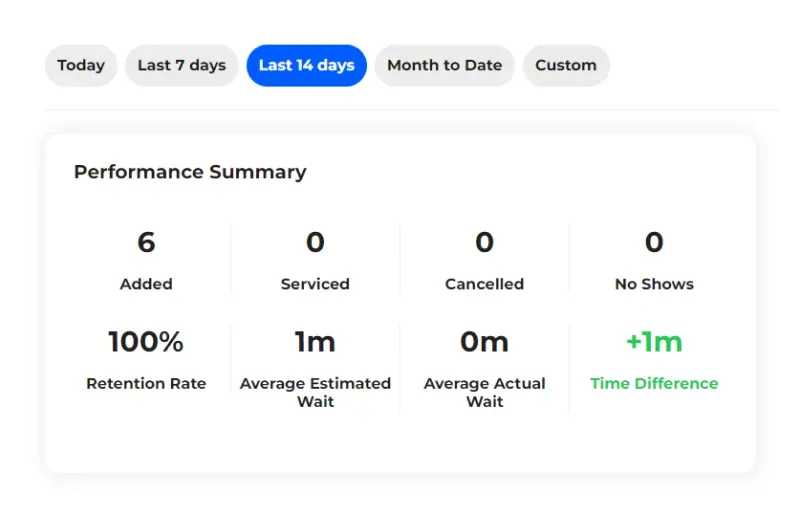
We’ve optimized our Analytics page to greatly improve load times! Data should now load much quicker, even for our very high volume businesses. We’ve also added more convenient date range filters so that you can quickly scope your analytics by Today, Last 7 days, Last 14 days, Month to Date, or any custom range you define.
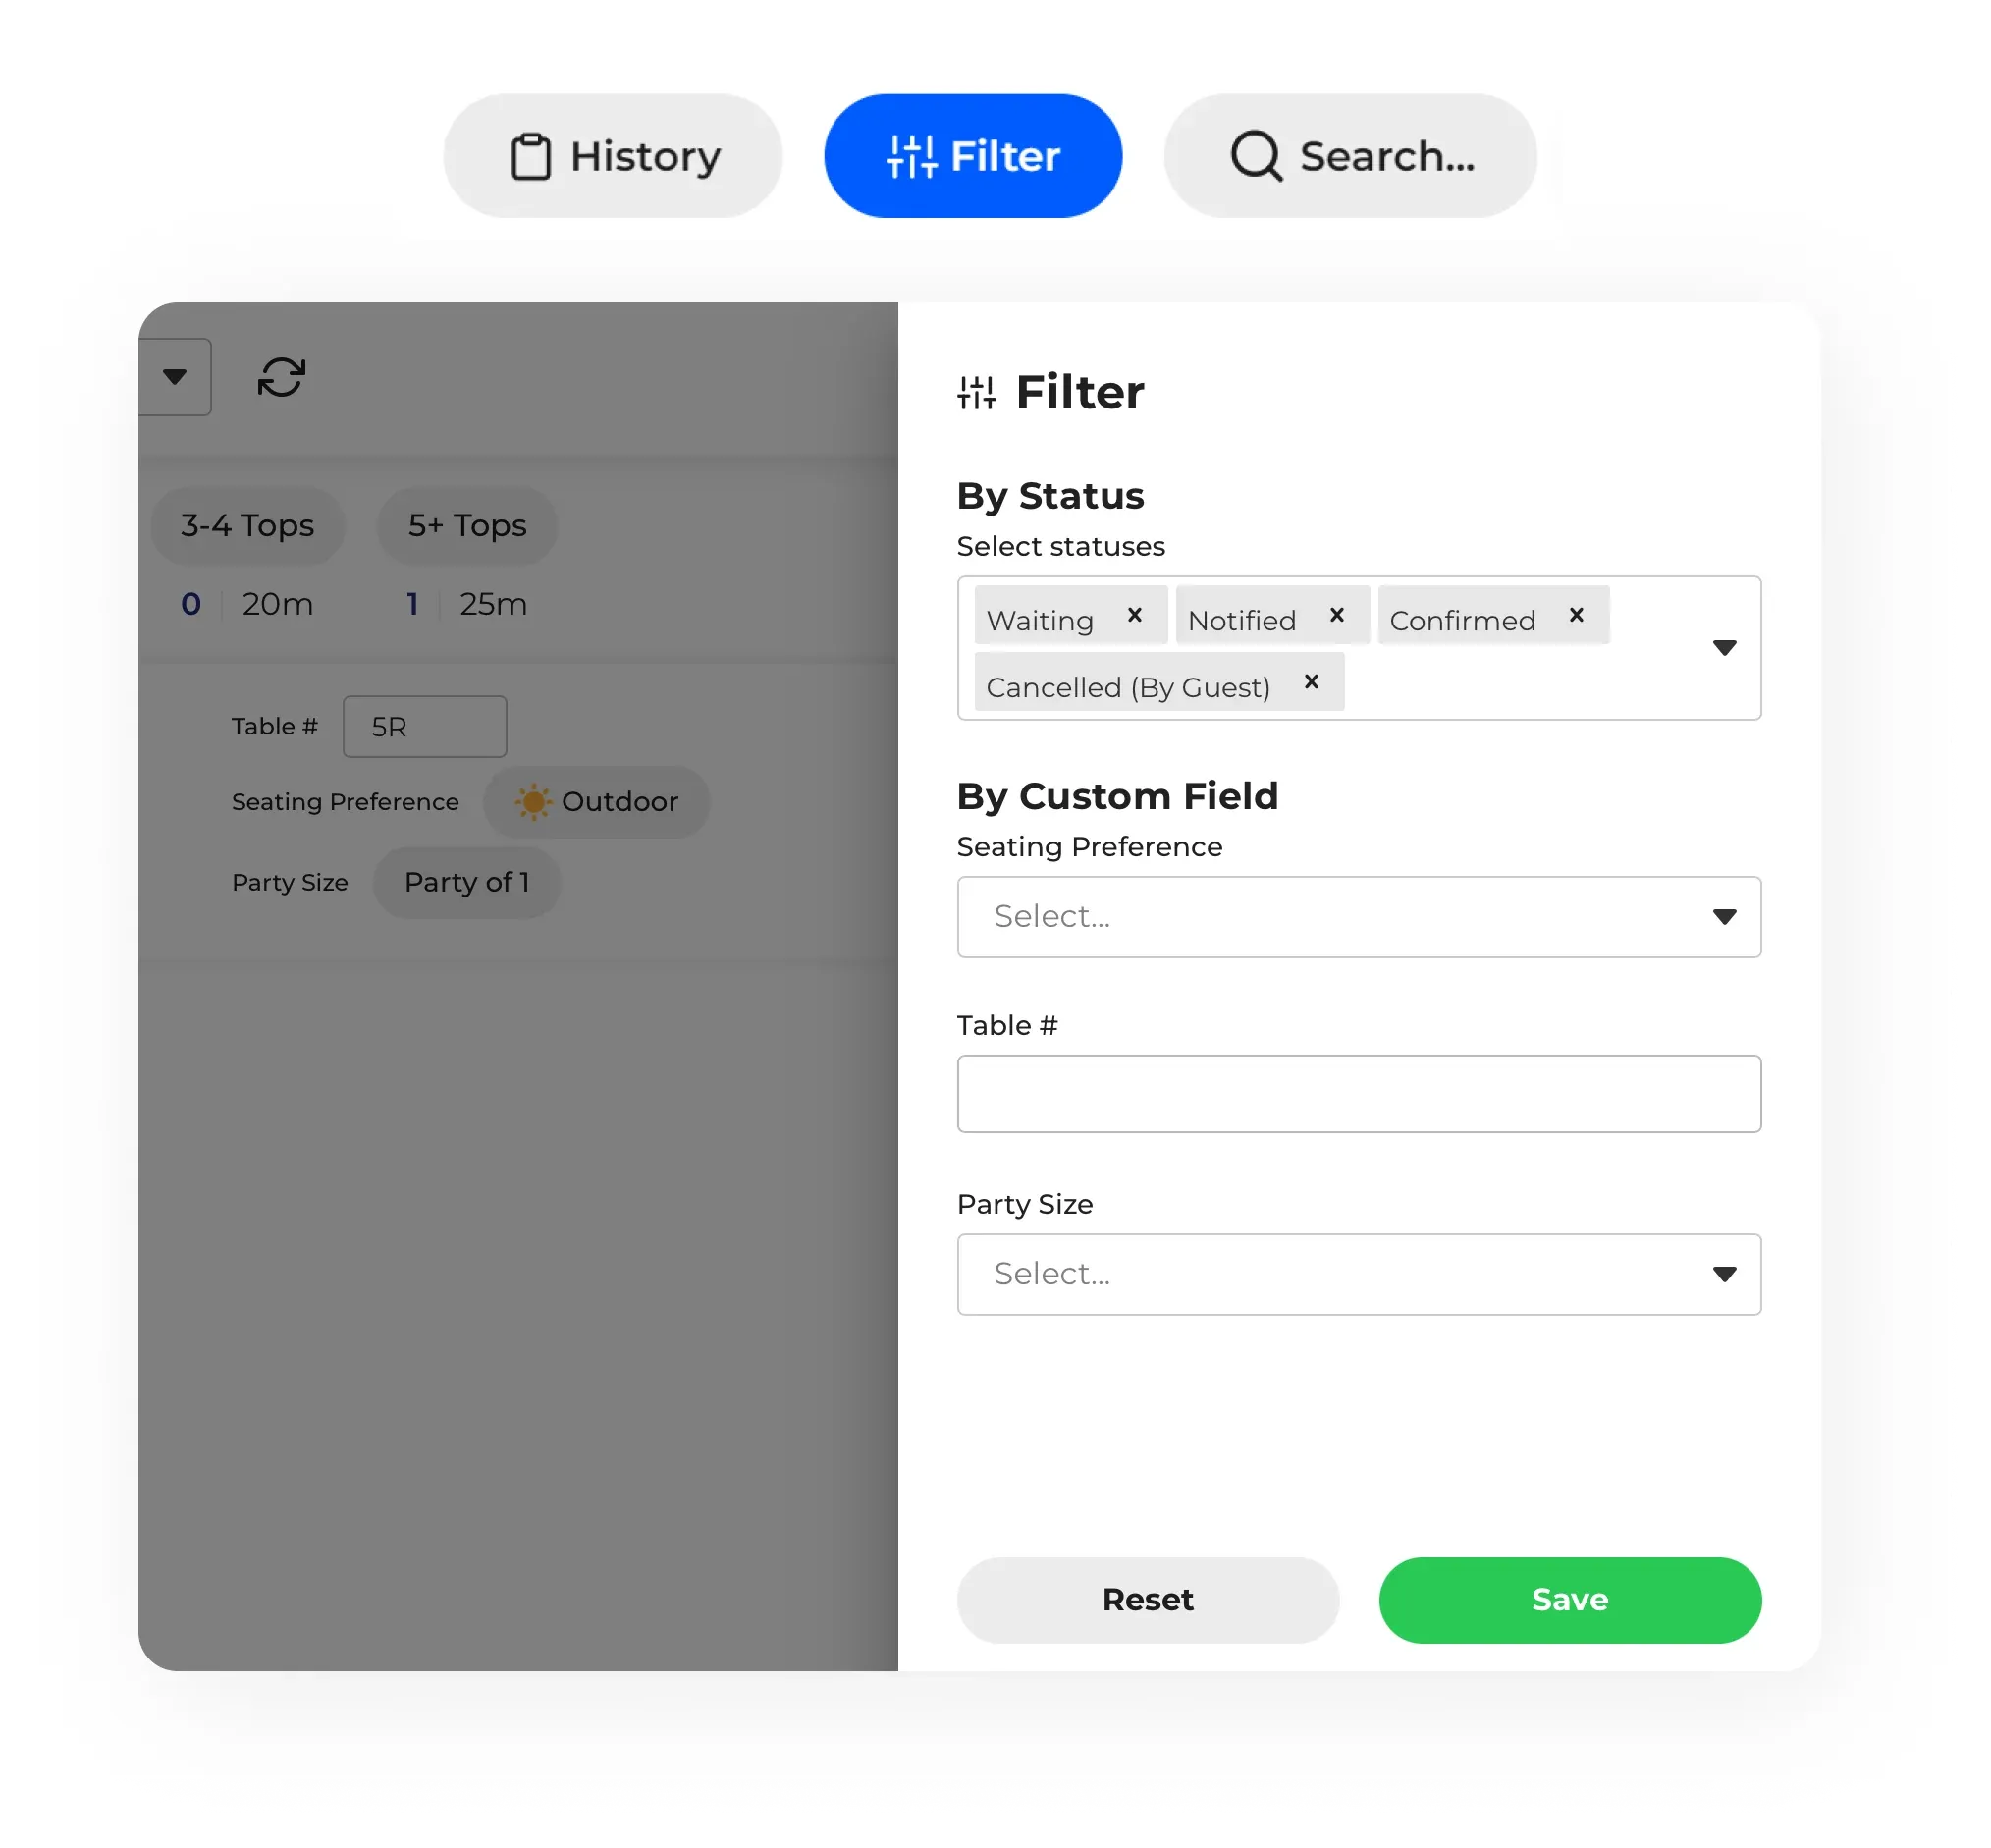
You can now filter your waitlist by guest status and custom fields, making it easier than ever to browse your waitlist by the criteria that matters to you. You can combine filters with search to drill down even further based on your unique needs. To try it out, click the new filter button in the waitlist header (conveniently located next to search and the history toggle). When filters are applied, the button will be blue. You can clear your filters at any time by hitting the “Reset” button in the filters dialog.
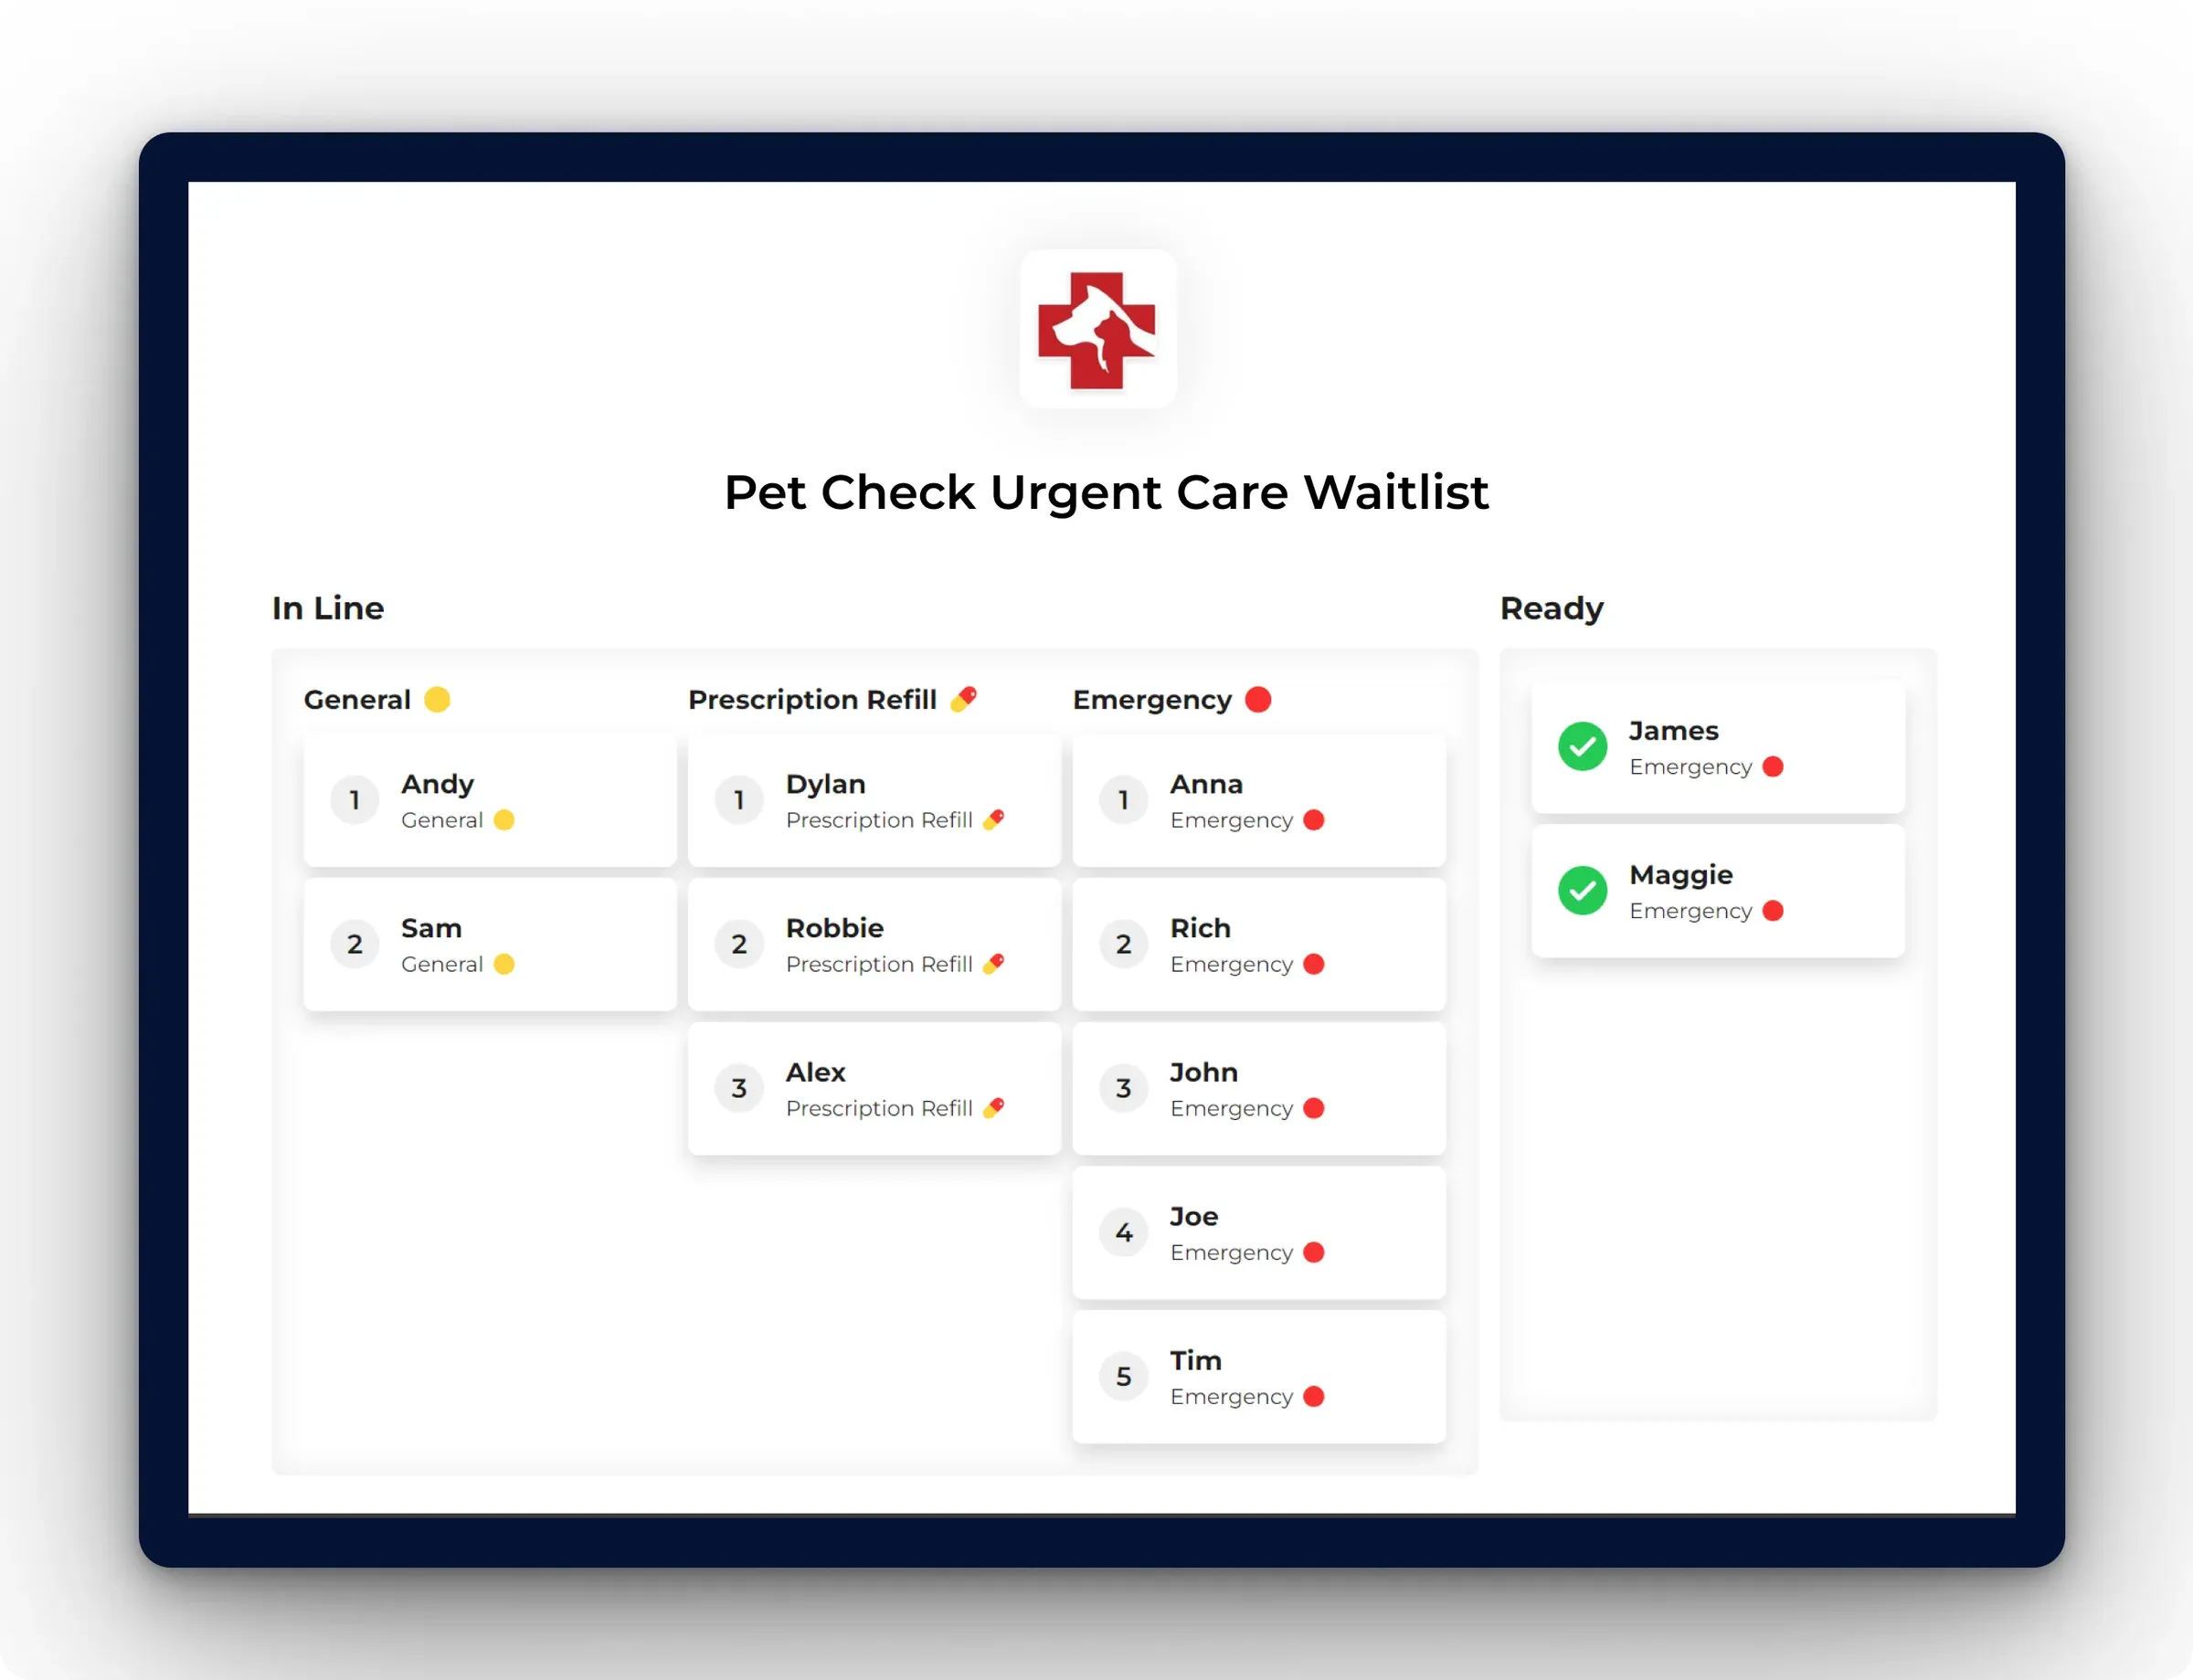
Ever wanted to display your waitlist on a monitor so that guests can check their position in line relative to others? You’re in luck! We’ve added support for a public waitlist display. When enabled, a unique URL link will be generated for your business that presents your waitlist in a simple and clean layout with minimal guest info: first name and last initial, position in line, and queue. Head to the new Public Waitlist settings page to give it a whirl. Your public waitlist link is mobile friendly and can be used in your notification messages or embedded on your website in addition to displaying it on a screen. Waitlist data reloads every 10 seconds.
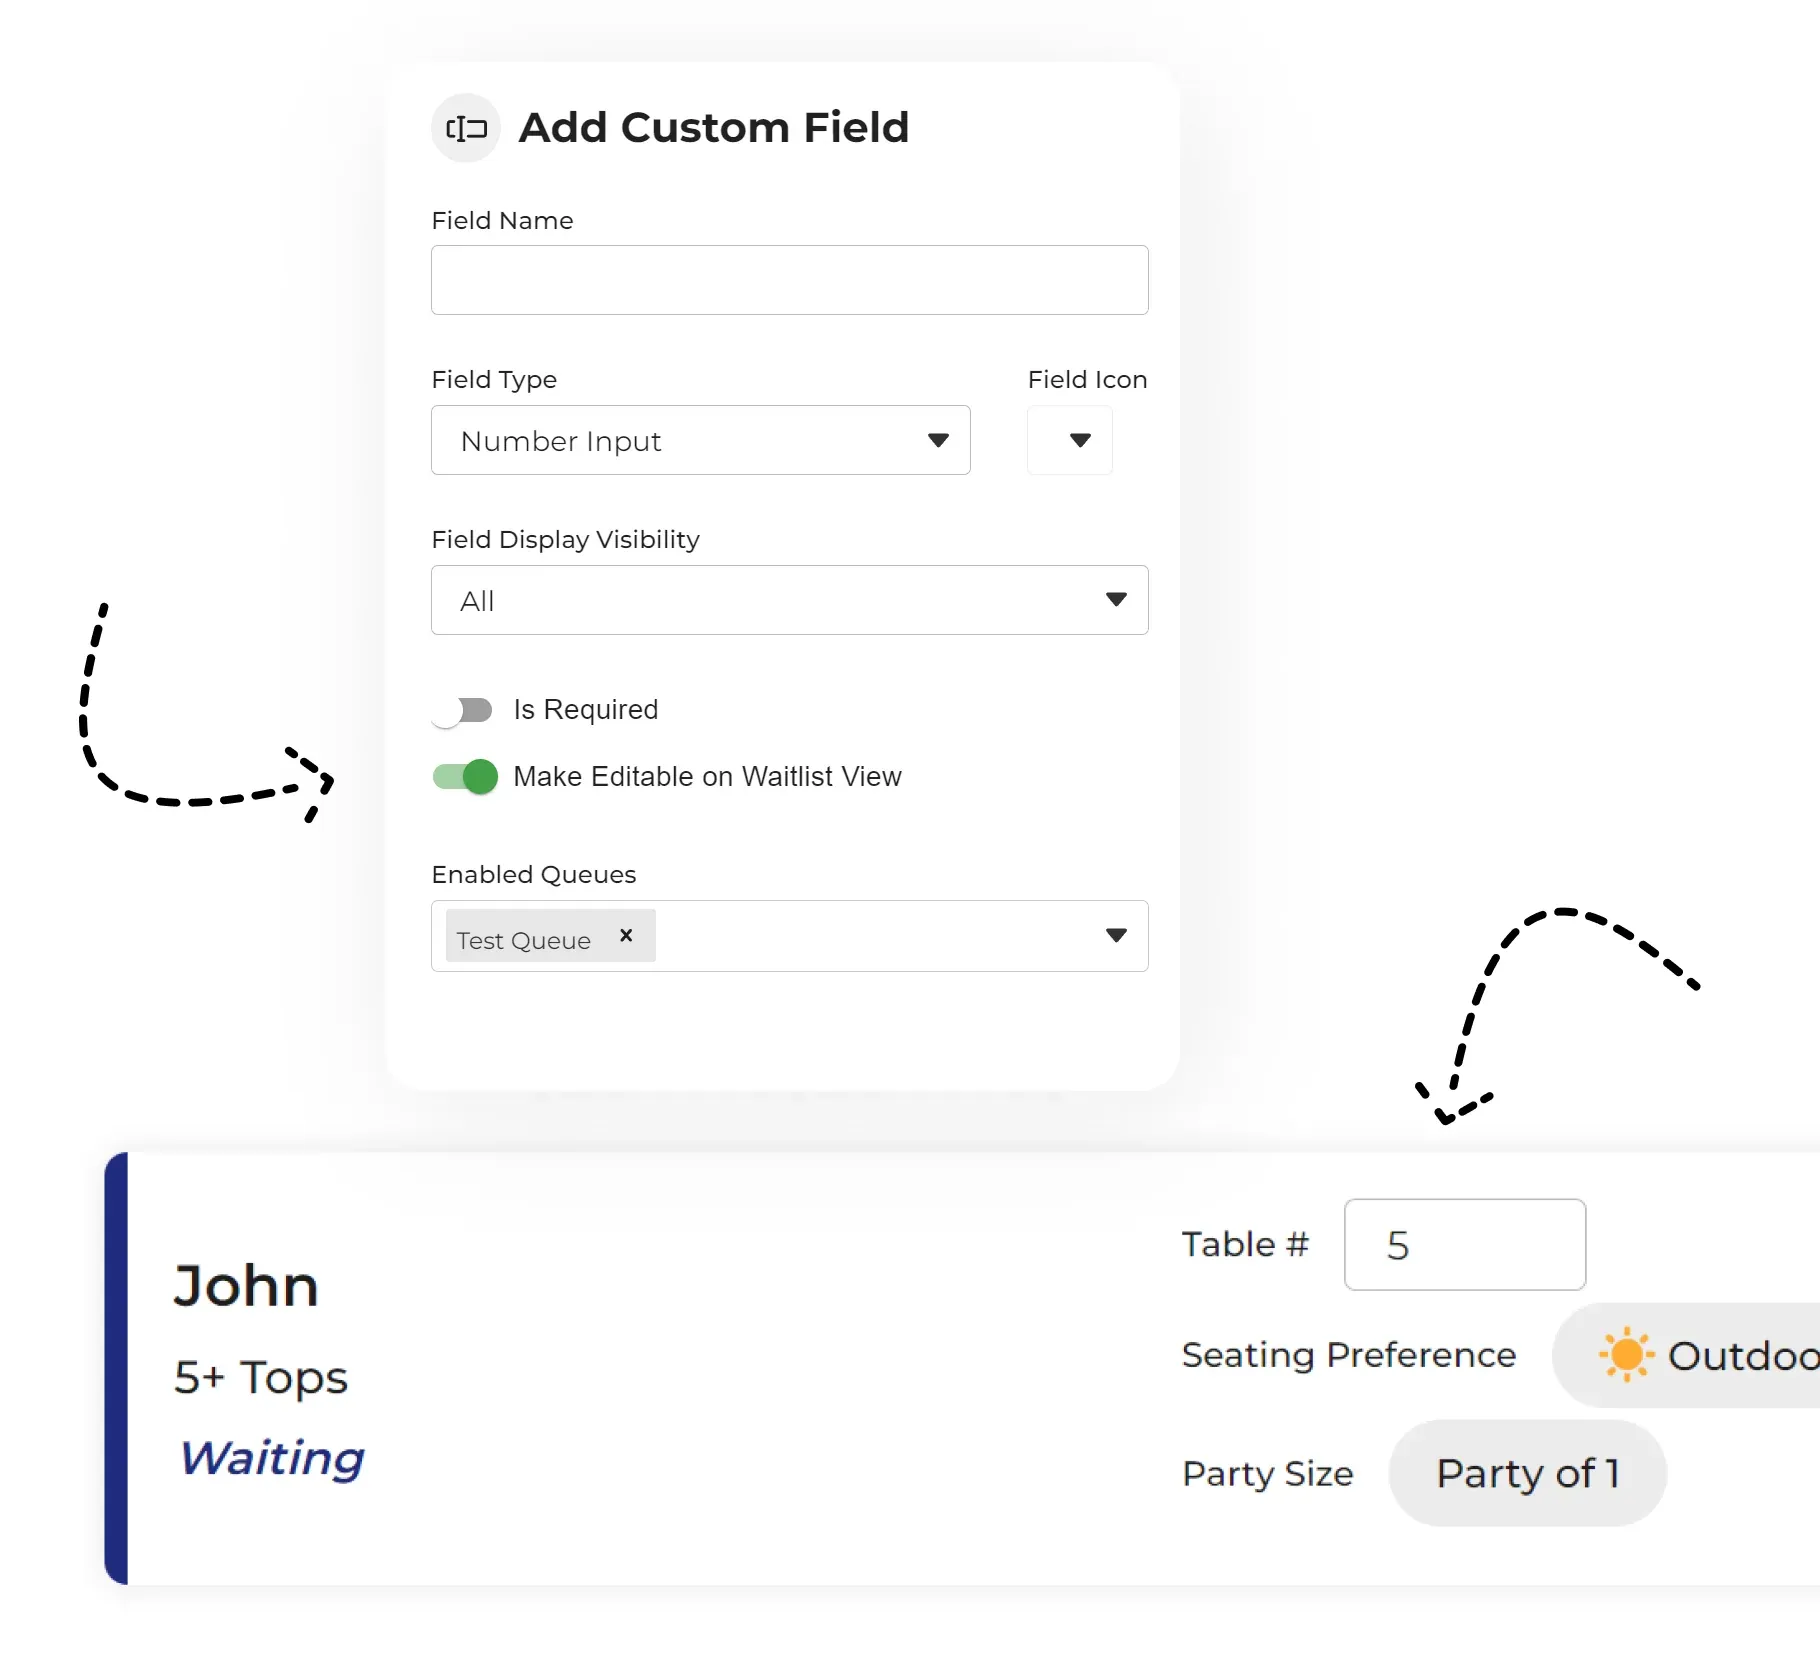
We’ve added support for you to dynamically edit a custom field on the waitlist. Instead of having to go to the edit guest panel to change a field value, you can instead edit the field directly on the waitlist cell and it will save automatically. An example use case would be adding a “Table Number” field for restaurants, which are typically assigned after the guest is already added to the waitlist. Being able to quickly add these on the fly makes for a more efficient workflow.
To try it out, head to your Custom Fields settings page and edit a field. You’ll see a new toggle titled “Make Editable on Waitlist View”. When enabled, this setting makes the custom field appear as editable on the waitlist cell.
Note, there are a few limitations on how you can use this feature at the moment that you should keep in mind if you’re having trouble enabling the toggle:
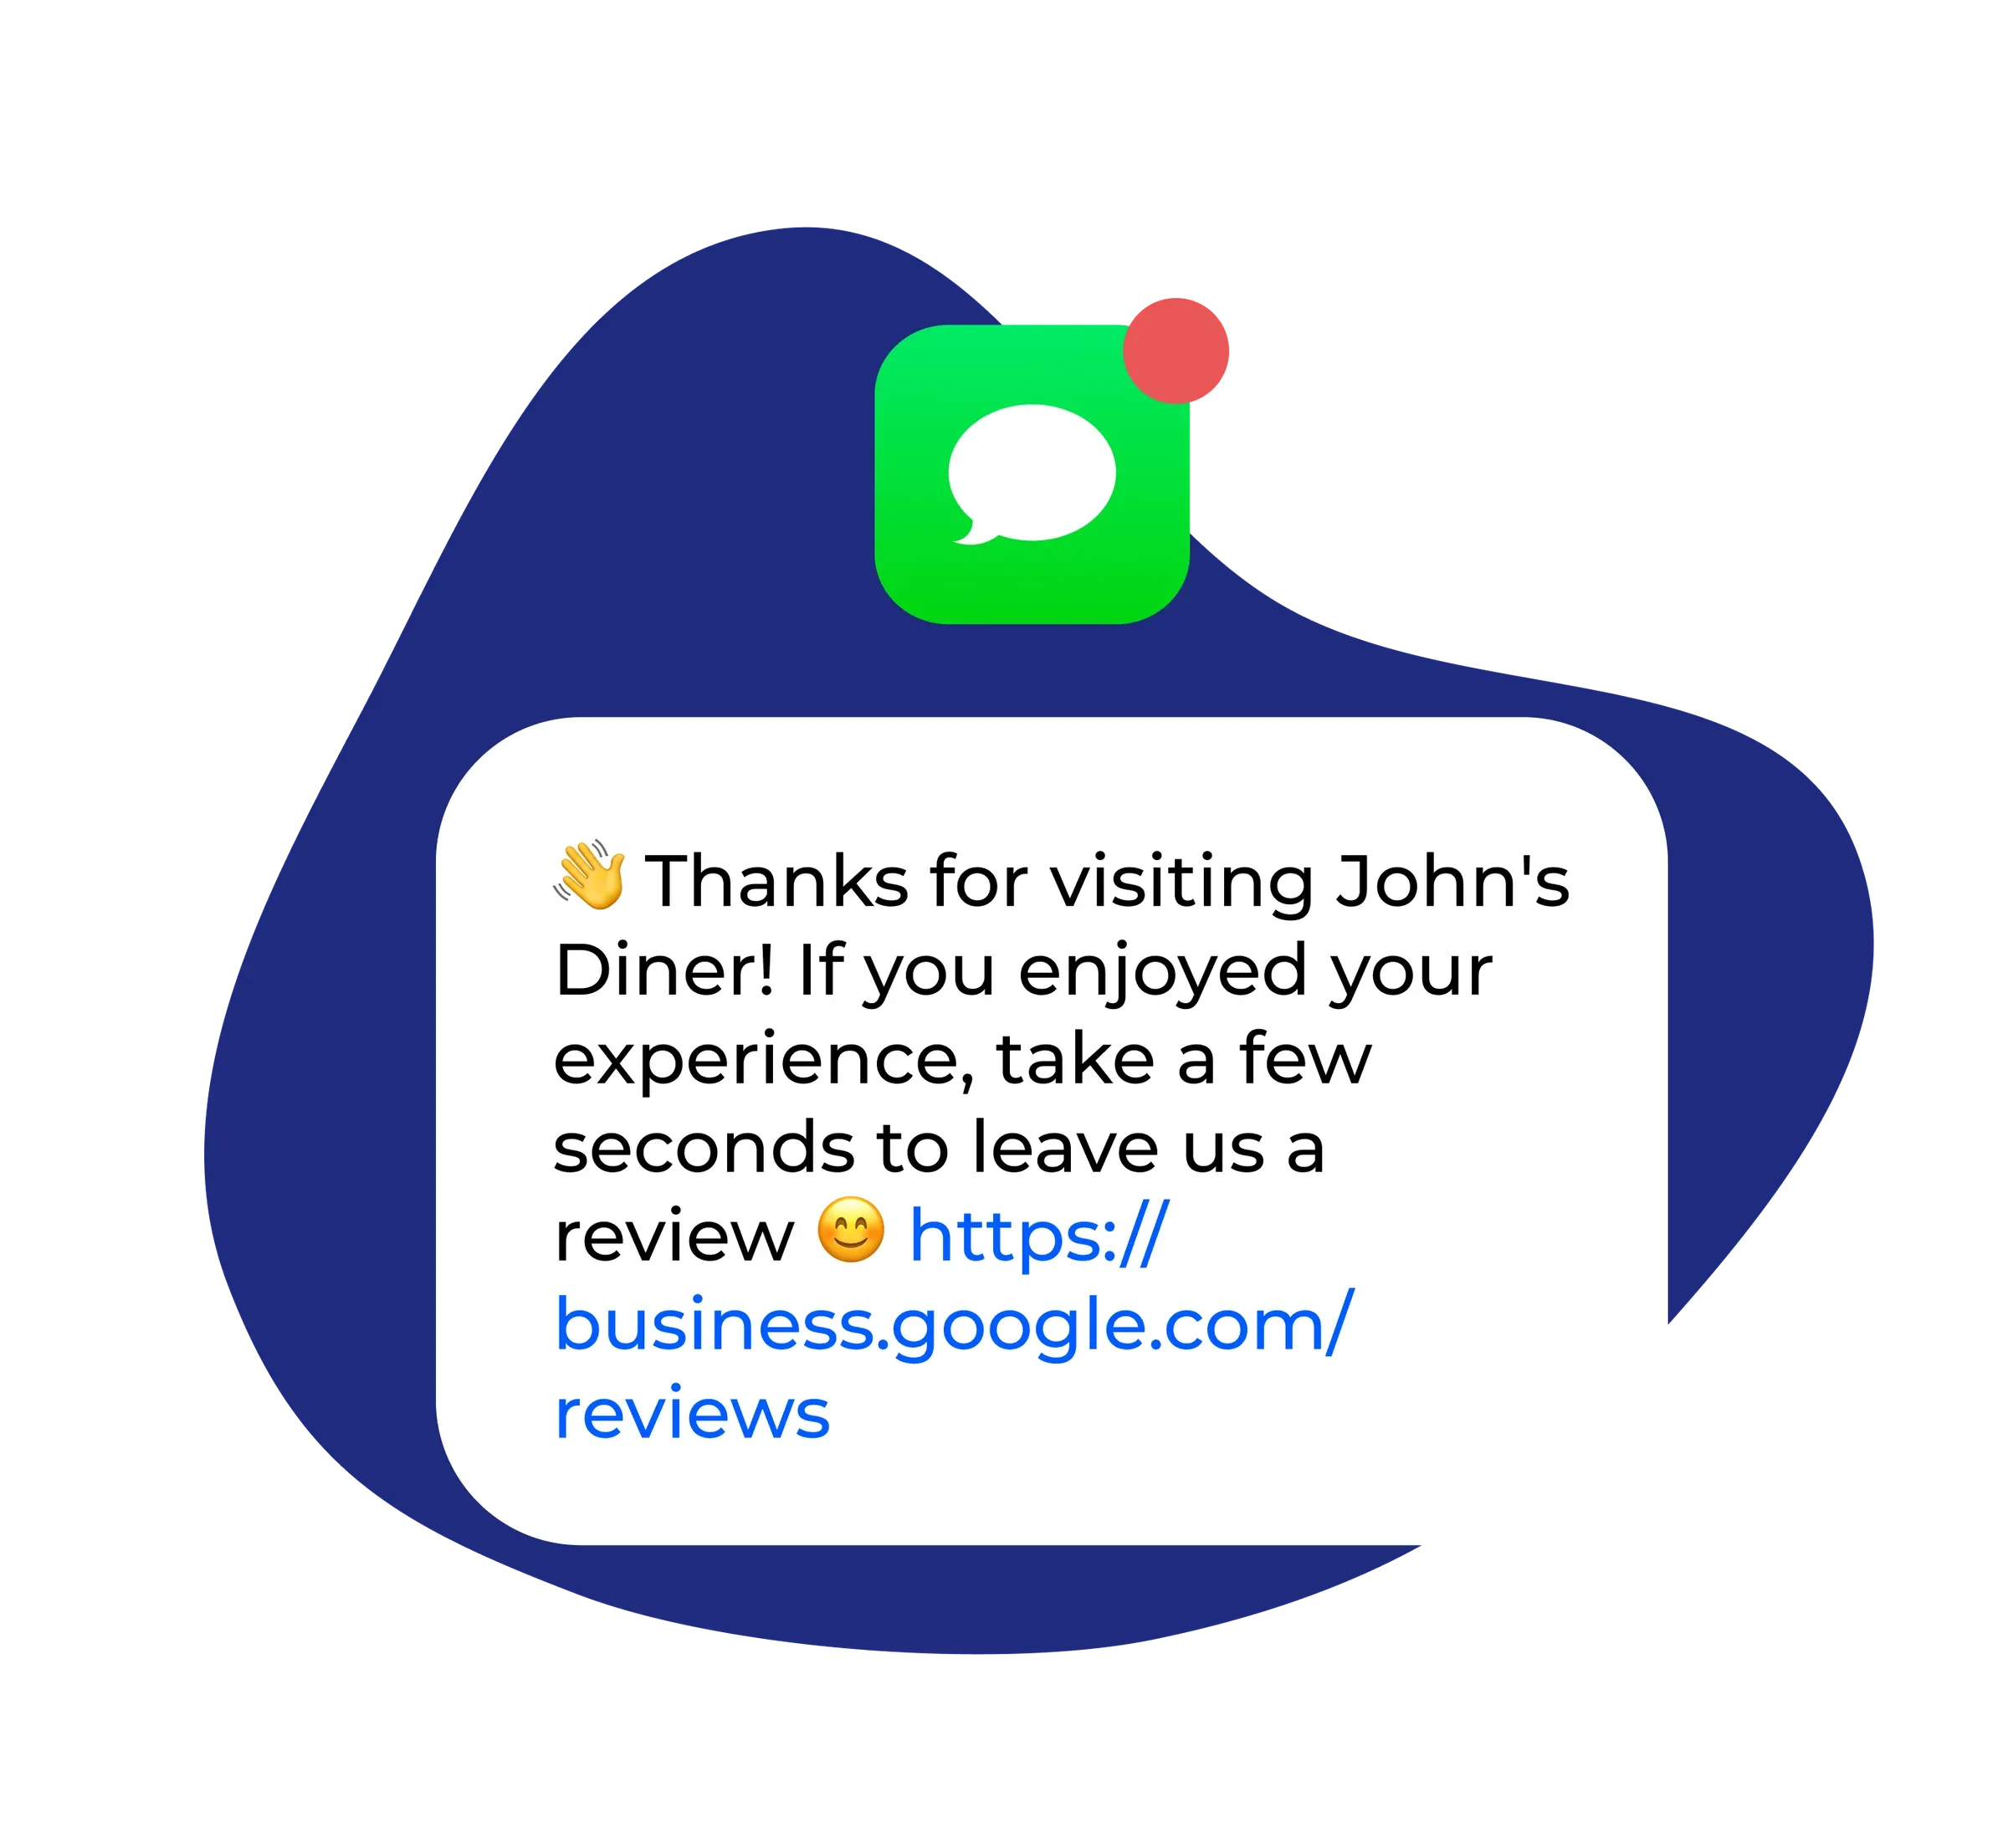
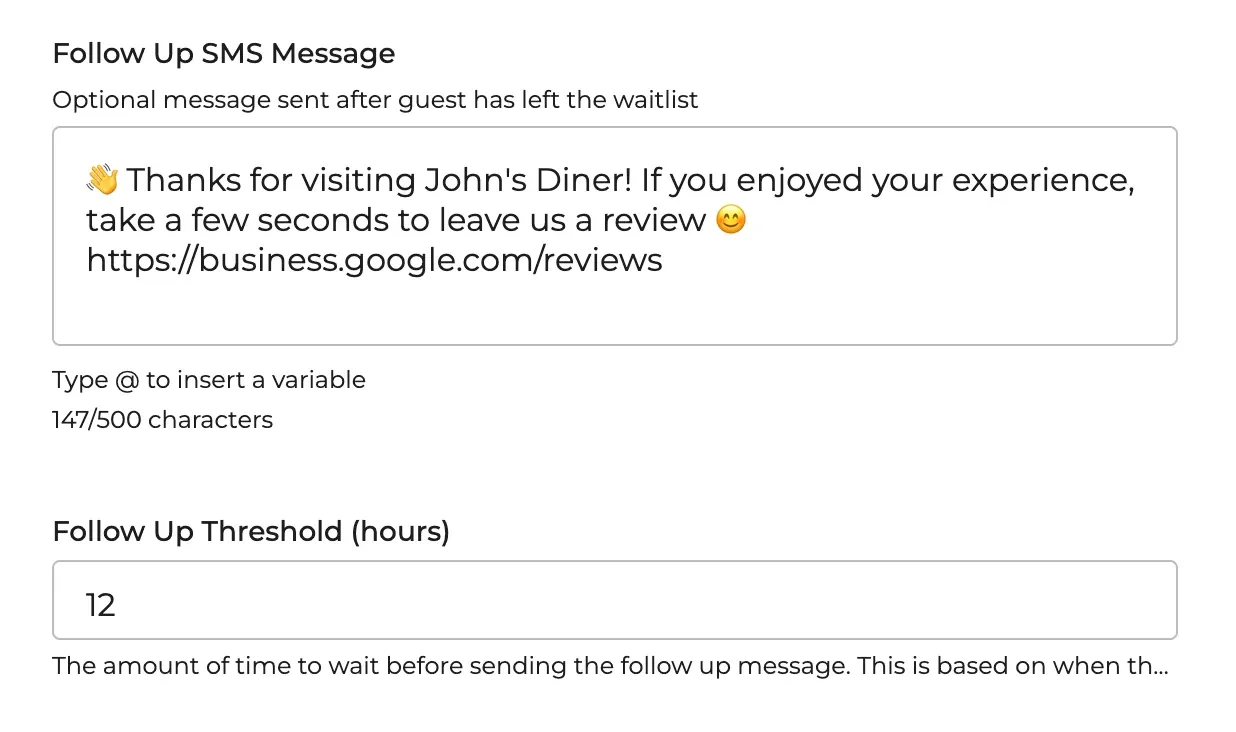
We’re excited to announce that you can now trigger a follow up message to your guests! Supercharge your guest workflow with our automated SMS follow up messages - collect reviews, offer discounts on future visits, market your socials, and much more.
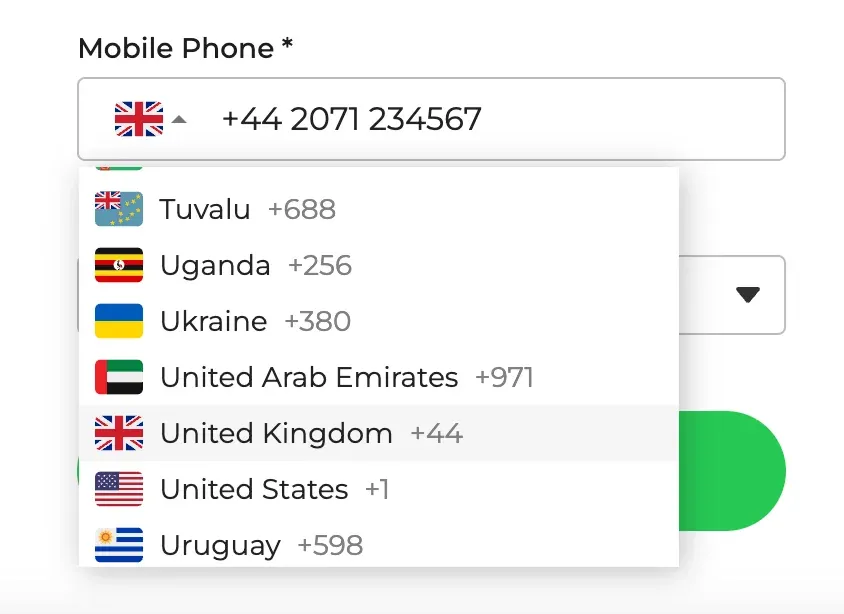
We’re happy to announce that you can now send SMS text notifications to guests with international numbers! Simply type in the country code or select from the convenient country flag dropdown to add an international number for a guest.
We’re excited to announce we now support longer wait times for businesses who need to manage queues of guests who may be waiting for days, weeks, months, or even years.
To make this possible, we’ve introduced a new setting called Expiration Threshold that defines how long guests should remain visible on the waitlist before being cleared. This includes the history page.
If your business wants guests to appear in the waitlist for a longer or shorter period of time, you can now easily update this setting from 1 day to whatever time frame is appropriate. For example, if you’re running a home service business, healthcare clinic or tattoo studio you might set this to 1 month to accommodate people who are waiting for a future service. If you’re a high volume restaurant, you might set it to 12 hours so that past guests are cleared more frequently.
We strive to be good stewards of data at NextMe and have launched a new privacy option to help businesses operate in compliance with internal or external privacy requirements (HIPAA, GDPR, SOX, etc). Your business can now set a Guest Data Policy that gives you control over the amount of data our platform stores about each guest. Your options are “Retain”, “Anonymize” and “Delete”. Learn more about each option by reading this article.
We’ve added support for a new custom field type called “Queue Assignment” that allows you to automatically assign a guest to a queue based on their field answer. This is particularly helpful for the restaurant industry to capture both party size while assigning guests to a table top size. We’ve made this field flexible so it can be used by other industries and customized based on the use case.
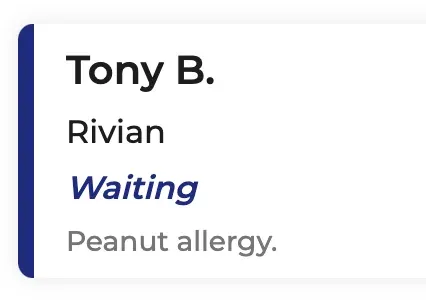
Added notes display to the waitlist. These will appear under the guest status:
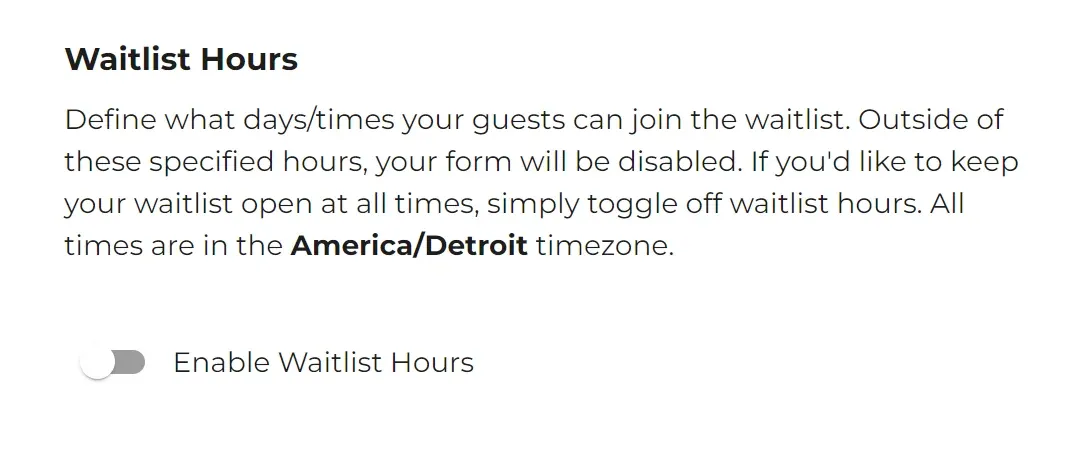
We’ve added support for disabling waitlist hours if you’d like your self check-in page to be joinable at all times.
2023
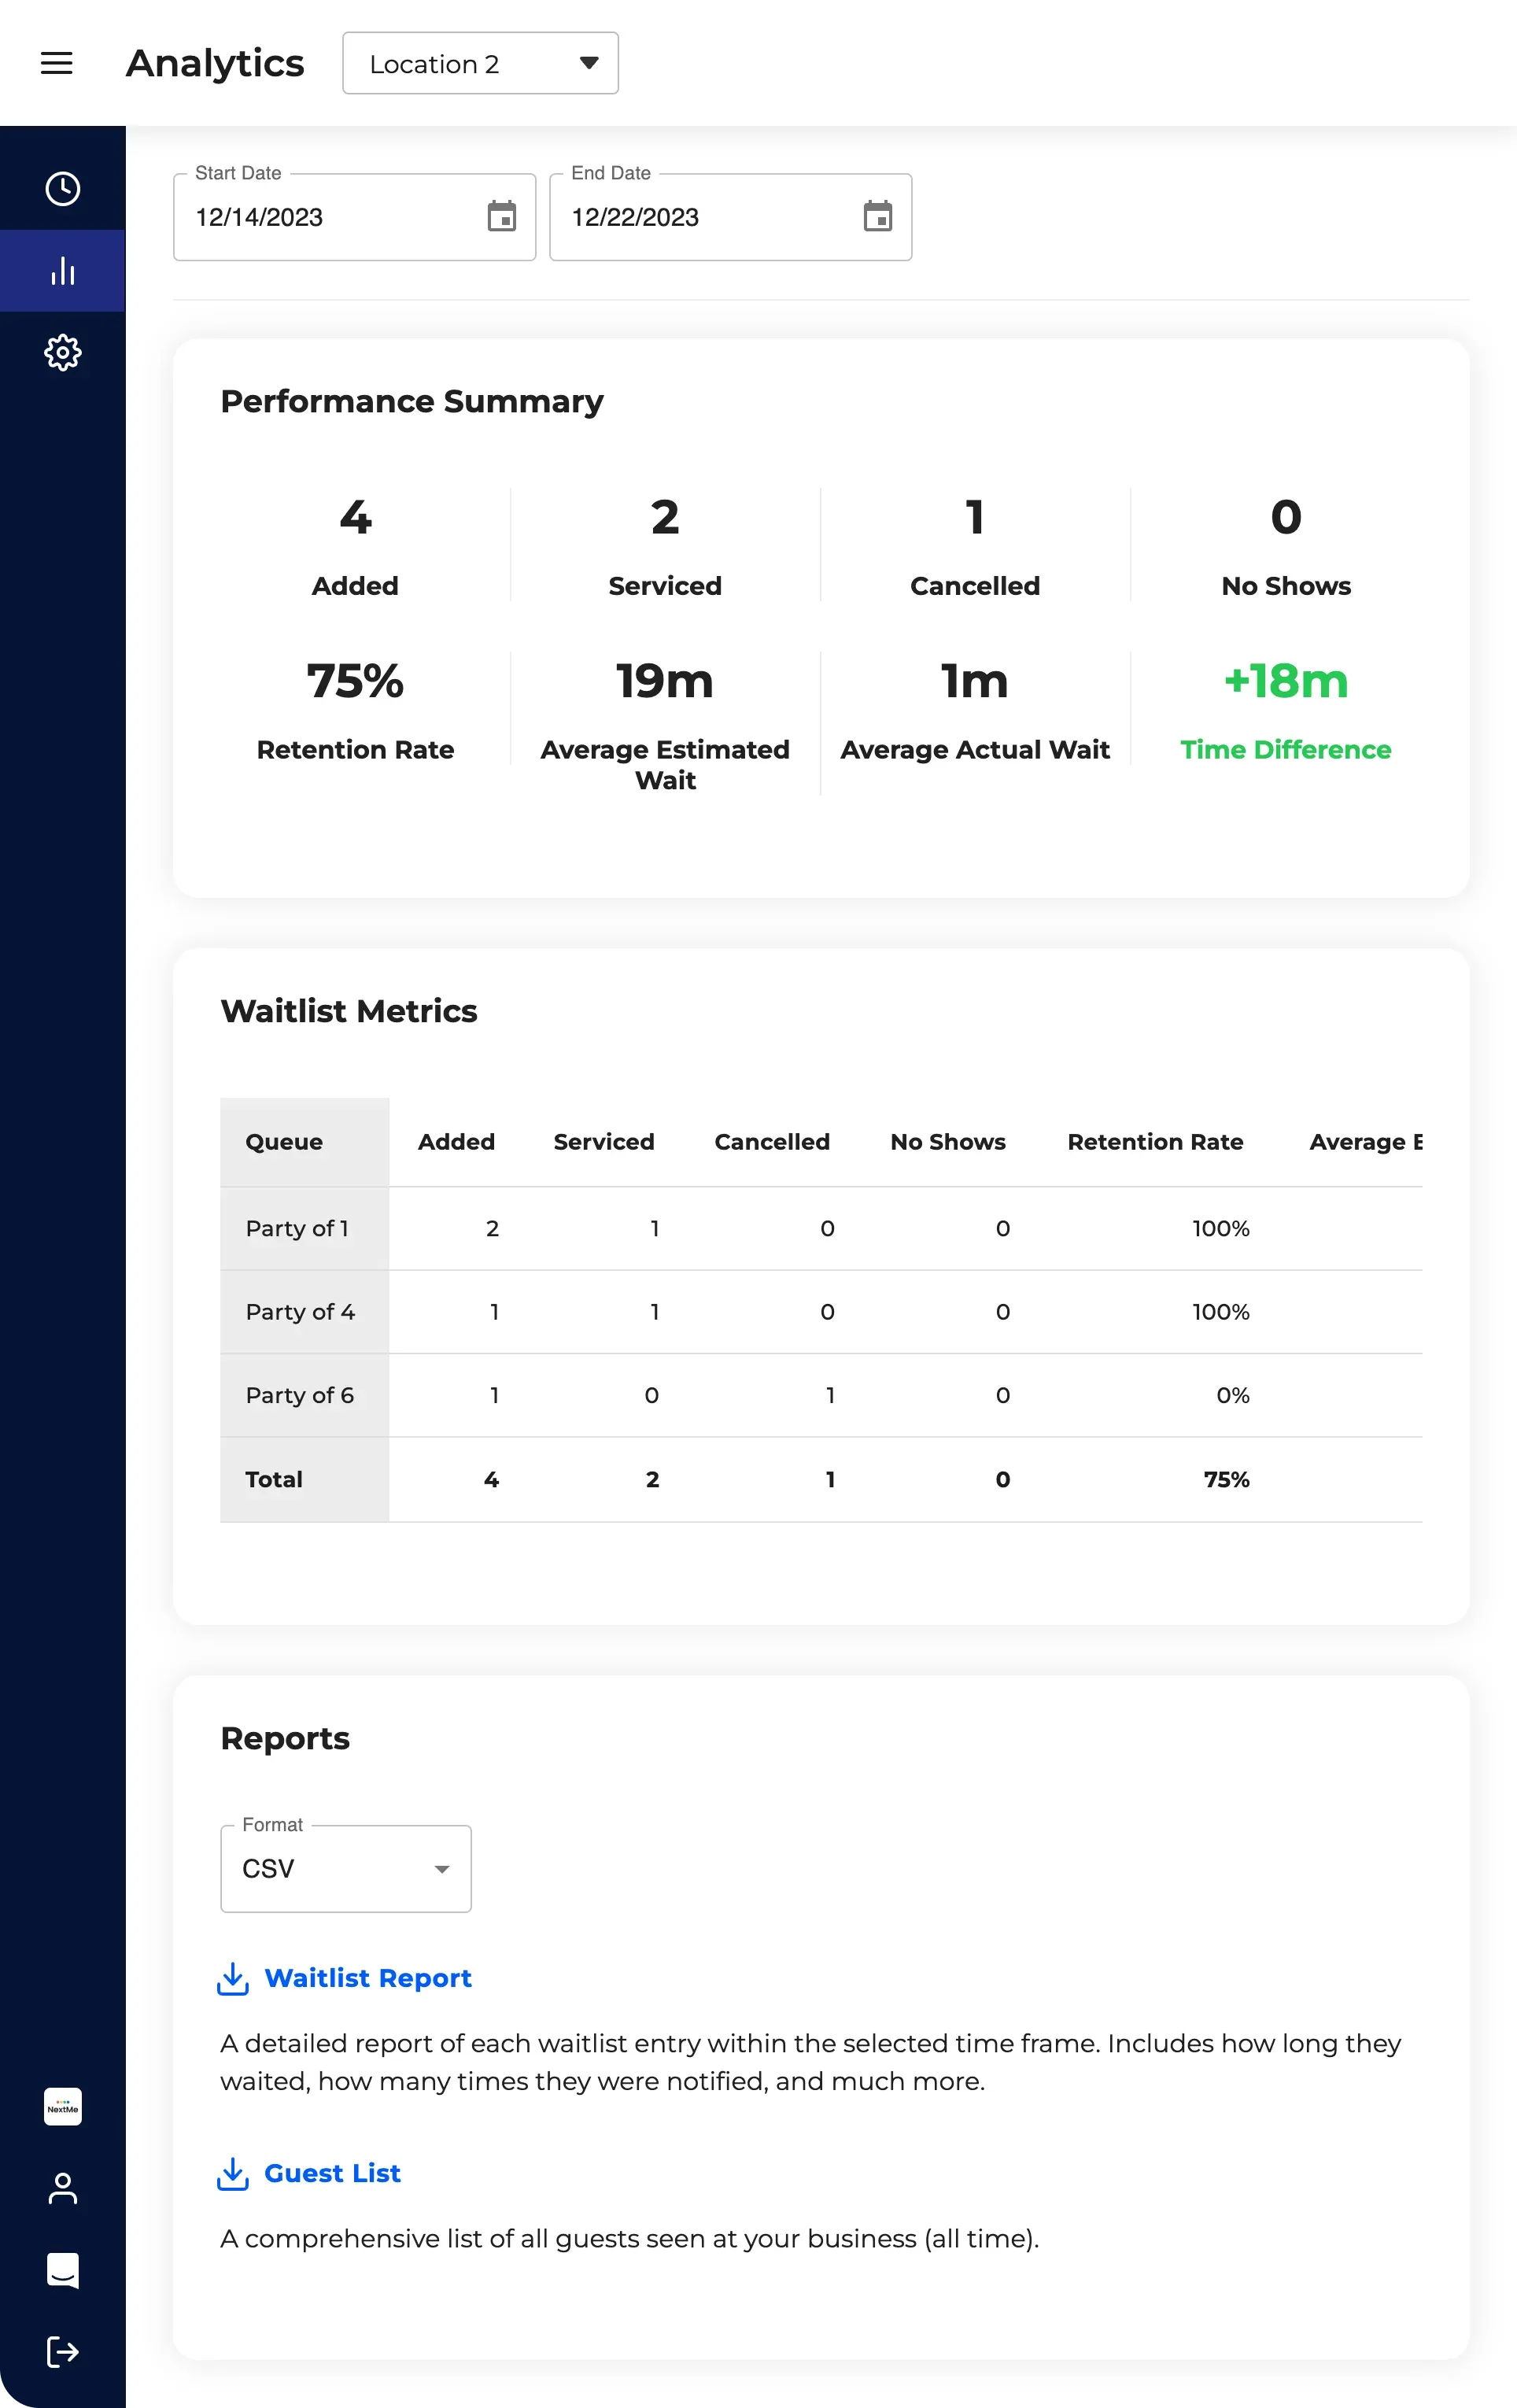
Head to your Analytics page to check out your new dashboard. By default, the dashboard shows data from the past 7 days. This can be easily adjusted using the date filters at the top if you want to view data for the past month, year, etc. We’ll be continuing to build useful metrics into this dashboard over time so stay tuned for future updates.
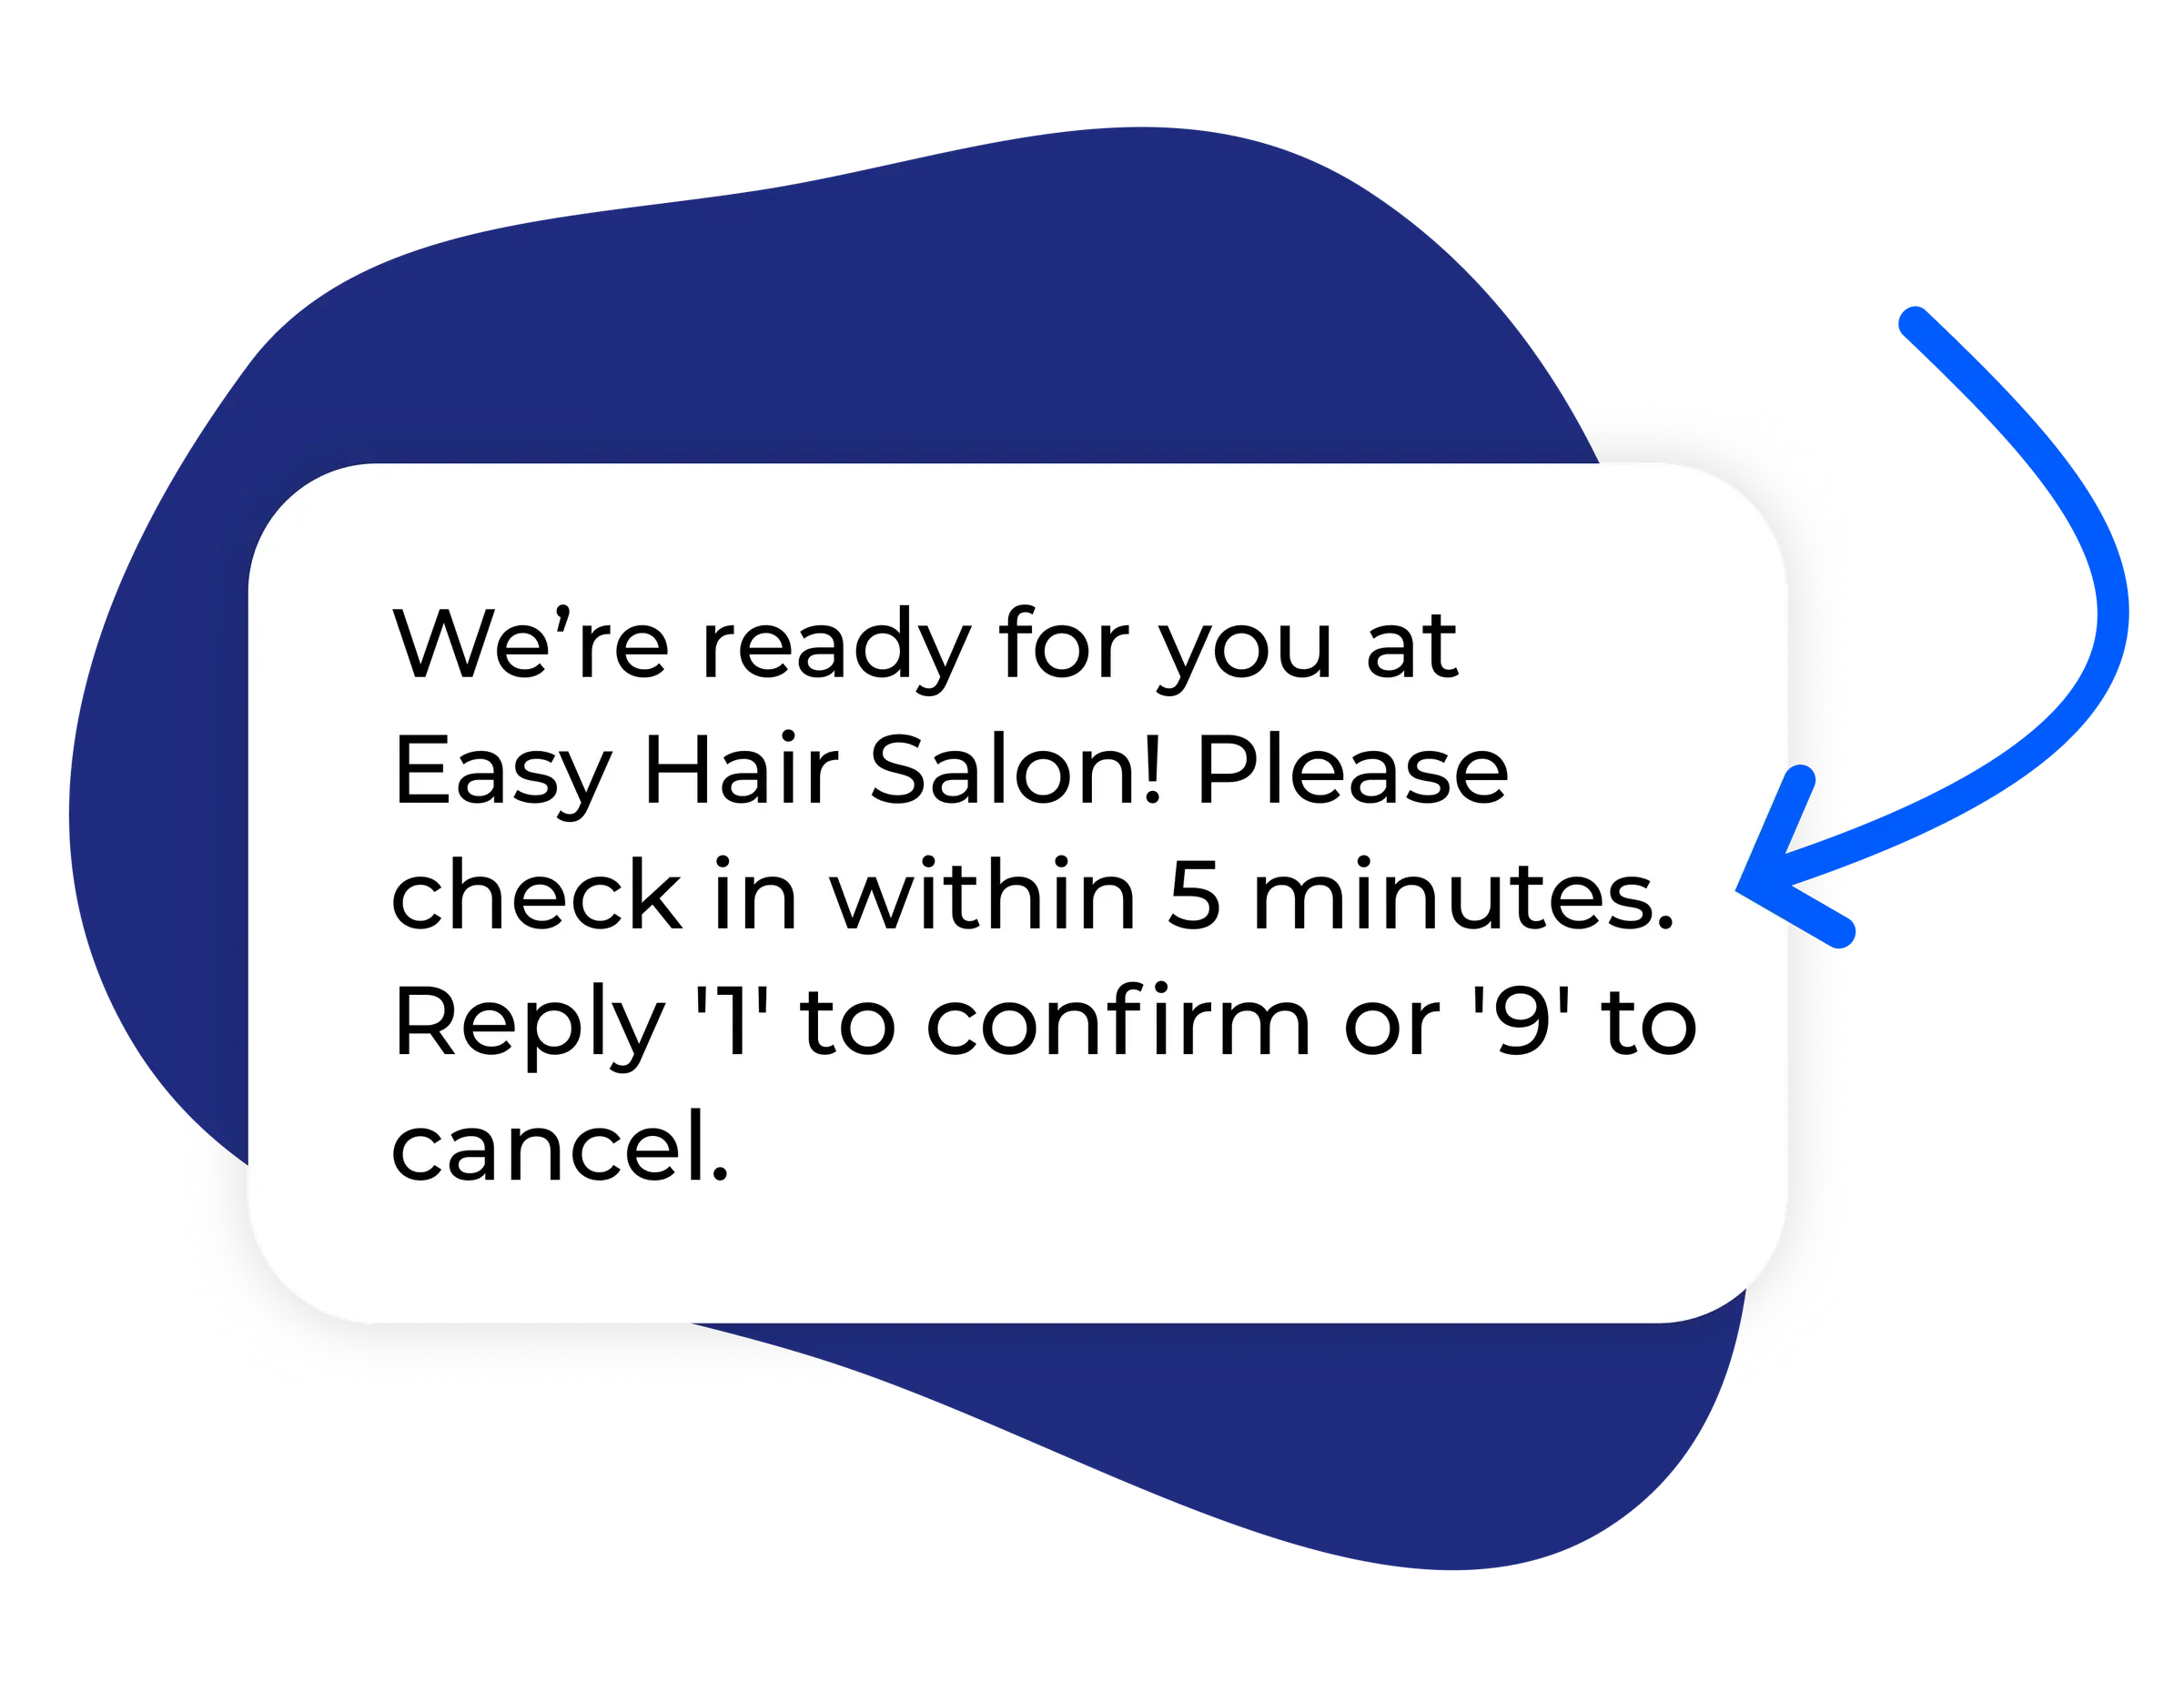
Your grace period is how many minutes your waiting guests have to return to your business once they’ve been notified. By default, this is 5 minutes but it can be changed in your Notification Settings.
Head to Notification Settings and type @ to insert the grace period variable into the message. Note that the “minutes” unit is included by default. Your content should look something like, “Please check in within {{gracePeriod}}”
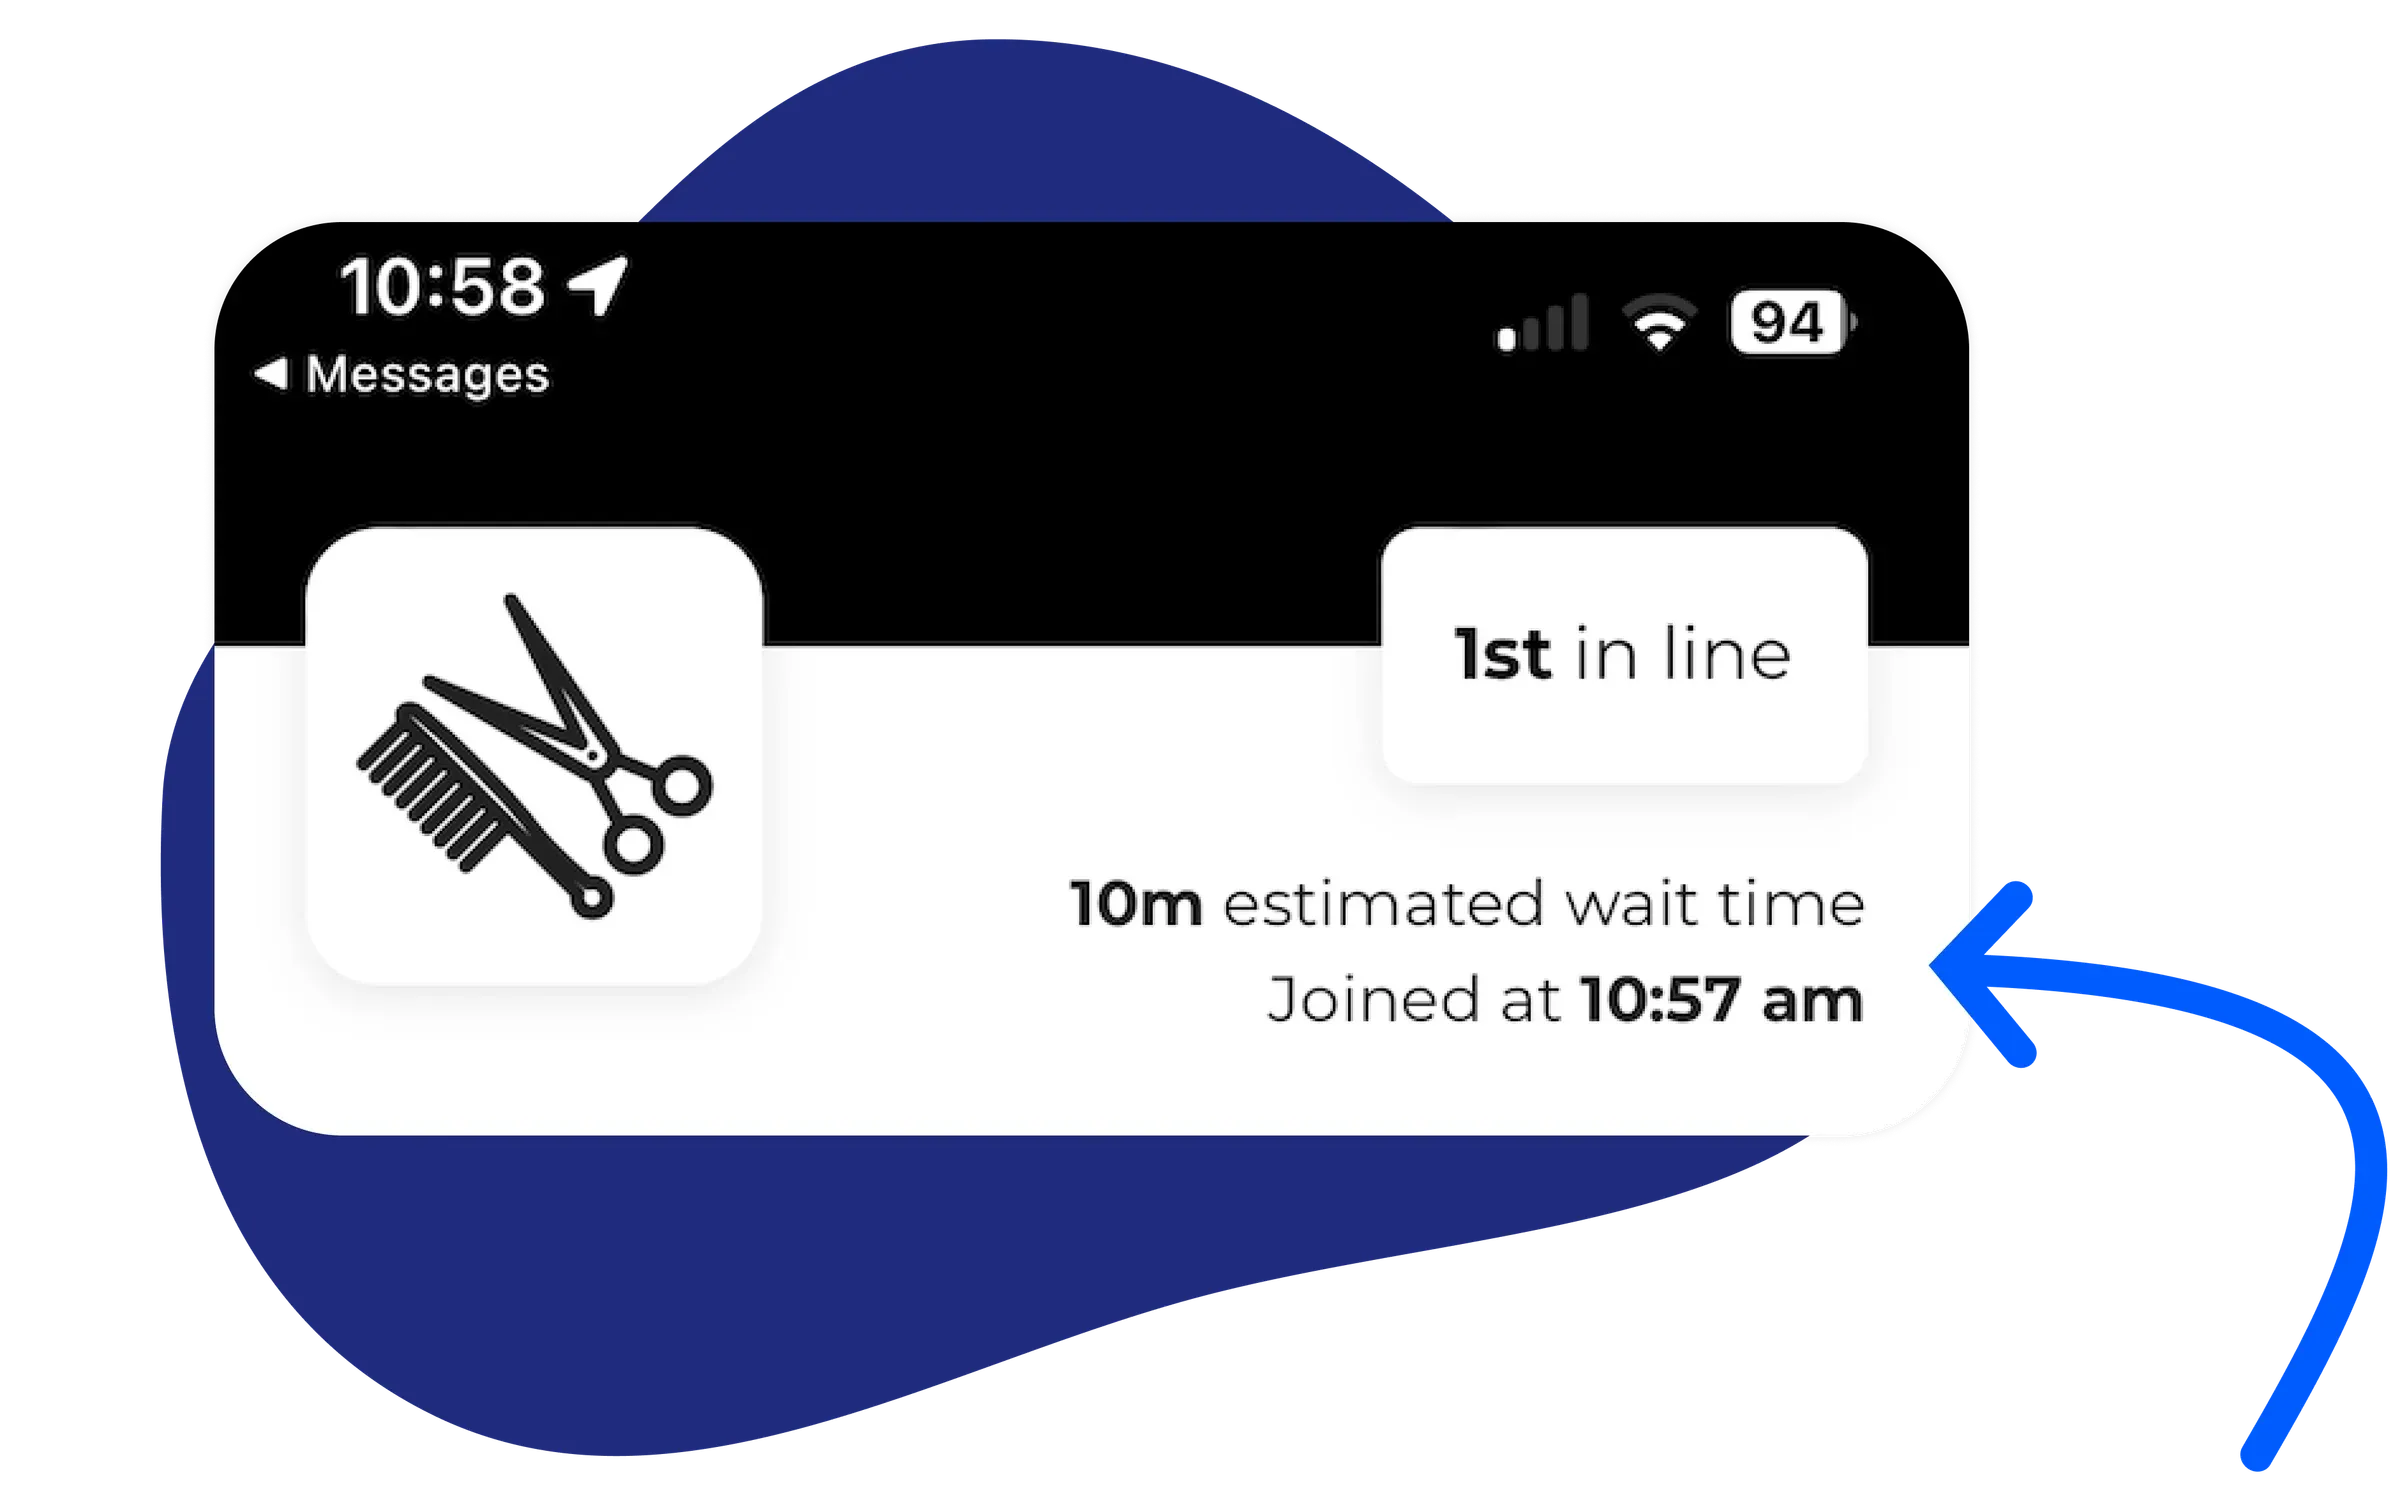
Once notified that their service is ready, guests will now see a countdown on your Virtual Waiting Room indicating how much time they have left to return. This will help remind guests to return in a timely fashion, increasing throughput and efficiency. This setting is enabled by default but can be turned off from your Virtual Waiting Room settings, simply toggle off “Display Grace Period Countdown”
Show your guests what their original quoted wait time was along with the time they joined. This is not a countdown but a static display to prevent setting the wrong expectation if the wait is longer than originally estimated. This setting is disabled by default but can be turned on from your Virtual Waiting Room settings, simply toggle on “Display Estimated Wait Time”
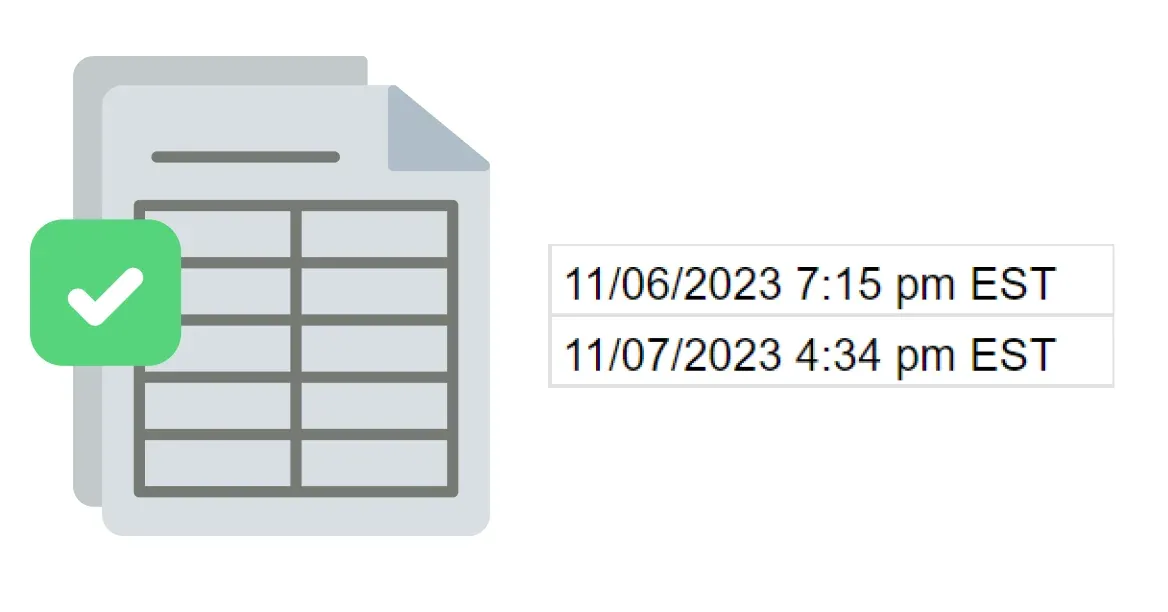
If you’re using our Analytics tool to export reports, we’ve updated all of the timestamps to respect your specific Time Zone. In addition, we reformatted all timestamps to make them easier to parse and use with Google Sheets and Excel.
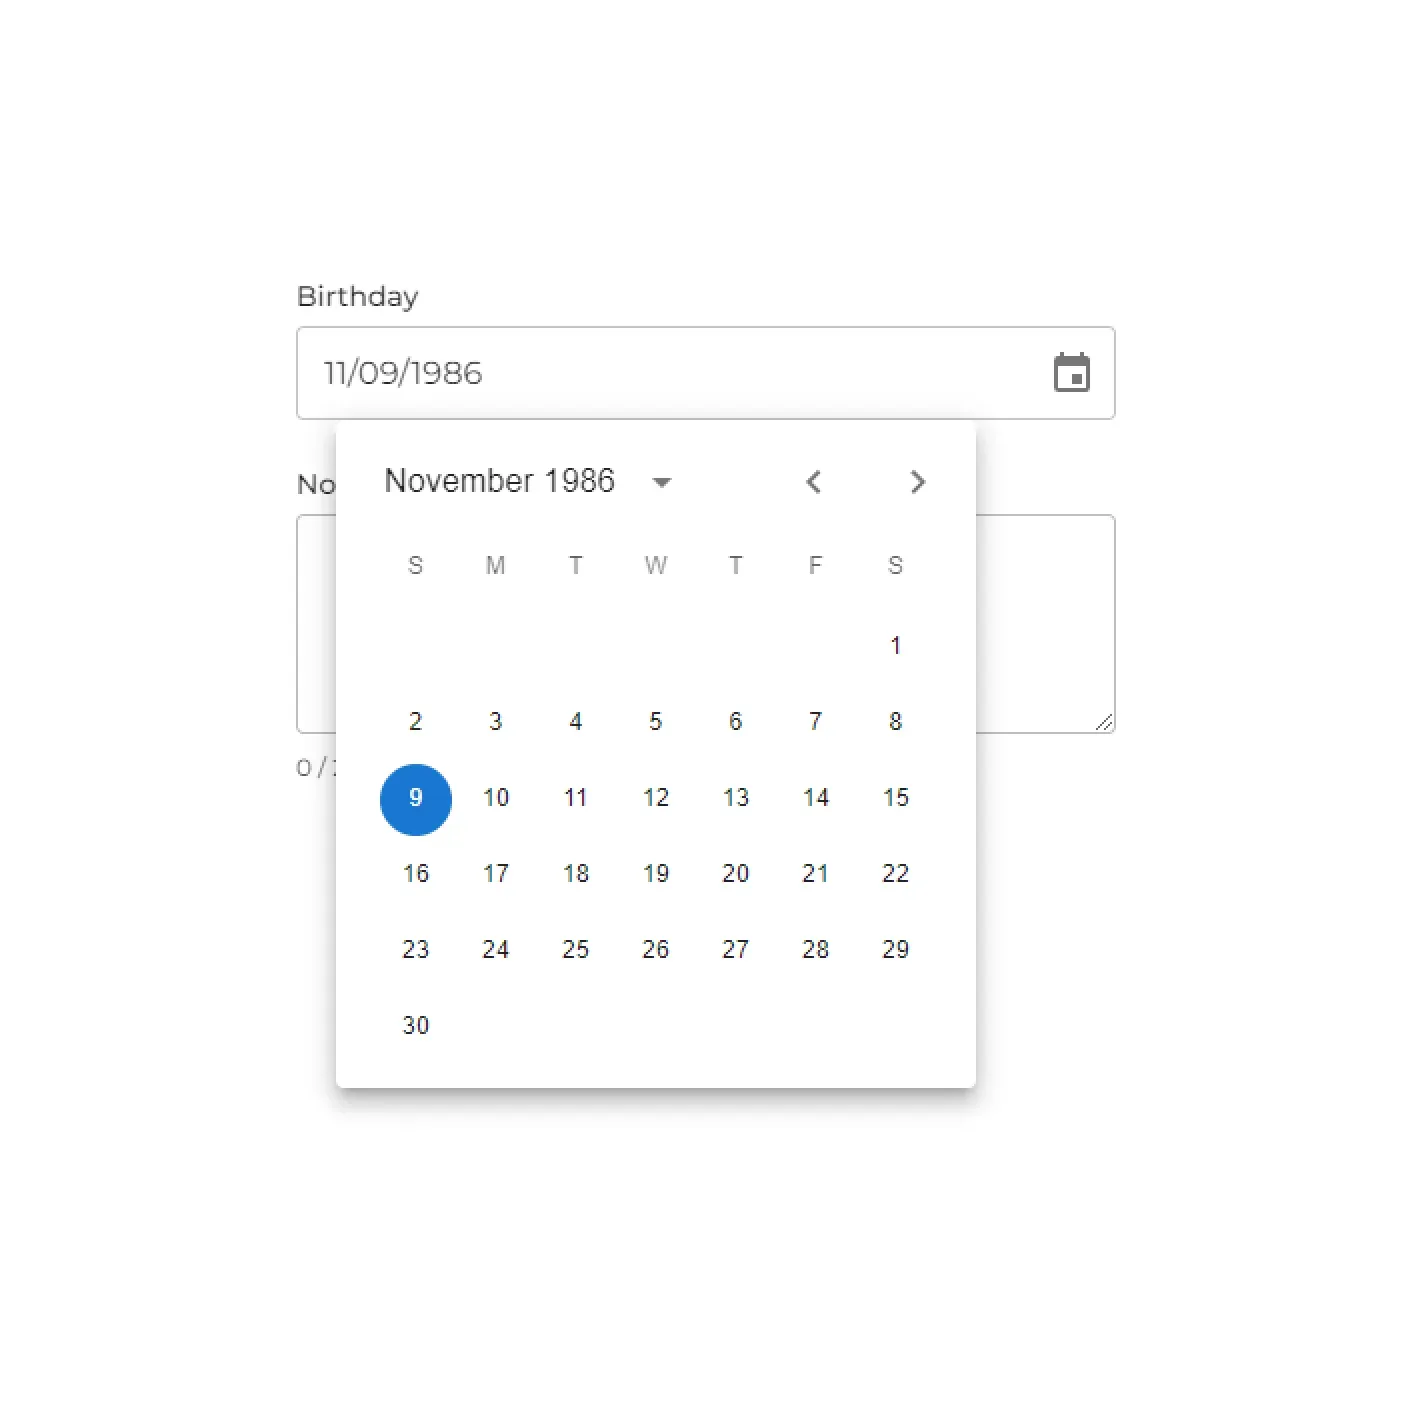
You can now add a date picker field to your intake and self check-in forms. This is particularly useful in capturing a guest’s date of birth, document dates, or whatever data matters most to your business. Read more about Custom Fields to learn how to add a date field to your intake process.
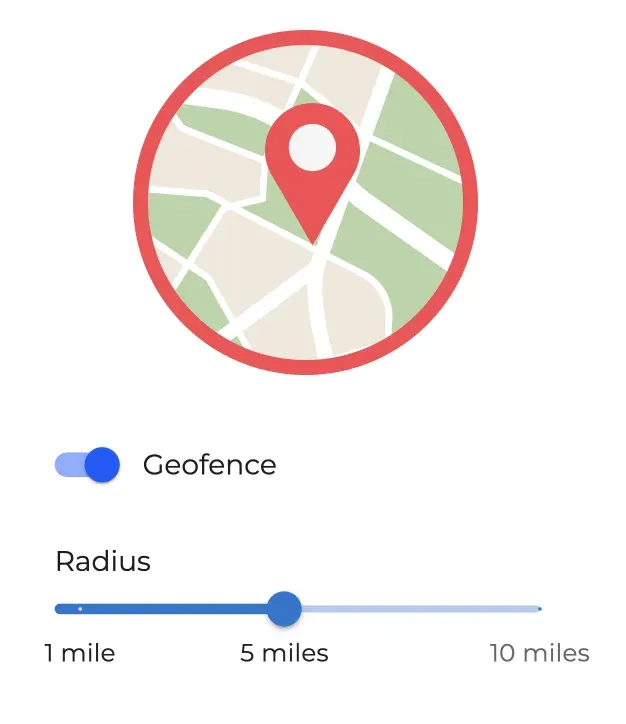
If you’re using our powerful Self Check-in feature to let guests join the wait themselves, you can now set a custom geofence radius between 0.5 and 10 miles. Guests will only be able to join the wait when they are physically nearby your business. This can be useful in preventing no shows. As always, this is an optional setting that can be turned on or off to meet your needs.
Tip: You’ll want to update your Location address(es) to make sure we have a valid address to use for geofencing.
Try NextMe free for 14 days or book a demo with one of our onboarding specialists.